Learn How To Create A Modern Login Form
I think we can all agree that collecting or sending information seems to be a huge corner-stone of importance amongst many websites. In this tutorial I'll be showing you how easy it is to create a modern stylish looking login form.
What We'll Be Creating

Resources Used In This Tutorial
Getting Started...
Create a new (Ctrl + N) document 800 x 600 pixels with any style background. I've simply created a simple background to showcase my login form and it looks like this.

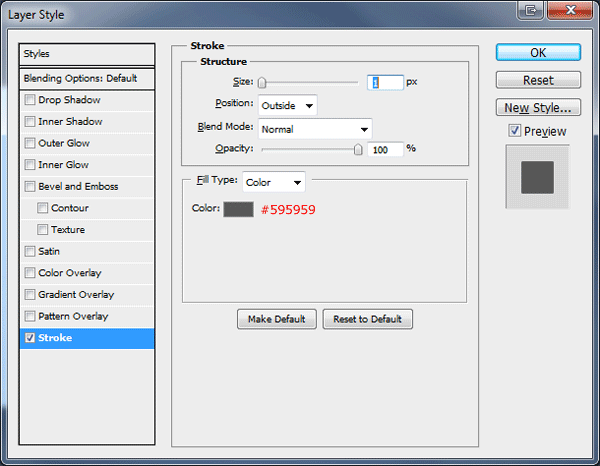
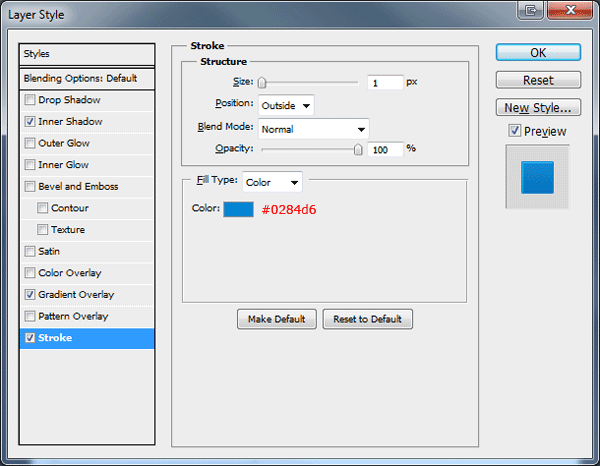
Select the "Rectangle Tool" (U) with your foreground color set to white #ffffff then create a rectangle in the middle of your canvas. Once you've created the rectangle add a 1 pixel stroke from within the layers style window using the settings below.

Login Form Title
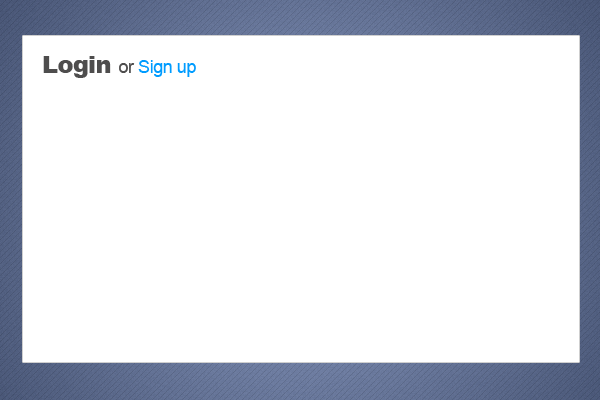
Select the "Text Type Tool" (T) then type out the title for your login box.
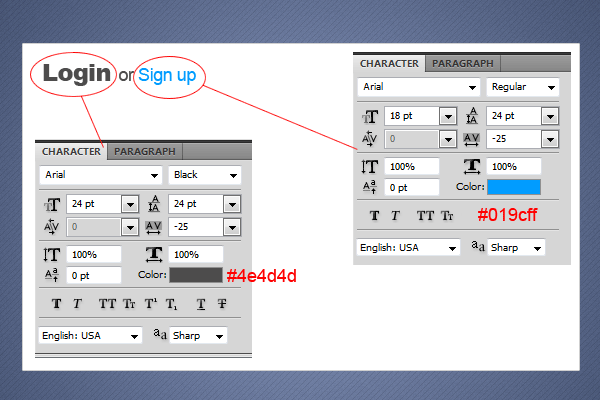
Here are the settings for the login box title.
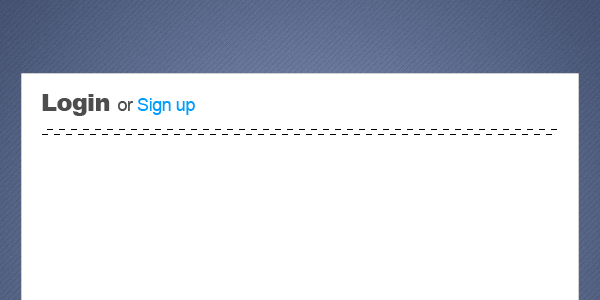
Select the "Rectangular Marquee Tool" (M) then make two 1 pixel lines on top of each other. The top line should be black and the bottom line should be white, the lines should also span the width of the login box leaving a 20 pixel space either side of the line.
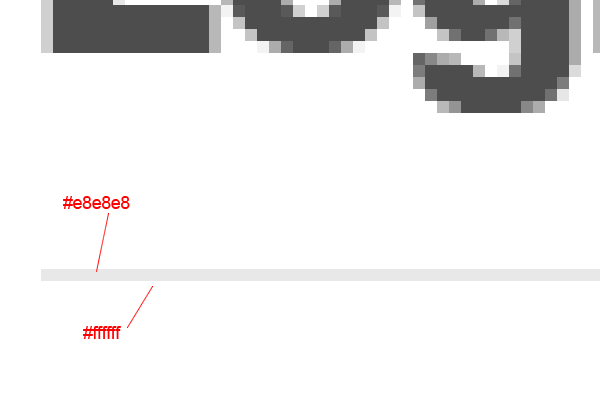
The white line at this point isn't visible at the moment but will be in the next step. Select the "Rectangular Marquee Tool" (M) then make a selection underneath the two 1 pixel lines we made in the previous step.
Once you've made the selection fill it with a linear gradient using a black to transparent gradient.
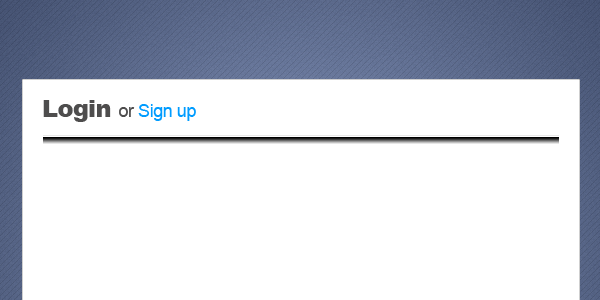
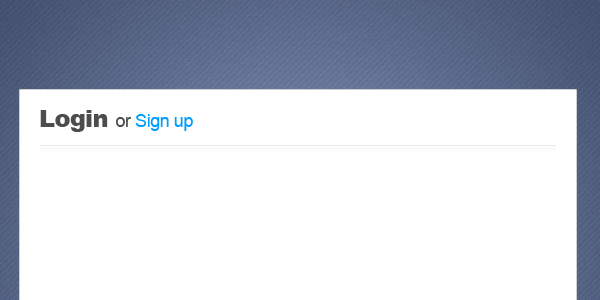
Set the opacity of the gradient to 2%, you should now have something like this.
The Form Fields
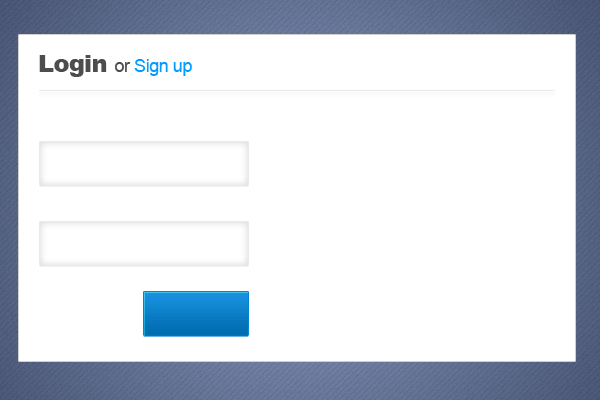
Select the "Rectangle Tool" (U) and create 3 rectangles on the left side of the login box. The 3 boxes should represent the username, password and submit button.

Add the following layer styles to the first 2 rectangles, which will be the username and passwords fields.
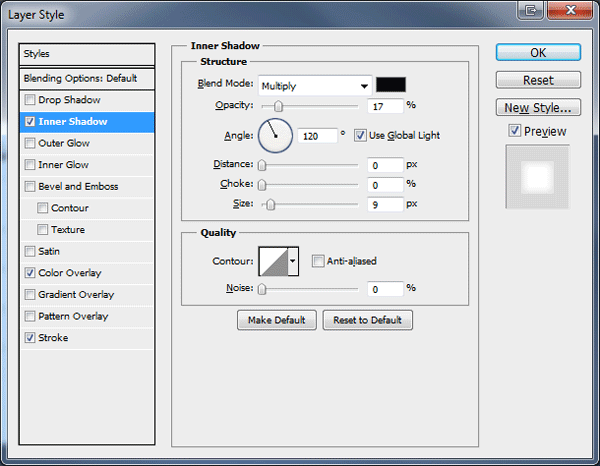
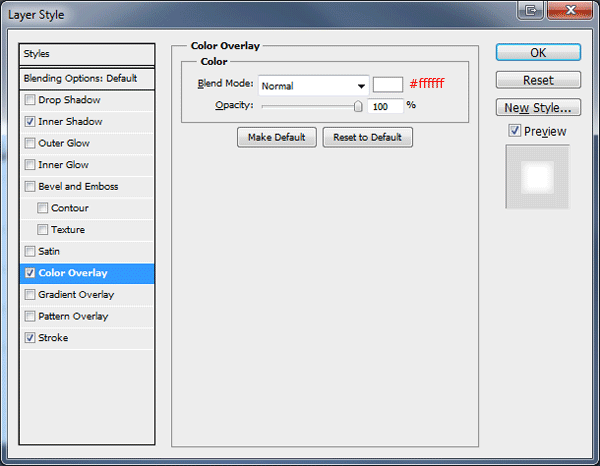
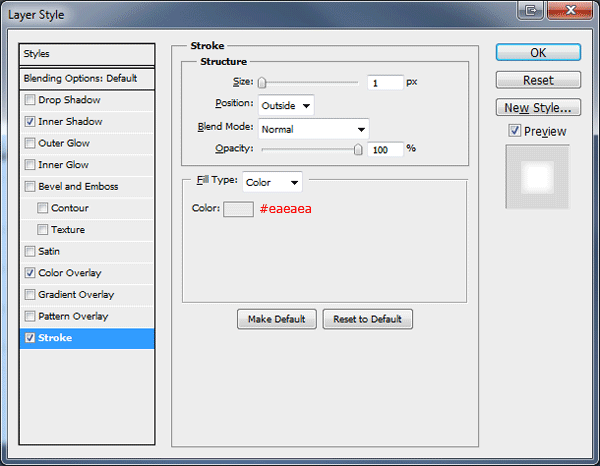
Now add the following layer styles to the smaller rectangle which will be the login button.
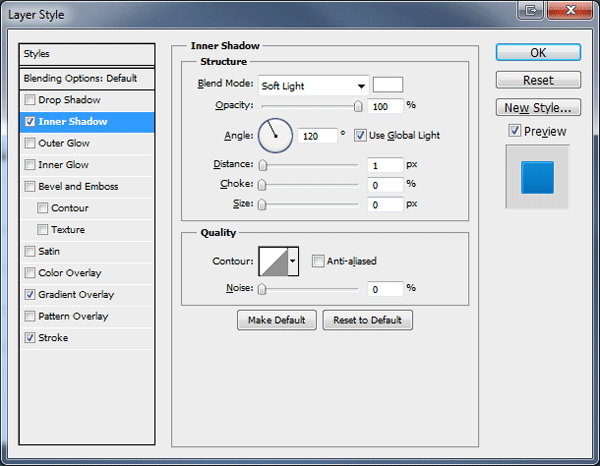
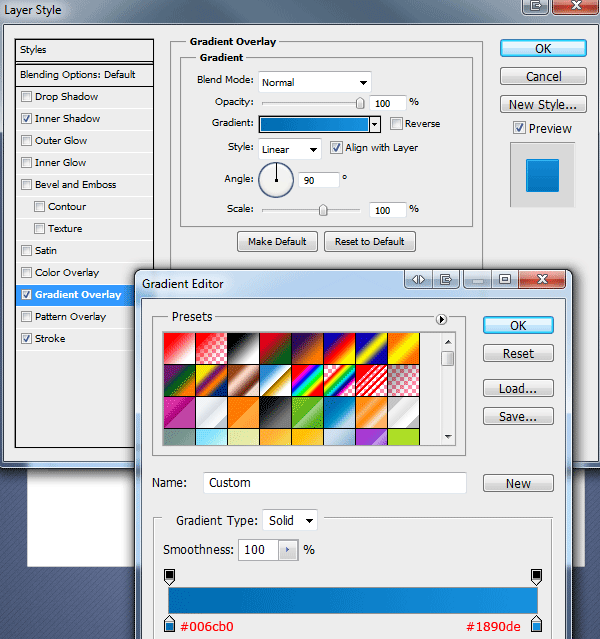
You should have something like this.
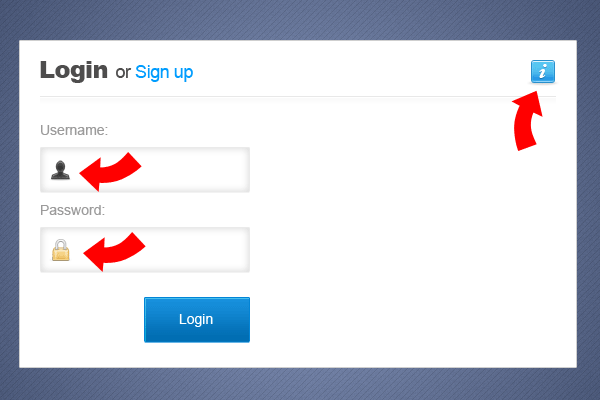
Download the icon set from the link below then add the icons shown in the image below to the desired fields. Then add the text to your fields using the "Type Tool" (T).
Creating The Middle Divider
Select the "Ellipse Tool" (U) then make an ellipse in the middle of the login box.
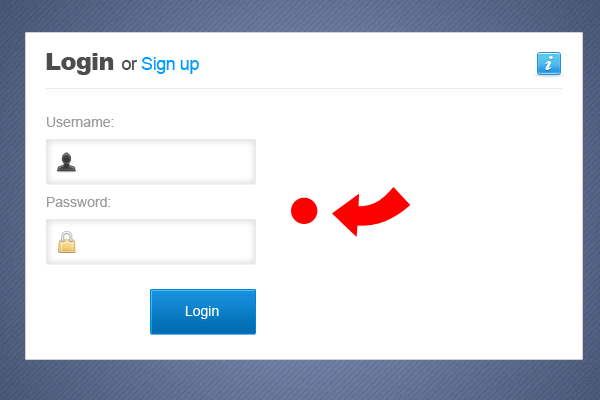
Add the following layer styles to the ellipse.
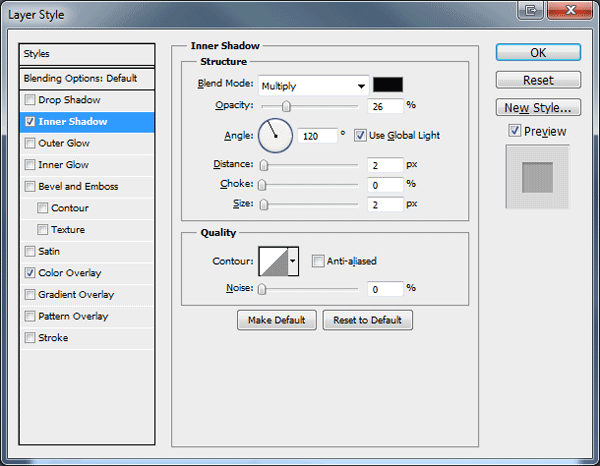
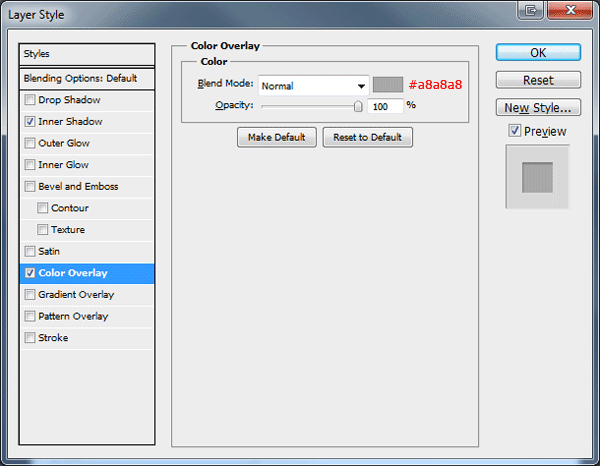
Set your foreground color to #eeeeee then select the "Rectangular Marquee Tool" (M) and make a selection starting from underneath the top divider to the bottom of the login box.
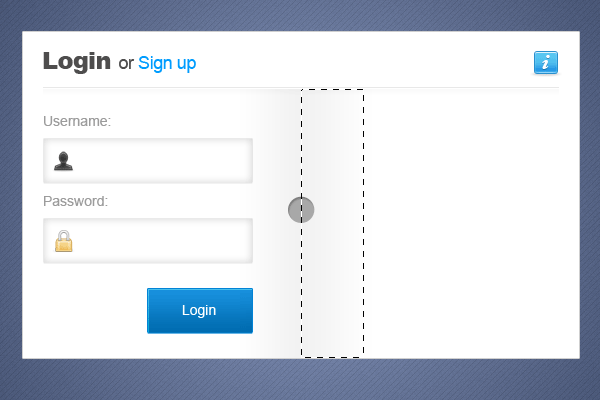
Select the "Gradient Tool" (G) with the gradient color options set to "Foreground to Transparent". Now drag the gradient inside of the selection dragging from the left side of the box. Repeat this step for the side of the circle only this time drag the gradient from the right.
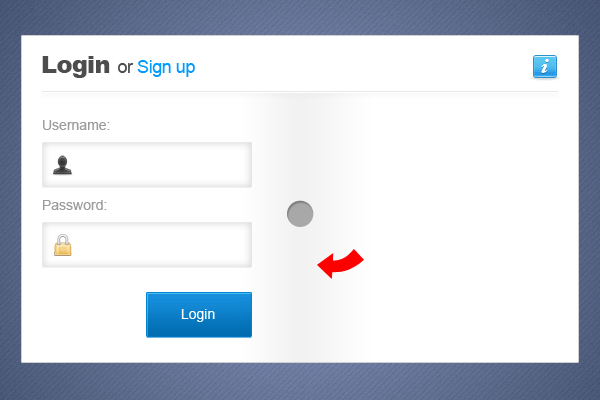
Now create two 1 pixels lines next to each other vertically, color the first line in black and the other white. The lines should start from the title divider and end at the bottom of the login box, the lines should also pass underneath the ellipse in the middle. Set the lines layers blend mode to "Overlay".
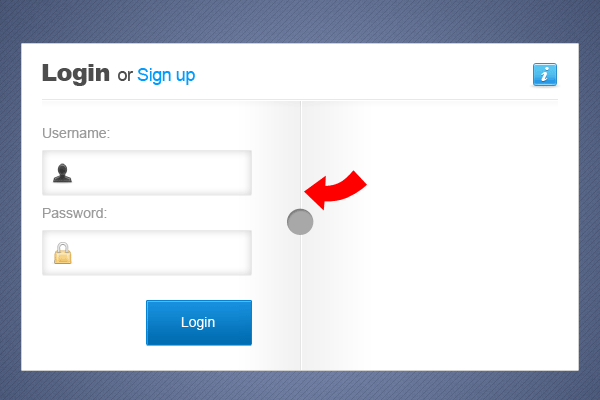
Finally add the word "OR" inside of the ellipse, you should have something like this.
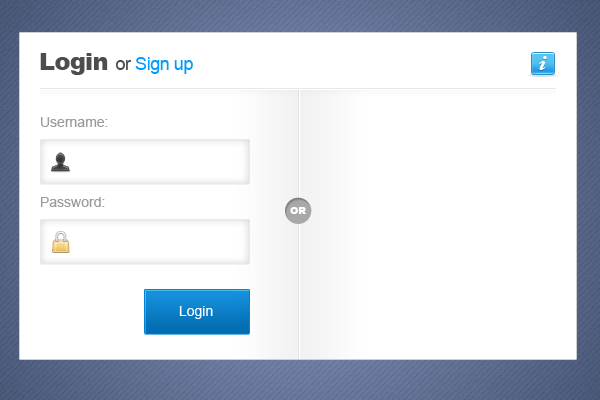
Adding The Social Connect Buttons
Download the social connect buttons from the link below then add them to your canvas at the bottom right side of your login box.
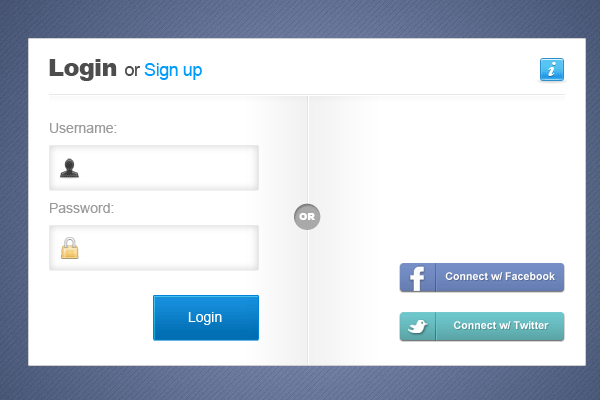
Now add some text above the social connect buttons like the image below.
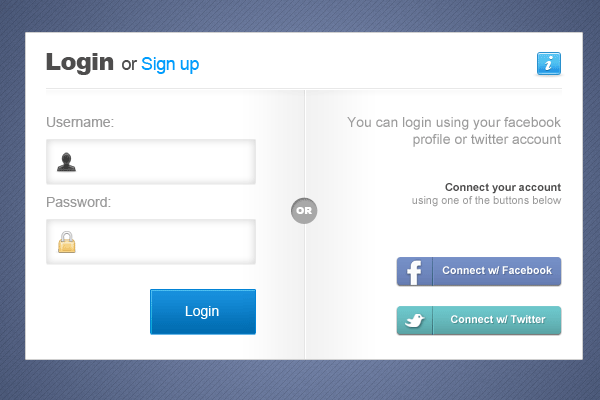
That's it all done, hope your enjoyed this tutorial.
Conclusion
Thanks for taking part in this tutorial, if you managed to finish this tutorial I'd love to see some of your results.

About the author
Copyright © . All Rights Reserved
