Brighten Colors Selectively
1. Open your image. I've taken a watermelon on a porch. It has few well-defines colors very suitable for this technique. Make a copy of the original image or just copy the background layer. You can make this original layer invisible; we won't need it any more, if only for reference.
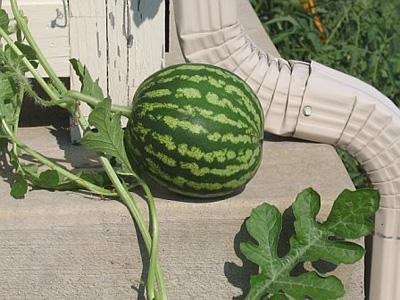
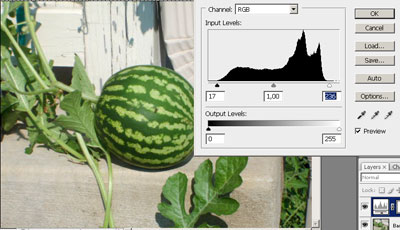
2. Add an adjustment layer 'Levels' and brighten the image a bit.
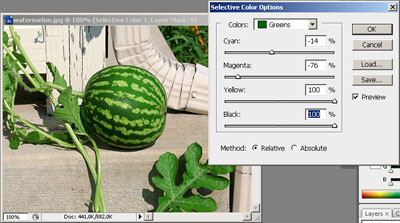
3. Add another adjustment layer 'Selective color' and start adjusting our colors. First of all it would be Green that is the most in the picture.
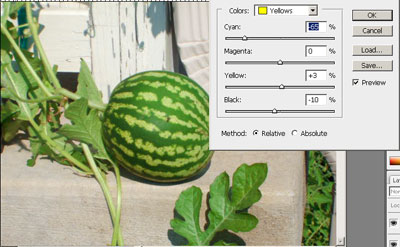
4. Now comes Yellow:
5. White:
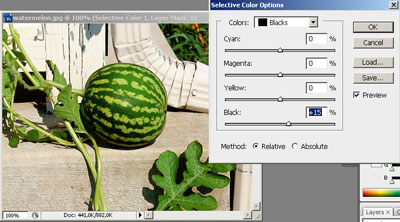
6. Black:
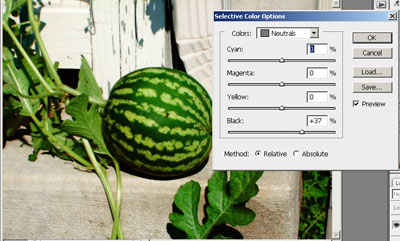
7. And Neutral to give more volume to the porch.
8. Merge all visible layers and change image mode to Lab (Image > Mode > Lab).
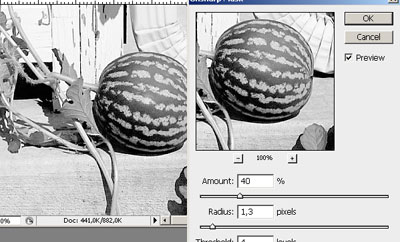
9. Open Channels tab in the Layers palette and choose Lightness channel. Go to Filter > Sharpen > Unsharp Mask and use it on the image. Don't forget to change back to RGB mode.
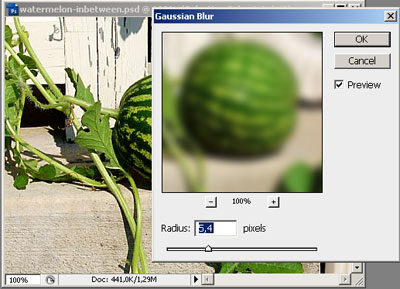
10. Copy the layer and go to Filter > Blur > Gaussian Blur.
11. Set the top layer to Multiply and reduce its opacity to 25-35 %.
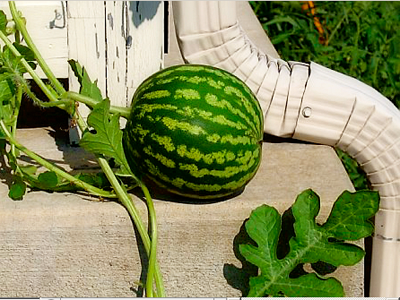
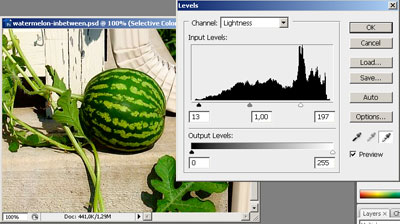
12. The last touch - add 'Levels' Adjustment layer and use black and white eyedroppers on the darkest and lightest parts of the image.
You can compare the two images now:
Before
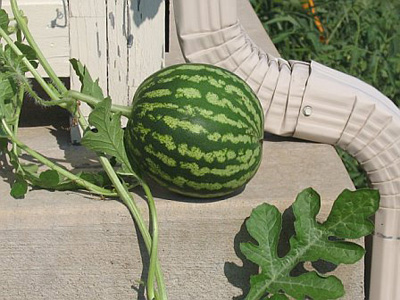
After
About the author
Copyright © . All Rights Reserved
