Professional Retouching Tutorial: Healing (Part 1)
Professional Retouching Tutorial: Healing (Part 1)
Welcome to the first in a series of tutorials on professional retouching. Ever wondered how commercial and fashion photographs have that beautifully flawless look?
Final Image
This two part tutorial will work towards creating this professionally retouched result:
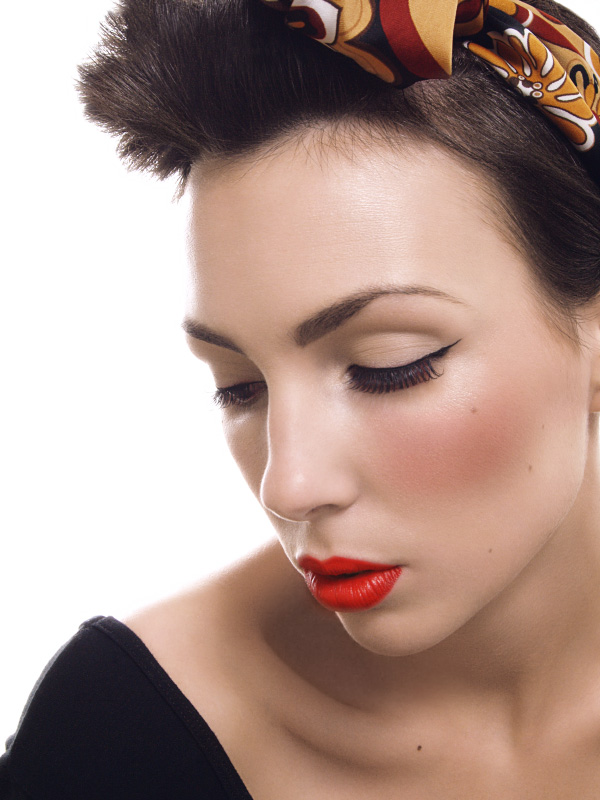
It takes a while to master, but here are a few things to consider;
Keep as much texture as possible, this means keeping your brushes small and avoid any tutorial that tells you to blur huge sections of skin!
Develop an eye for what is and is not a blemish. Beauty spots should in most cases be left well alone, keep the character of the model as well as the texture.
Know when to be subtle, know when to stop. It's disturbingly common to find beginner retouchers who absolutely will not stop until their 40 year old subject looks like Megan Fox.
If you're hoping to retouch photos professionally for other photographers, respect their work. This means not making changes for the sake of it, always remember that the model was chosen for a reason, as were the clothes, backgrounds, lighting, only make major changes on request. Be invisible.
For examples, feel free to visit my own beauty retouching portfolio.
With those points in mind, here is part one, and the easiest in the series; healing with minimal evidence
And here's the starting image I'm using for demonstration;
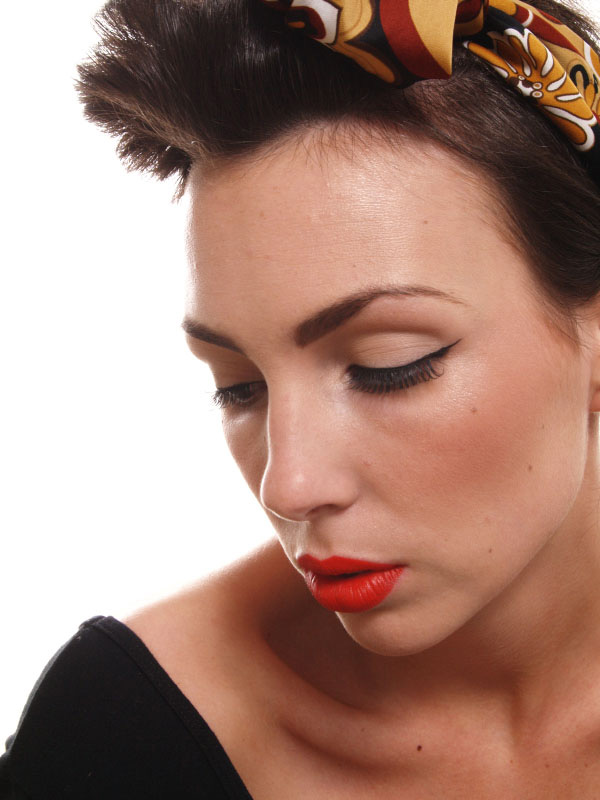
Always start with a high resolution image. Politely ask a photographer if you need starting images, large JPEGS are fine for now (if they're less than 1Mb in size they're probably too small). Photography forums are a great place to find portfolio work when you're starting out, try not to use the same photographs as a thousand other people on the web. Develop an entirely individual portfolio
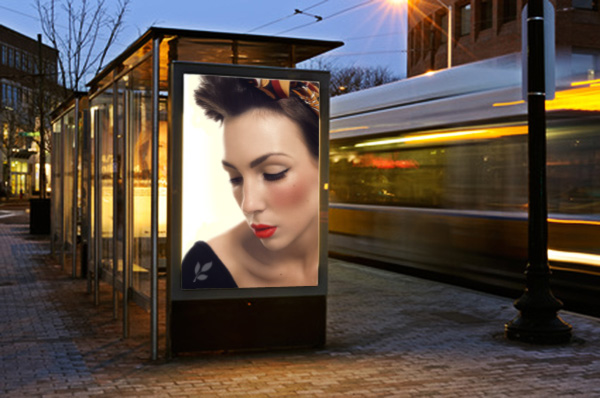
When you're retouching professionally, remember that your client might be using their images for large print, imagine every eyelash out of place or stray hair on a bus shelter poster. It may not be noticeable in a web-sized image, but just imagine dozens of people idling at that bus stop every hour. Your perfect work might go unnoticed, but any flaws will certainly be picked up on!
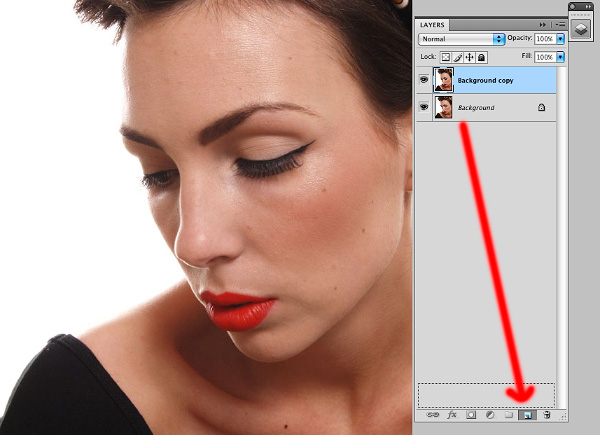
One of the fundamental parts of the retouching process is the healing stage, and we're going to look into that with this first tutorial. Open your image in Photoshop, and drag your Background Layer to the New Layer icon to create a copy of your image. This new layer will be our working copy, saving the original so we can always pull parts of it back if we need to.
Here I've decided to retain these beauty marks, but it's always up to you to decide which to keep or remove, or even move slightly to improve composition;
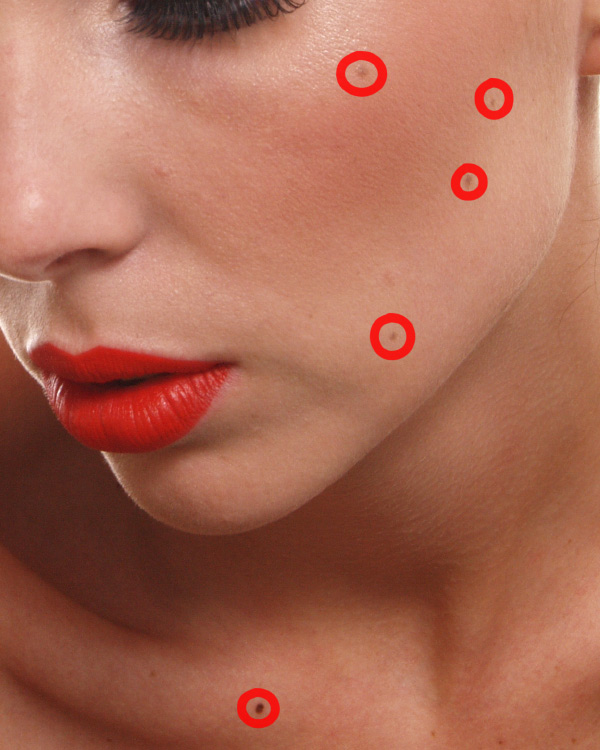
Select your clone stamp (C) and zoom in to 100%. Use the Lighten blend mode to remove darker blemishes and Darken blend mode to remove lighter distractions. This way your clone tool will ignore the 'good' texture and only alter the problem pixels. Keep your brush as small as the blemish and use a hard brush (around 90%) to avoid blurry edges, Alt-click to select a local sample of good texture of a similar tone and carefully paint out any major blotches.
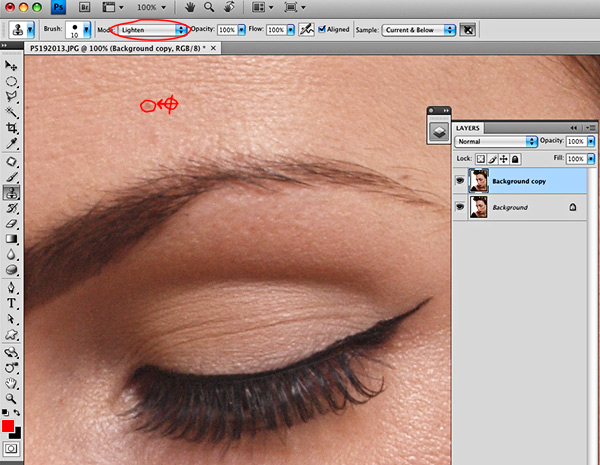
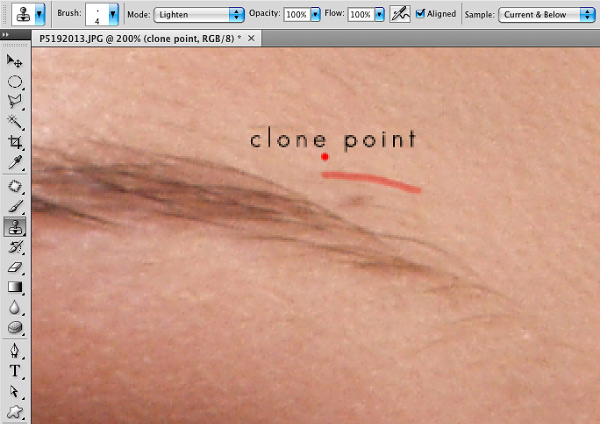
Zoom to 200% and deal with any smaller imperfections, including stray eyebrow hairs;
Once you've imperceptibly removed all major distractions and stray hairs you'll start to notice the next problem to tackle; shadows and highlights that betray wrinkles and deep pores, skin depressions and bumps, and even tonal variations caused by digital compression.
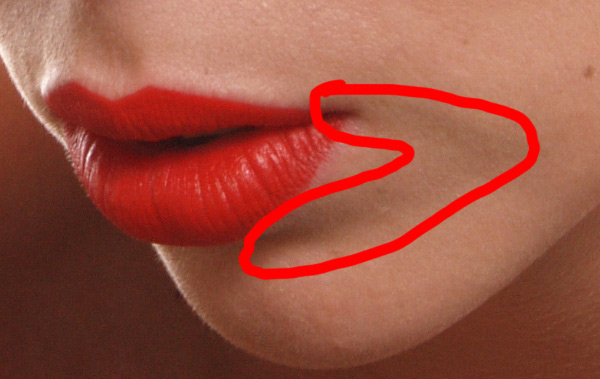
This is where we'll start off in the next PSDFAN professional retouching tutorial, using Dodge and Burn to achieve flawless, magazine cover results. And absolutely no blur filters!
About the author
Copyright © . All Rights Reserved
