Retro Is the Rage! 10 Tips for Professional Vintage Photo Editing
With an ever increasing number of remakes of movies and TV shows, not to mention the popularity of shirts featuring images and characters from our childhood, it's clear that old is the new, well... new.
Editing software like Photoshop is even helping to extend the trend to our pictures by incorporating techniques to let you add a bit of instant age to your favorite shots and create something truly artistic and unique. Lots of people are getting in on the act, leading to a wealth of tips and tricks, both from the pros and people just like you!
Here are 10 of the most useful tips to help you retro-ize your pics and master vintage photo editing.
1. Choose pics wisely.
The act of making pictures appear "vintage" has become so widespread that oftentimes people are tempted to edit every photo they have.
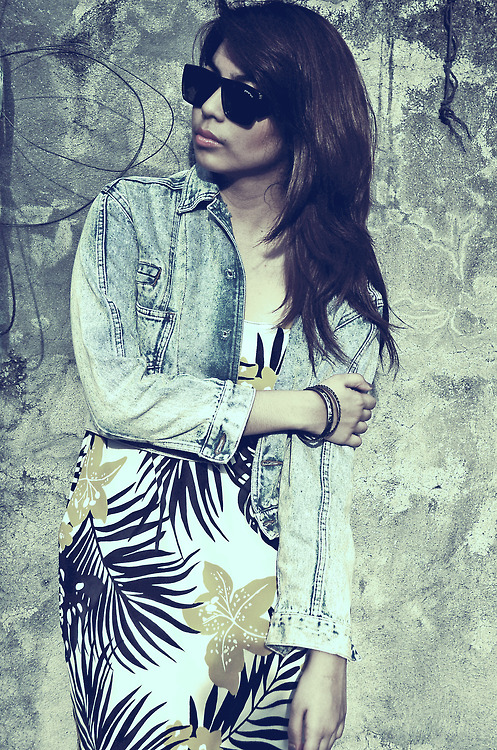
There's no reason that you can't do this, but the best "vintage" pics tend to already incorporate an element that lends itself to making the image feel old.
For example, if your subjects are wearing clothing from an earlier generation or standing by an older car. This way, when you sit down to edit, you've got a focal point. If your subject is holding a Hello Kitty bag, the effect may not be quite so appropriate!
2. Add Borders.
Few things date a picture more than making it look like an old Polaroid. Photoshop can help you with this by letting you add a border around the photo. But don't stop there - increase the "aged" feeling by putting some discoloration on the border using Bleeding Options and Inner Glow. You want it to look like there's a bit of a brownish stain on the border from the age of the paper.
3. Experiment with color layers.
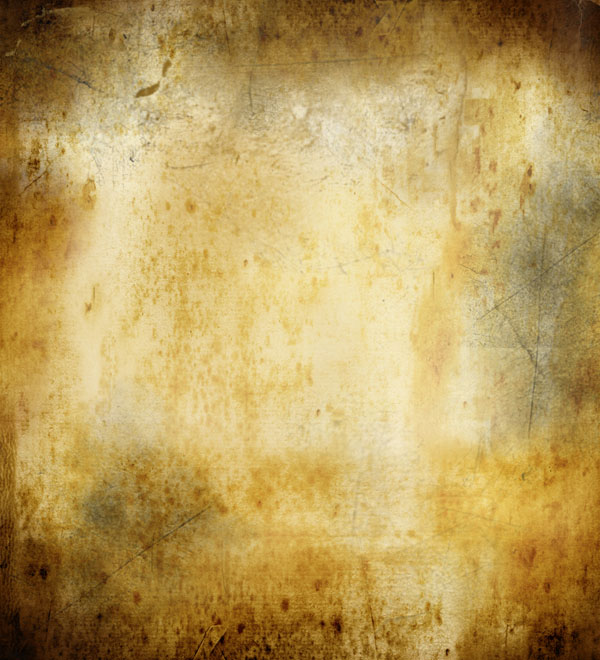
If you look at old photos, they often have a darker, more faded appearance. You can mimic this by creating individual layers of cyan, magenta, and yellow, and playing around with the percentage of each color. The idea is to place each layer onto the original photo at varying levels of opacity so that the tint will bleed through but not overwhelm the picture.
4. Make it grainy.
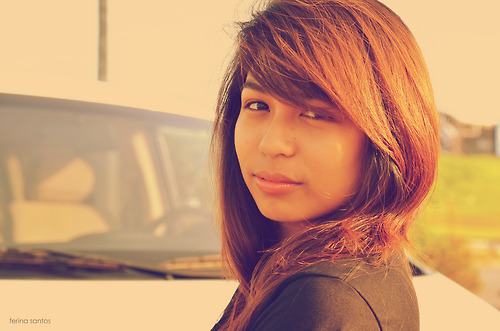
Older photos and videos tend to have grain in the image that dates them. You can put some of this grain into your pictures by adding monochromatic noise. Just be careful with how much you put in, because you can end up making your image look like TV snow if you go overboard.
5. Scratch it up.
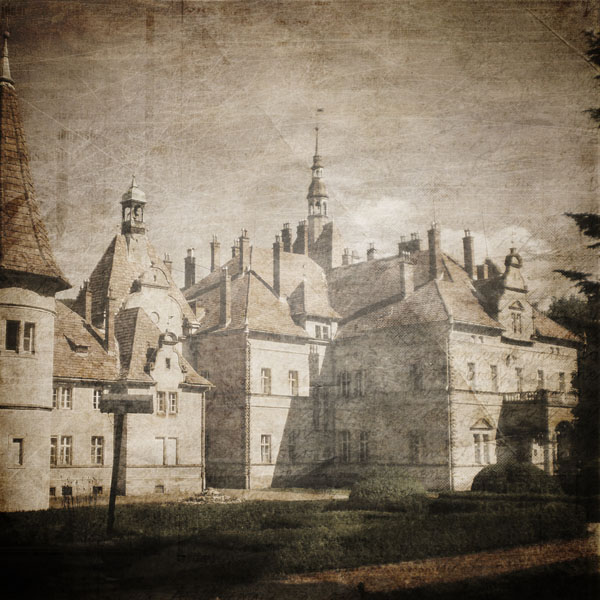
Not only is your photo old, apparently you didn't really take good care of it and it has acquired some scratches over the years. Mock this up in
Photoshop by creating a new layer, adding some noise (mainly to see what you're doing in the next step), and then draw on a few scratches. Generally speaking, less is more. Apply the layer with your desired level of opacity and you'll get some nice scratches and a tiny bit of grain.
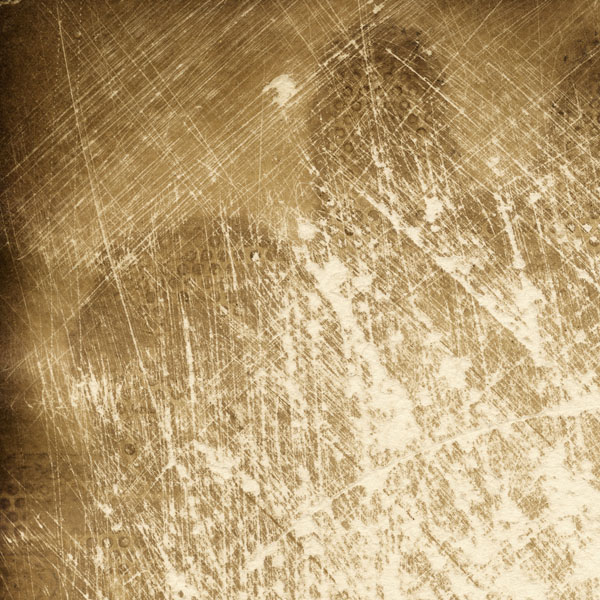
Alternatively, you can seek out pre-made scratch textures and pick the one you like best.
6. Give it some texture.
Vintage photos have been out in the world. They've lived and been damaged from wear and tear. Put some wrinkles and creases on your
pic by balling up a paper bag, then flattening it out and scanning it in to use as a texture. You'll want to save it as a new layer, then put it on top of the photo as an overlay. You may also want to add some noise and play with the color, but either
way you'll have a nice well-worn photo.
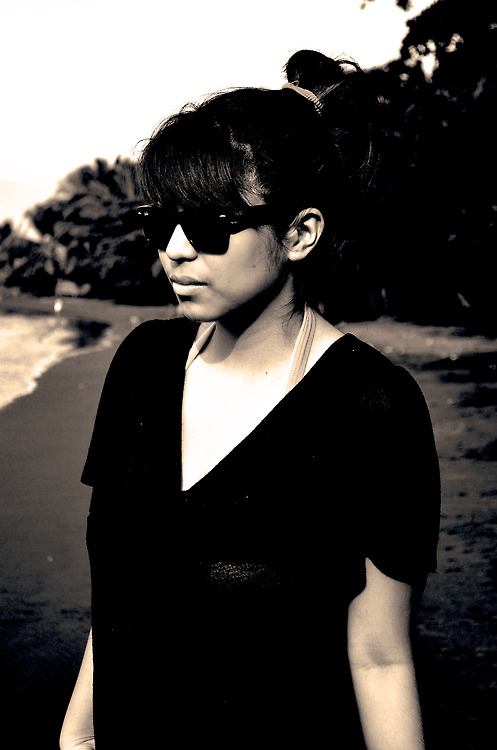
7. Use sepia tones.
Sepia is, put simply, the color of old. It's that sort of golden brown grain (as in the plant) color that you see in pretty much any really, really
old picture or film. The color balance function in Photoshop can help you get the right tone, but there are also editing packs out there with pre-adjusted settings to make it easier for you.
8. Keep it edgy.
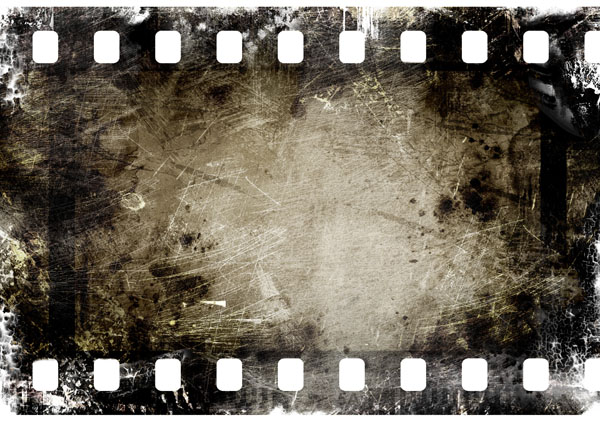
Ragged edges on a photo create the illusion that it's been around for a long time and barely survived. Photoshop can help you achieve this effect by using the round brush in the layer mask. Draw a jagged border and it will look like the picture has been torn and frayed around the edges.
9. Blur the sides.
You don't want the entire picture to be out of focus, but blurring the edges a bit is a nice way to give the impression of age. You'll want to use the Elliptical Marquee Tool to make a round selection starting from the center of the photo, then do an inverse lens blur. This will make the edges of the picture blurry, but slowly return to focus as you reach the area you selected with the Elliptical Marquee.
10. Black and white.
Possibly the most obvious way to age a picture is to remove the color, but simply doing this isn't enough. As was mentioned above, sepia is
actually far closer to "old picture color" than black and white, but that doesn't mean going monochromatic won't work; it just means you need to pay attention to things like grain and blur in addition.
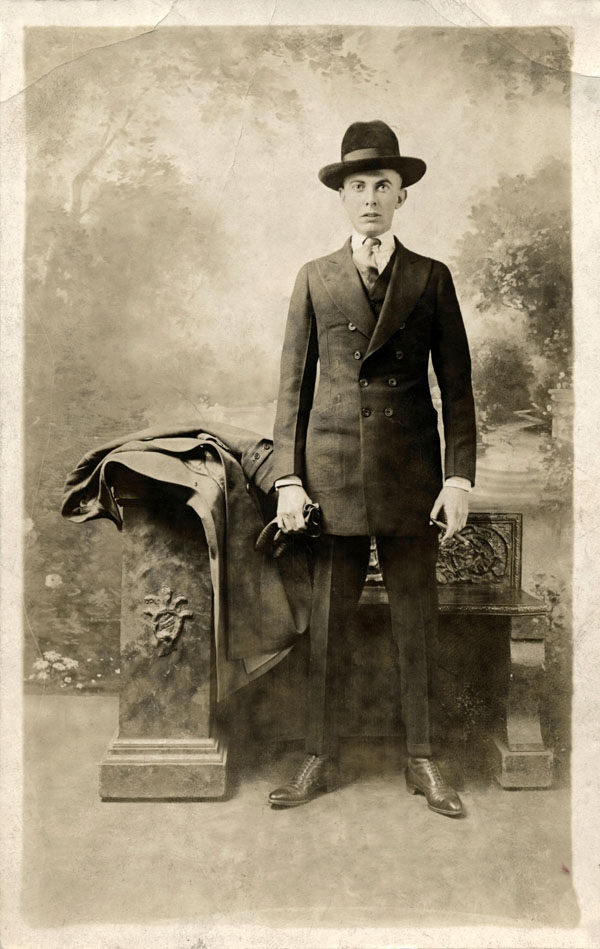
Really, the key to good vintage photo editing isn't any one thing, but using a combination of techniques together to create the effect you want.
What Do You Think?
Do you agree with the points in this article? Perhaps you have your own tips for vintage photo editing. Let us know in the comments below!
About the author
Copyright © . All Rights Reserved
