Holographic Effect Tutorial
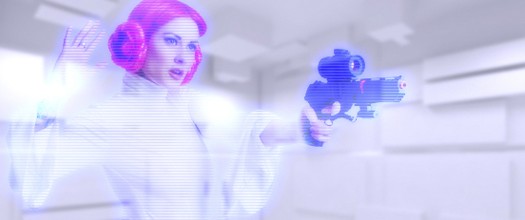
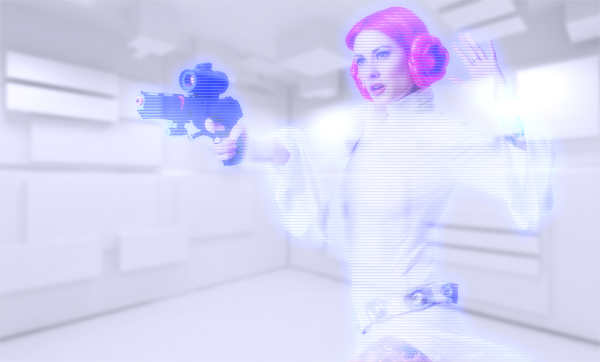
In this tutorial I'll be showing you how to create a holograph effect straight out of a science fiction movie.
For the background we will use a very cool stock photo courtesy of Tebh-stock.
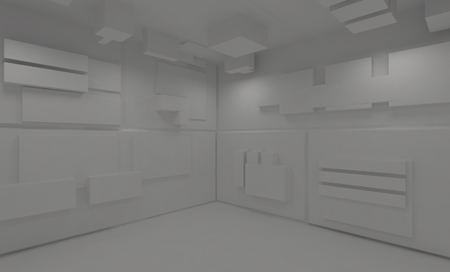
First of all we want to brighten the image a little, so with the photo open in Photoshop, go to Image > Adjustments > Curves.
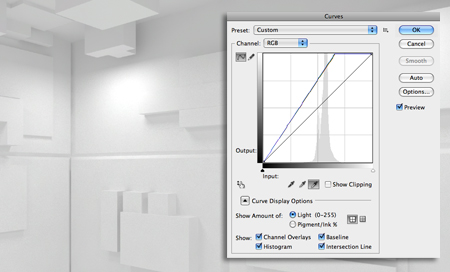
In the dialog box, click on the white colour picker button then tap on the area that you want to become the whitest point in the image.
Click OK.
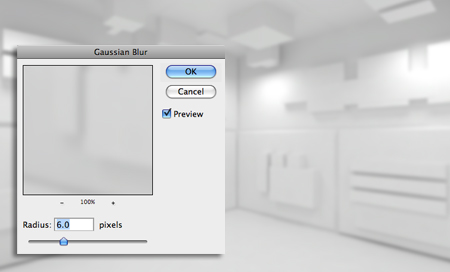
Now go to Filter > Blur > Gaussian Blur, and set the Radius to 6 pixels.
Click OK.
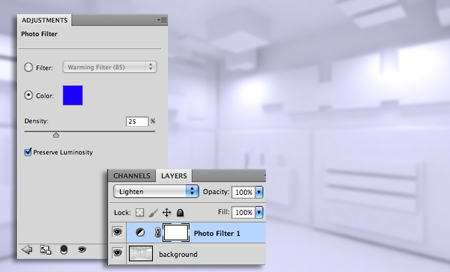
Finally, click on the adjustment layer button at the bottom of the layers panel, and choose Photo Filter.
Set the Color to #001eff with the Density at 25%, then set the layer's blending mode to Lighten.
The model or our holograph is a fabulous Princess Leia courtesy of jagged-eye
Once downloaded, open the image in Photoshop.
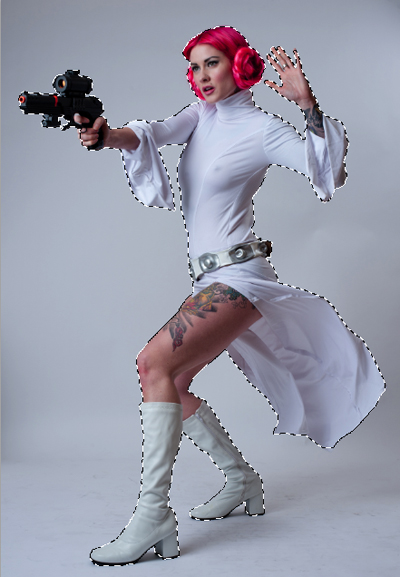
Use the Quick Selection Tool to draw a selection over the model, then use the Refine Edge sliders to tidy up the selection.
Copy and paste the selection into your background, resize, and position it as I have below.
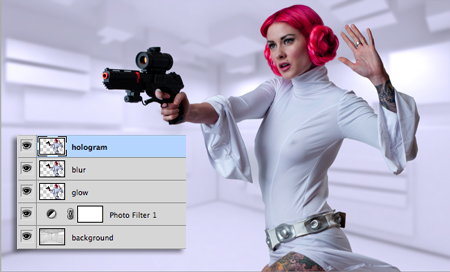
Duplicate the model layer twice, so you have three layers. Call the bottom one 'glow', the middle one 'blur', and the top layer 'hologram'.
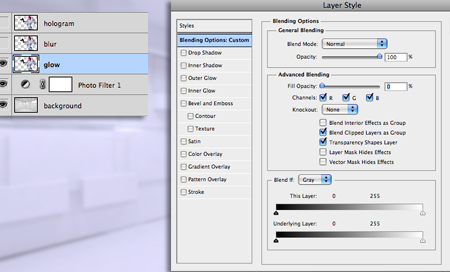
You can hide the top two layers for now, and double click on the glow layer to bring up the Layer Styles dialog box.
In the Blending Options take the Fill Opacity down to 0%.
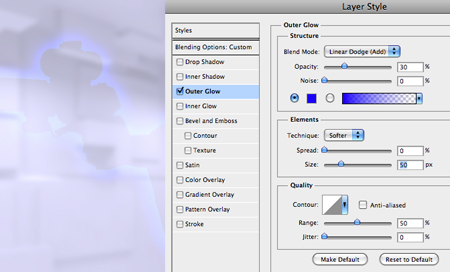
Next click on Outer Glow, set the Opacity to 30%, the color to #001eff, and the size to 50%.
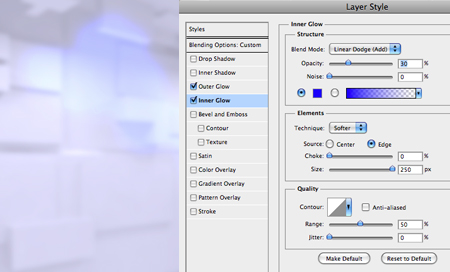
Click on Outer Glow and set the Opacity to 30%, the color to #001eff, and the size to 250%.
Click OK.
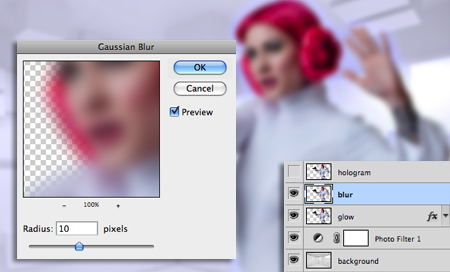
Now unhide the blur layer, and give it a Gaussian Blur set to 10 pixels.
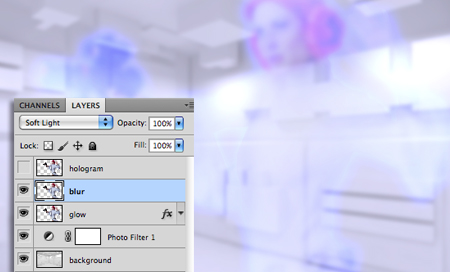
Set the blur layer's blending mode to Soft Light.
Next we'll create a pattern to use for the hologram texture.
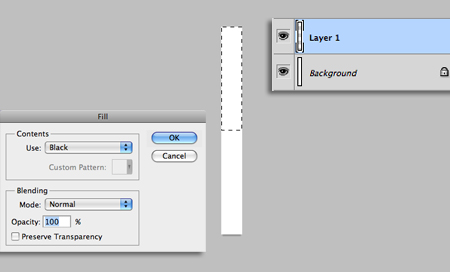
Open a new 1px x 10px document, and use the Rectanglar Marquee Tool to make a selection over the top half of the image.
Create a new layer, go to Edit > Fill, and fill it with black.
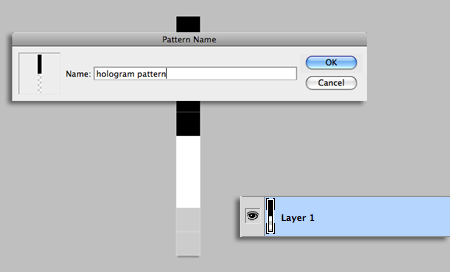
Delete the bottom Background layer, then go to Edit > Define Pattern, and give your pattern a name.
Now back in your project, set the hologram layer's blending mode to Color Burn, and set the Opacity to 30%.
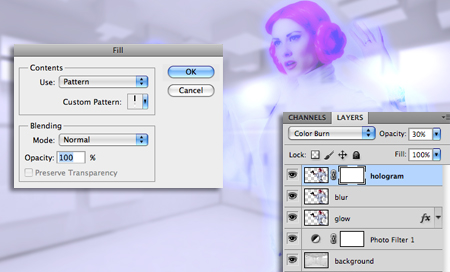
Give the hologram layer a layer mask, and with the layer mask thumbnail selected, go to Edit > Fill...
Choose your new pattern from the Contents list, then click OK to apply the pattern to the layer mask.
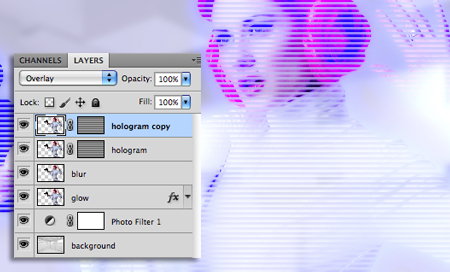
Duplicate the hologram layer, and set the duplicate's blending mode to Overlay at 100% Opacity.
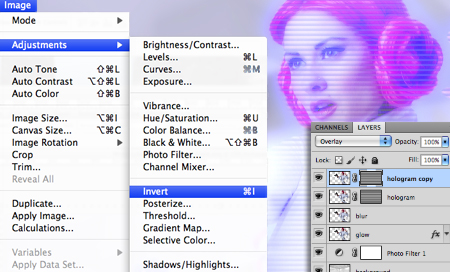
Finally click on it's layer mask thumbnail and go to Image > Adjustments > Invert.

And here's how your authentic holographic lady will end up looking.
Please leave a comment and use the share buttons below.
Copyright © . All Rights Reserved