Create an Interesting Cookie Bite Text Effect in Photoshop
In this tutorial, I will show you the steps I took to Design a simple Cookie-Bite Text Effect in Photoshop. We will be practising some basic techniques such as the use of quick selection tool, layer masks and layer blending options.
This is a beginner level tutorial and the steps are easy to follow, have a try!
Note: The Photoshop tutorial is done in CS6 - therefore some screenshot may have slighting different layout as in the earlier version.
Here is a preview of the final effect I have for this tutorial: (click to enlarge)

Step 1
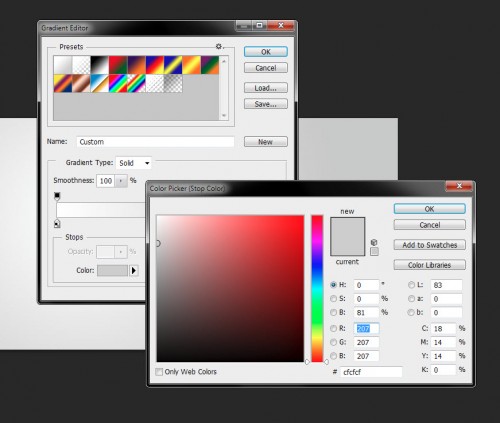
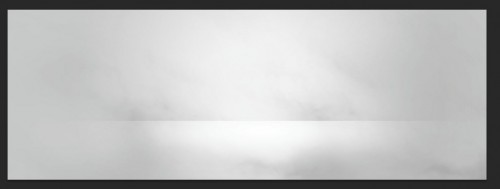
Create a new document sized 1100px *440px with white background, grab the Gradient Fill tool and set the option to "Radial Gradient", with the following colours:
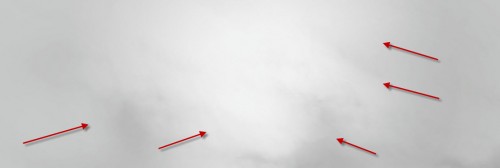
Fill the background layer as shown below with the above gradient:
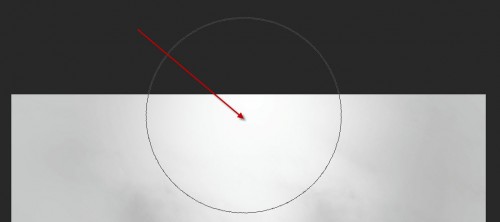
Create a new layer on the top and use a soft white brush to paint one single dot to the top edge of the canvas:
Compress it down with the free transform tool:
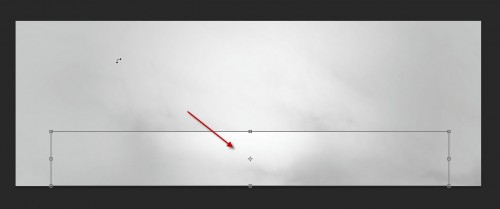
and you will have the following effect so far:
Step 2
We will now type some text onto the canvas, I chose the "Thick Chocolate" font which comes with Photoshop:

Selection this text layer with a selection tool:

Then move the selection over to the cookie stock image:
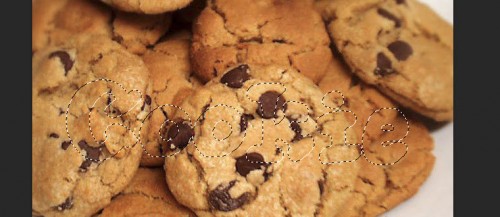
Copy and paste the selection over to our document, and hide the original text layer:
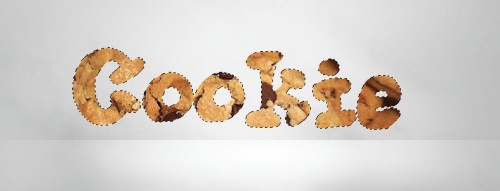
We can now go back to the cookie image again, use the quick selection tool (set tip size to 6px), make several small selections as shown below:
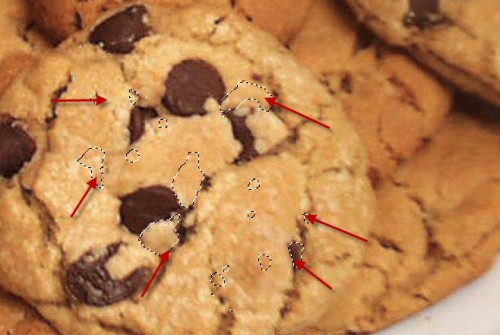
Add a layer mask to the cookie texture layer, then move those selections over to our cookie texture layer:
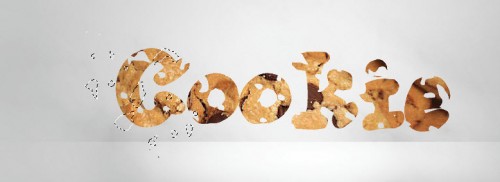
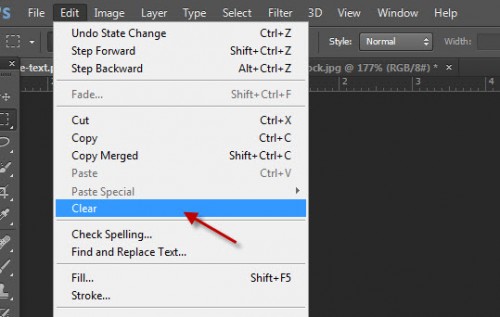
Click on the layer mask thumbnail on the layer palette to select it, then go to "Edit > Clear":
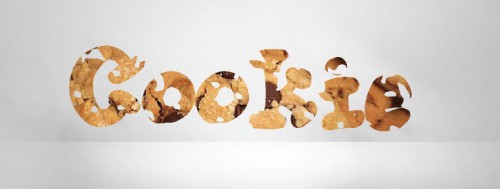
Repeat this step a few times and you will create a bitten effect for the cookie, as shown below:
Step 3
We will now add some layer blending effect to this texture layer to add some depth"
Bevel and Emboss
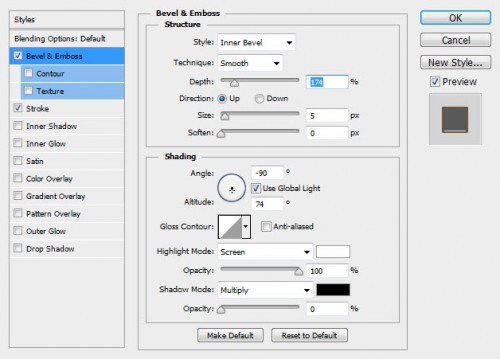
Stroke
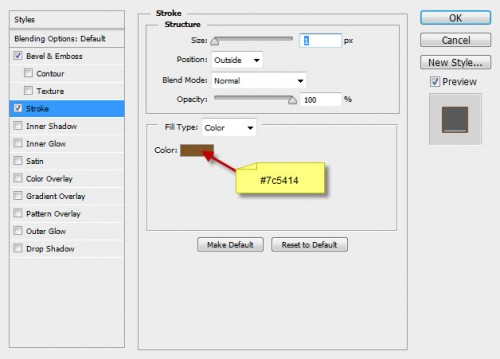
and you will have the following effect:
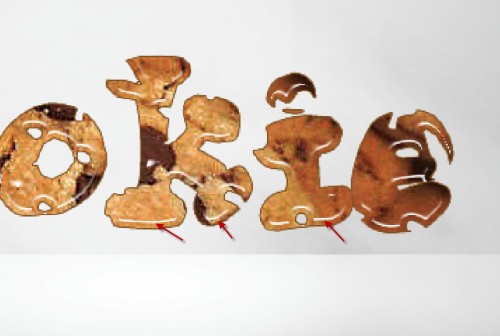
We can also add some small cookie pieces around the text by using our previous quick selection on the cookie image.
One thing you will find is that when you do a copy and paste, you will see the pieces are somehow linked by some unwanted lines, as shown below:
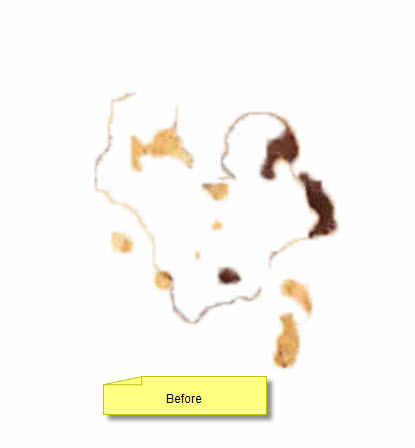
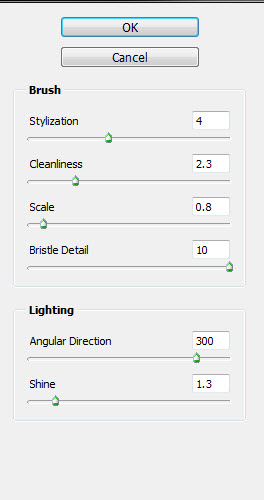
You can use the refine edge tool (Ctrl + Alt + R) to fix this, so let's apply the following settings:
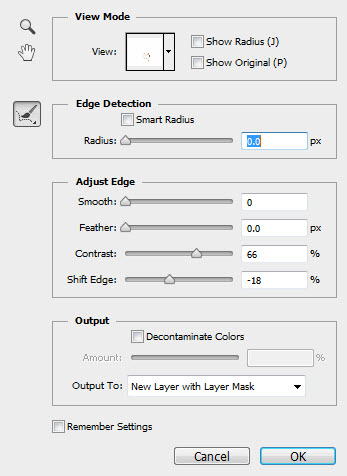
And you will have the following effect afterwards:
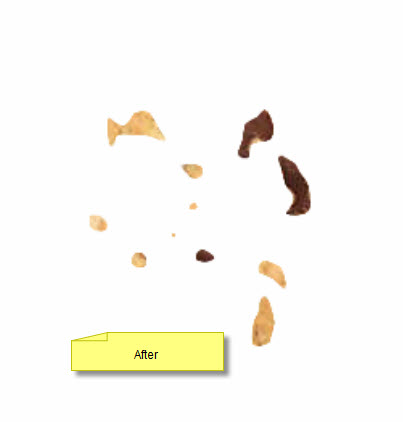
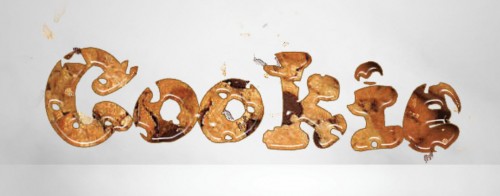
Add those small pieces around the text area:
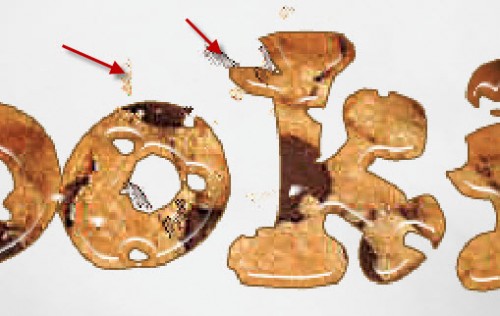
and here is the overall effect so far:
Step 4
We're almost done :) For some final touches, I flatten the image and duplicate the background layer, apply some Oil Painting filter effect (CS6 Only) to the duplicate layer and set the layer blending mode to "Soft Light":
Add some milk splash effect to the text by selecting the milk texture of this milk stock image:
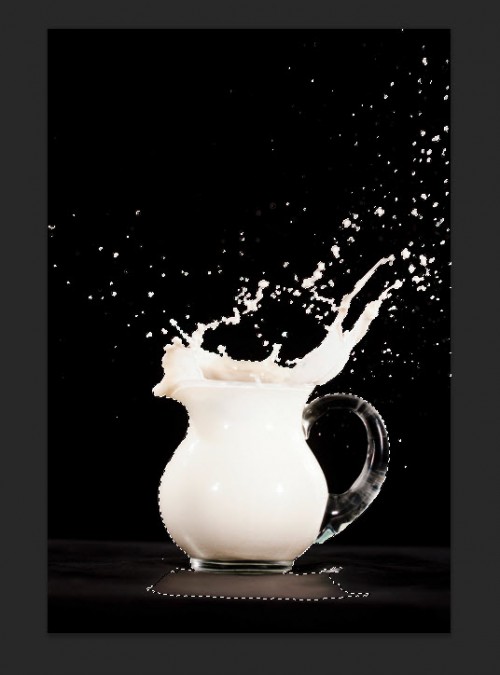
Copy and paste the selection over onto our document, and set layer blending mode to "Lighten":
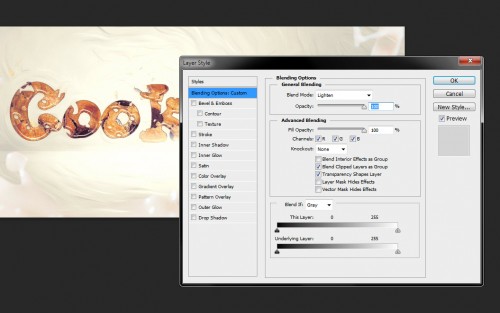
and you will have the following final image: (click to enlarge)

That's it for this tutorial! Hope you enjoy it and find it useful! Till next time, have a great day!
Copyright © . All Rights Reserved