Create Realistic Textures Using Lighting Effects
I'm sure you are all familiar with the standard Photoshop filter called Lighting Effects and its basic features. In this quick tip I'll show you how to create realistic textures using filter's Texture Channel option.
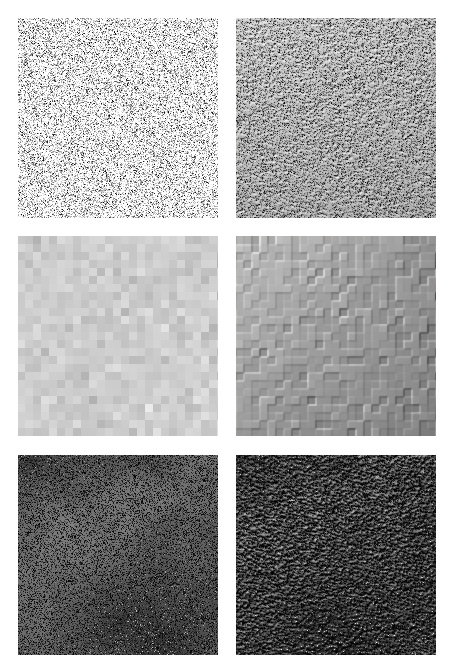
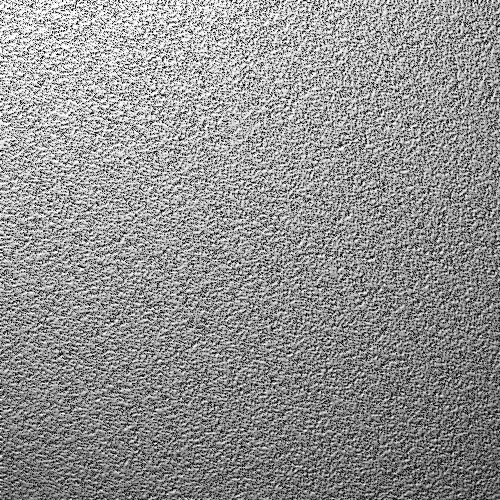
First, take a look at the texture examples that you can easily create in a matter of minutes. First column is the original texture and the second one is a texture with the Lighting Effects filter applied.
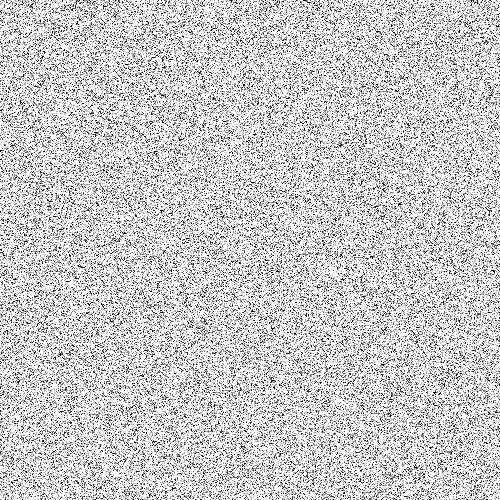
Create a new document with the dimensions of 500px by 500px and apply Noise filter (Filter>Noise>Add Noise) with the noise amount set to 50%.
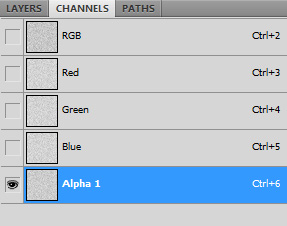
Now use command Select>All (Ctrl+A) to select and copy (Ctrl+C) your entire layer. Then go to Channels palette and create a new channel. Default name should be "Alpha 1", you can leave it as it is. Next, you need to paste the layer you copied earlier into this channel, in order to do that you can simply press Ctrl+V. Great, now we have our texture channel ready.
Let's apply the Lighting Effects filter now.
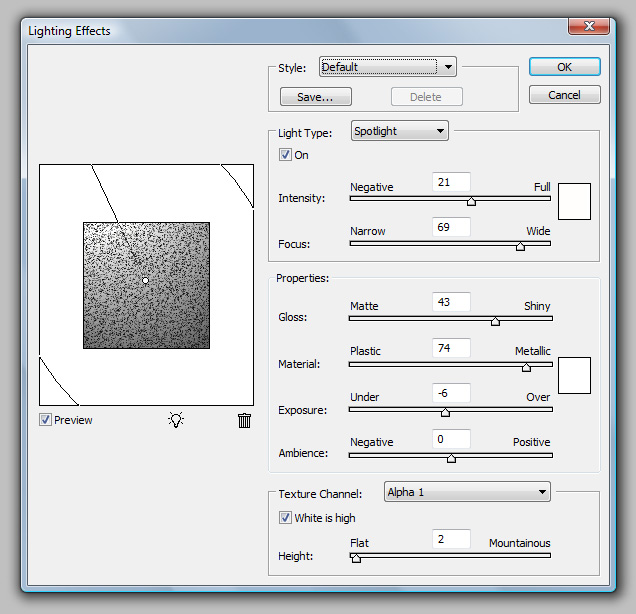
Go to Filter>Render>Lighting Effects, that'll launch the Lighting Effects dialog box. Enter the following settings (make sure you selected the Alpha-channel you created from the Texture Channel dropdown menu):
That's it, now you have your realistic-looking texture. Experiment with different settings for this filter and I'm sure you'll get some interesting results. Also, try to combine different filters while creating your map for the texture channel (Noise, Different Clouds, Motion Blur etc.).
Copyright © . All Rights Reserved