Painting A Spaceship Hull Texture
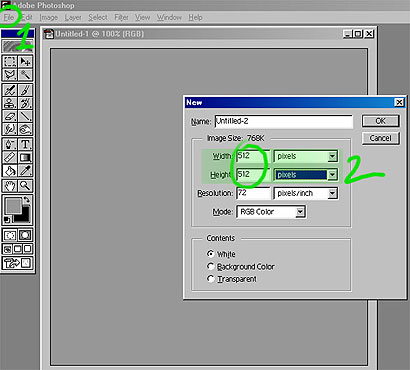
1. First thing to do is OPEN a new image, 2. Set the size to 512x512 pixels as shown then fill it with a mid grey.
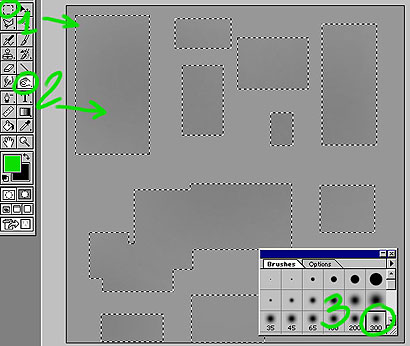
This is the basic technique 1. Use the RECTANGLE SELECTION TOOL and holding "SHIFT" put in a bunch of rectangles, 2. Using the DODGE AND BURN TOOL and 3. A large brush darken the selections a little bit.
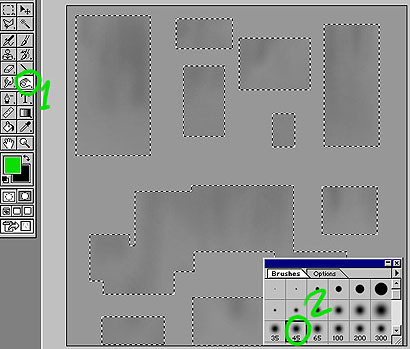
1. Using the D n B TOOL as shown and 2. A smaller brush size add in some darker areas, generally dirty it up a bit...
Now INVERT SELECTION so with have everything around selected and do some more D n B 'ing HOLDING "ALT" to lighten things and without to darken as usual!
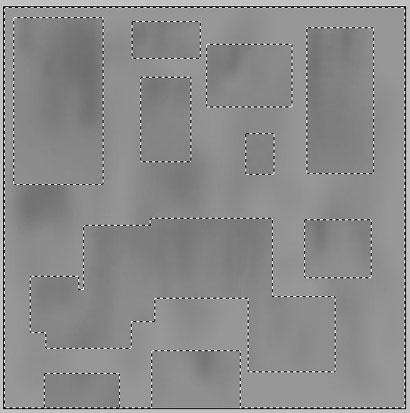
Same process again, select another bunch of rectangles HOLDING "SHIFT" to add to the ones already selected and do a bit more D n B 'ing. At this stage you can build up several or 20 layers of panels its up to you, I've just done it quickly here as an example...
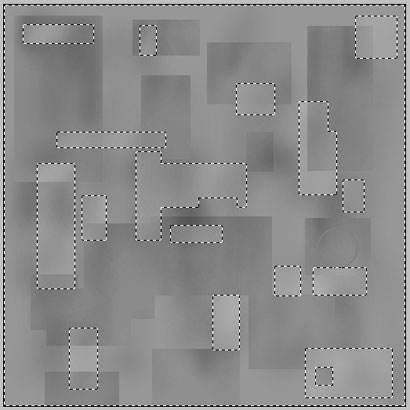
1. Still on the D n B TOOL 2. Using a small brush now and HOLDING "SHIFT" it allows you to draw horizontal or vertical lines, so add in some lines to break up the panels a bit, also add some more dirt etc using various size brushes and the D n B TOOL.
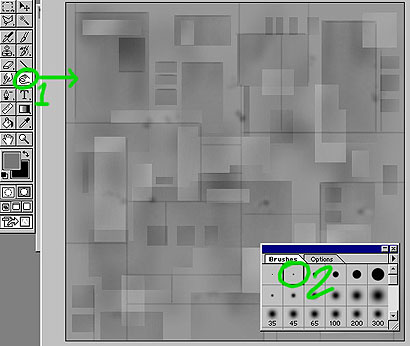
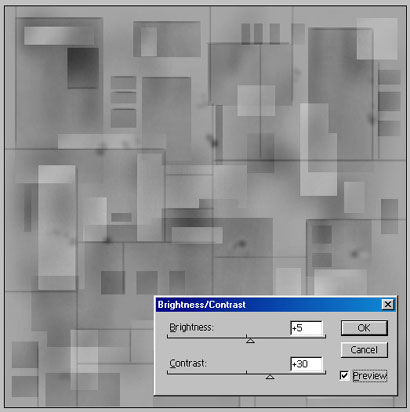
Also from time to time its worth upping the brightness/contrast to bring out some of the details etc a bit better!
Aaaaaaaah, what the hell is that? ;-)) I like to mix in various phototextures in various layer modes to get that dirty look...see next step!
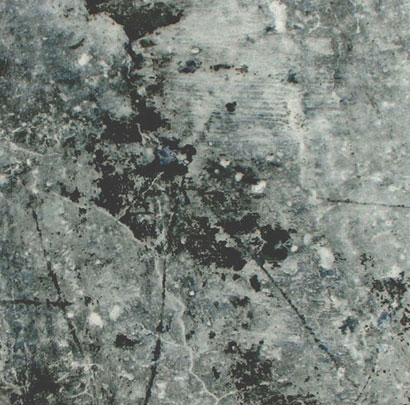
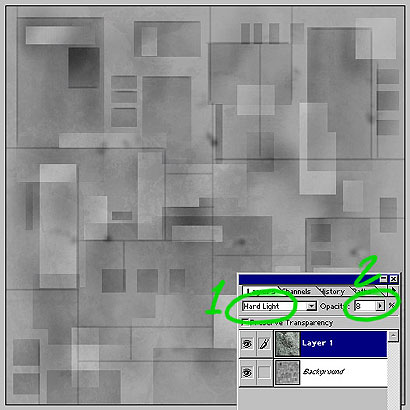
1. Paste the photo texture into a new layer and set the layer to HARDLIGHT (or something else...experiment) and 2. Lower The opacity to 8% just to get that hint of dirt showing through.
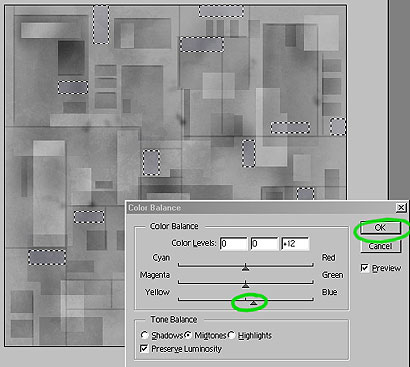
One way to add a bit of colour is to select a few more rectangles and use COLOR BALANCE to add a litte colour....OR...
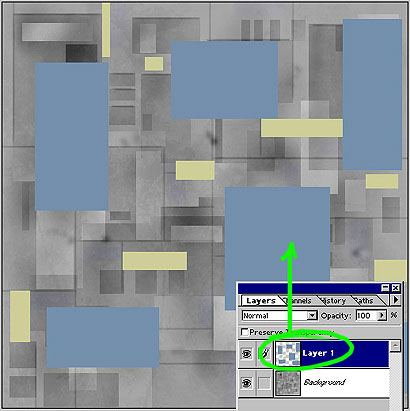
The other way is to create a new layer and fill a few rectangles with colour and...
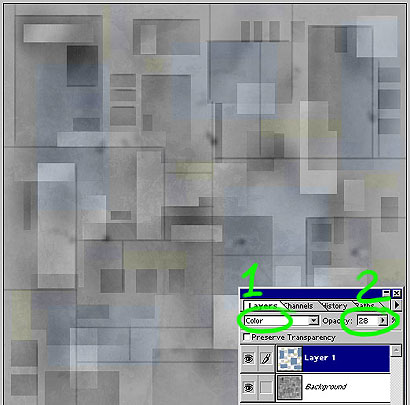
...Change the layer settings to COLOR and the opacity to 28% or something so you get that tinting type effect as you can see!
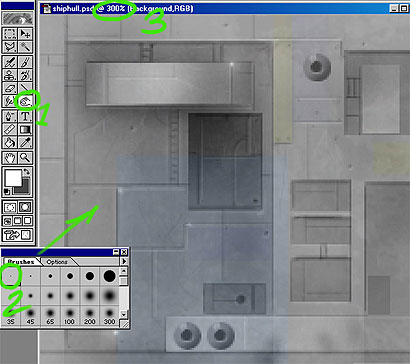
1. Back to the D n B TOOL and 2. A small brush 3. Zoomed in to 300% and start adding various lines, dark and light using "SHIFT" to constrain it to verticals etc. At this point its up to you how detailed you go, you can use things like the MOSAIC filter on a layer above to get various panels as well, but I spent and hour or so detailing the whole thing by hand...
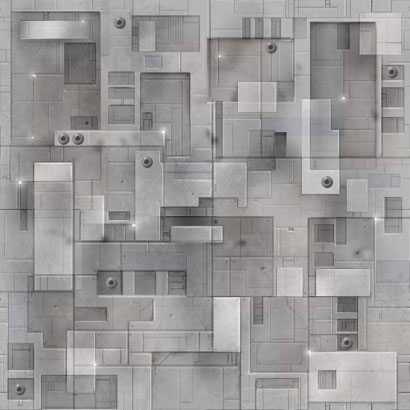
Here is the finished 512x512 texture, Feel free to use it however you like, add colour/stripes/darken it/lighten it etc. One other note is I OFFSET it 256x256 pixels and painted out the seems before OFFSETing it again to make sure it TILES. Good luck and have fun!!!
Copyright © . All Rights Reserved