How do I Get Photoshop Layers to Appear in Illustrator?
Because both Photoshop and Illustrator have layers, it only makes sense to want to use layers from one product in the other one. It's nice to be able to manipulate individual layers from a Photoshop image in Illustrator, so you can make adjustments on a portion of an image. Before you embark on this, however, keep in mind that a few things in Photoshop won't work properly when you open a Photoshop layered file in Illustrator, including Layer Effects, Adjustment Layers, and Blend Modes. If your Photoshop file has these, you'll want to either flatten the image in Photoshop—or at least those effects—before bringing the file into Illustrator.
To open layers of a Photoshop image in Illustrator:
In Illustrator open your Photoshop file by using File > Open. Note that you cannot Place a Photoshop file with layers into Illustrator, you can only open it.
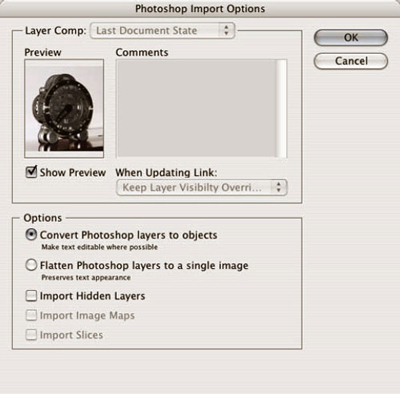
STEP 1 Import to Photoshop
In the Photoshop Import Options dialog box that appears, choose the Convert Photoshop layers to objects option.

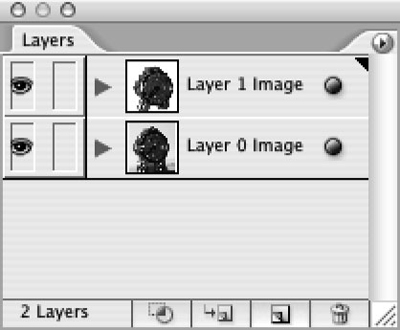
STEP 2 Illustrator Layers
In Illustrator's Layers palette, each Photoshop layer will be a different object

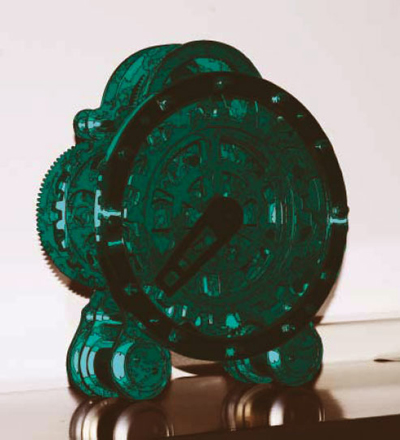
STEP 3 Imported Image
After you have the image in Illustrator in separate layers, you can do all sorts of interesting things with it. The image as it appears in Illustrator initially is shown in the figure above.

STEP 4 Changing Color
The image above was created by tracing the top layer (which contained just the clock), colonizing it slightly, and adding a stroke to the traced pieces.

Courtesy of Layers magazine.
Copyright © . All Rights Reserved