Angelina Jolie as a Na'vi from Avatar Movie
Pupil Size
Select the Pen tool 
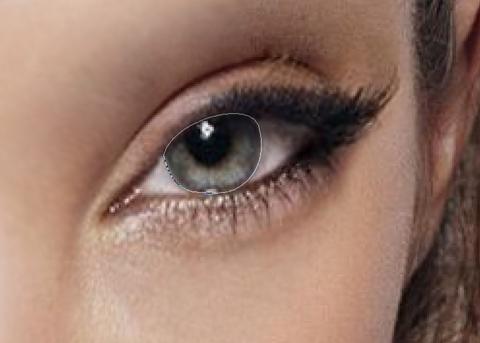
Right click in the selection and select "Make Selection�????�???�??�?�¢?�????�???�??�?�¦".
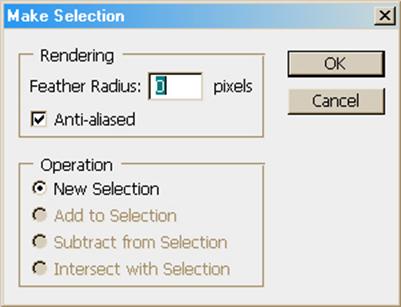
Click OK. Ctrl+C then Ctrl+V to copy and paste the pupil as a new Layer.
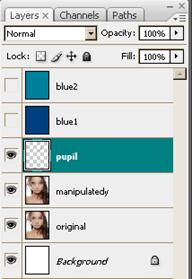
Edit>Free Transform or Ctrl+T. Select the top middle of the Reference Point Location and blow it up to 150%

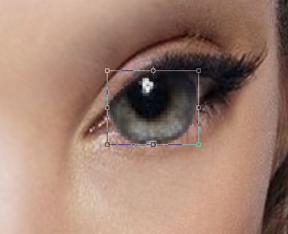
Close the Free Transform Tool. Nudge the pupil so that the light spot is in the same place. Just try to make it look natural.
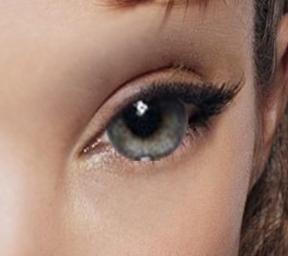
Repeat with the other eye. And then merge the two eye layers together.
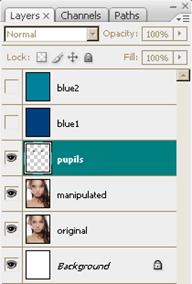
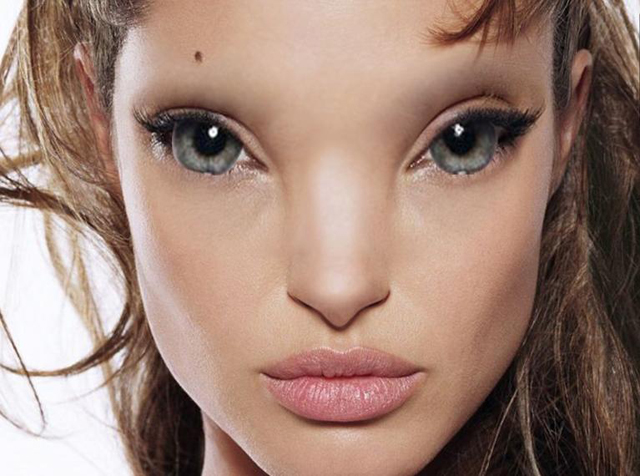
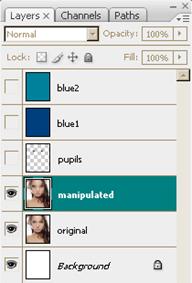
Select the Manipulated Layer and turn the Pupils Layer off
Filter>Liquify. Uncheck "Show Backdrop" and adjust to the settings show below. The Brush Size should have a similar size relation to the eye as what I have. Select the Bloat Tool and slightly bloat the eye so that the bottom half is a little fuller, trying not to affect the upper lid.
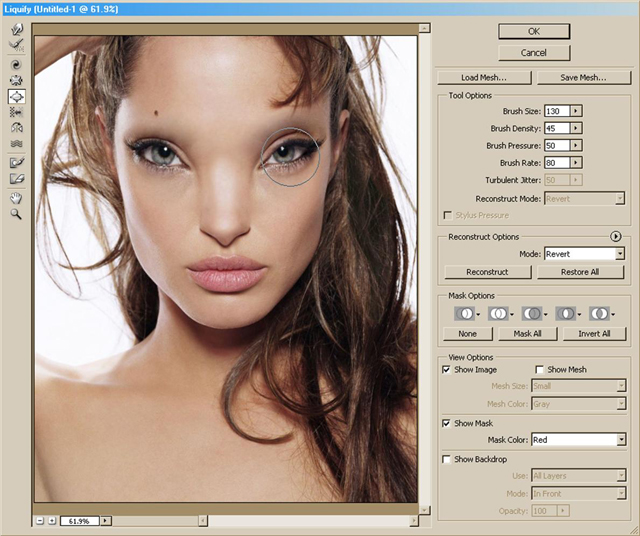
Click OK. Turn the Pupil Layer back on. See the slight bubble on the lower lid?
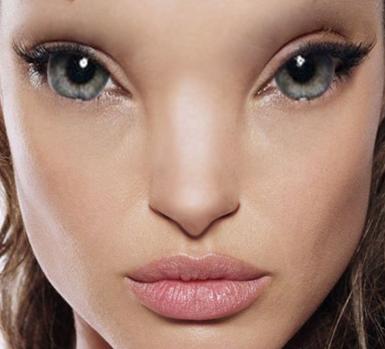
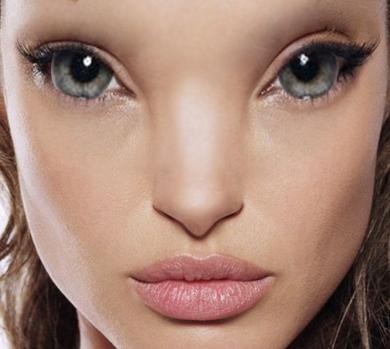
Erase the excess Pupil.
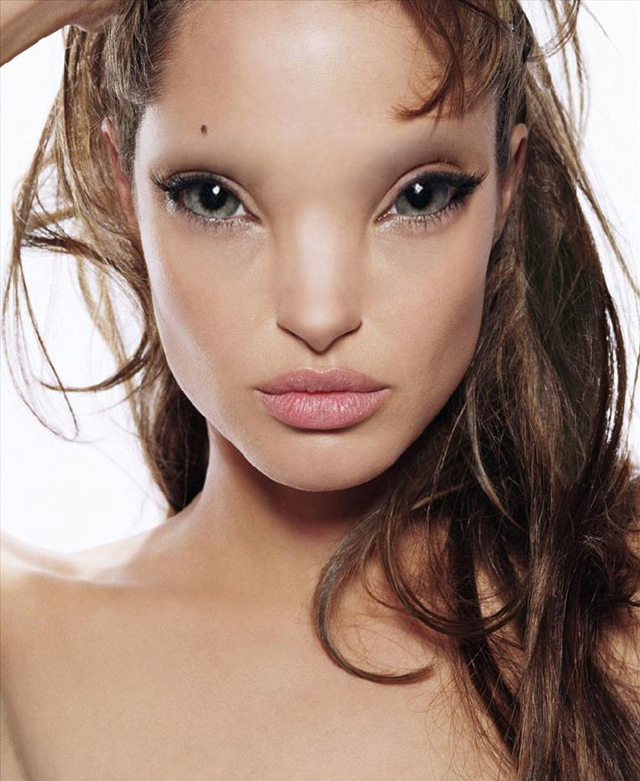
Pupil Color
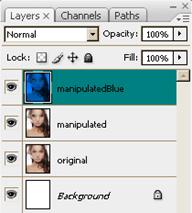
Duplicate the Manipulated Layer. Select the Manipulated Copy Layer, hold Shift, and select the Pupils, and both Blue Layers. Ctrl+E.
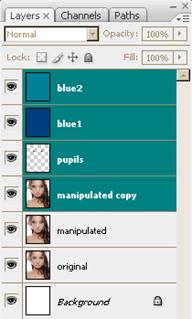
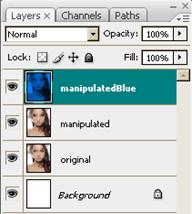
You should now have the Original image, a Non-Blue Manipulated image, and the final Manipulated image with the blue skin. I renamed the newly merged Layers to manipulatedBlue.
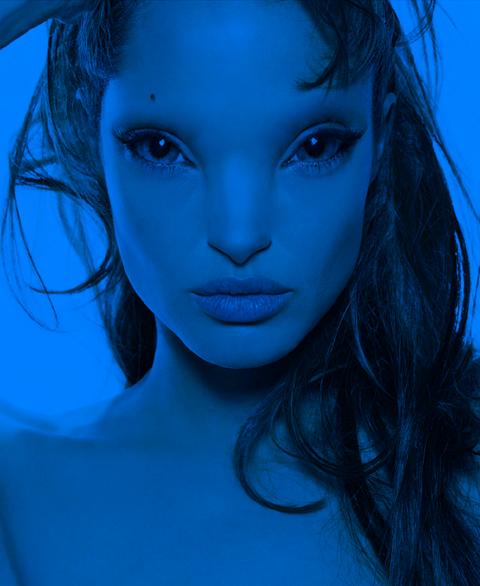
Still on the manipulatedBlue layer, erase the Pupil and the part of the eye ball that is in the outer corners with a Soft Round Brush. Leave the inner corner blue.
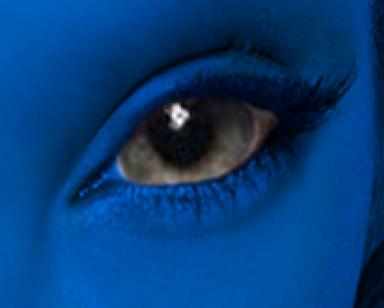
Make a New Layer, using the Paint Brush tool 
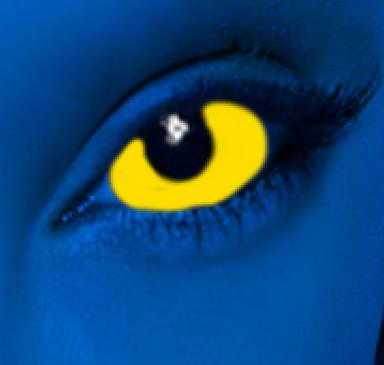
Change the Layer's Blending Mode to Overlay

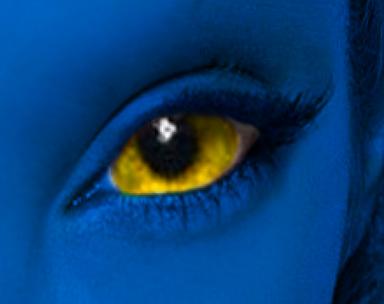
Repeat for the other eye. I lowered the opacity of the yellow layer so that it isn't so saturated. Adjust the layer as you see fit.
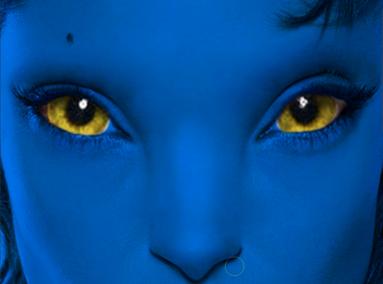
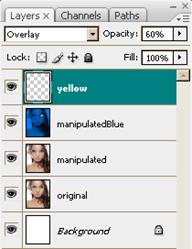
Duplicate "manipulated" layer, and merge with manipulatedBlue and yellow Layers.
I outlined the eyes, crease, and Iris a bit with the Paint Brush (using black color) so they looked more defined.
Before

After

Still on manipulatedBlue Layer. Use Eyedropper tool to select a green color (I'm using ##095605). Select the Paint Brush tool 


Select Smudge Tool 
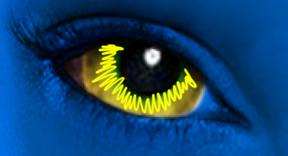

Select the Burn tool 


Select the Dodge tool 


Still using the Dodge tool, make a few speckles in the inside corners of the eyes.

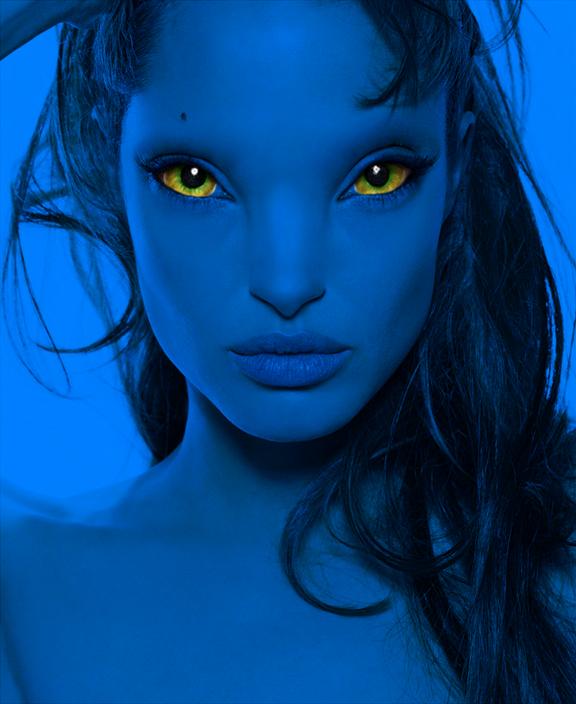
Select the Smudge Tool 


Select the Dodge tool 

And lastly, select the Paint Brush tool 

Lips
Select the Burn tool 
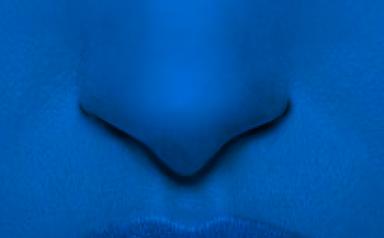
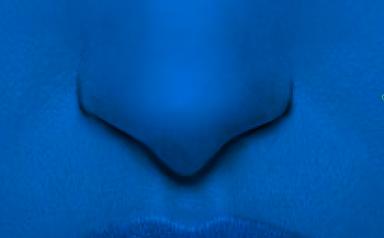
I also used the Clone tool with Opacity set to 10% and lightened the bottom of the nose a bit by selecting the area of skin right below the nose, and stroking along the dark areas.
Select the Burn tool 


Select the Smudge tool 

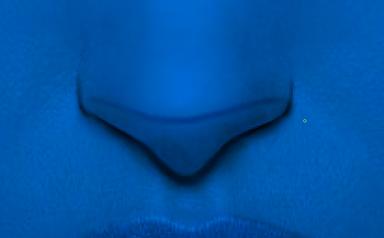
Create a New Layer, Select the Paint Brush 
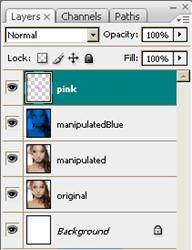
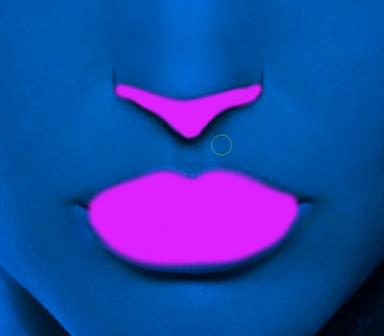
Change the Layer Blending Mode to Color. Go to Image>Adjustments>Hue/Saturation or press Ctrl+U. Adjust the color to what looks right to you.

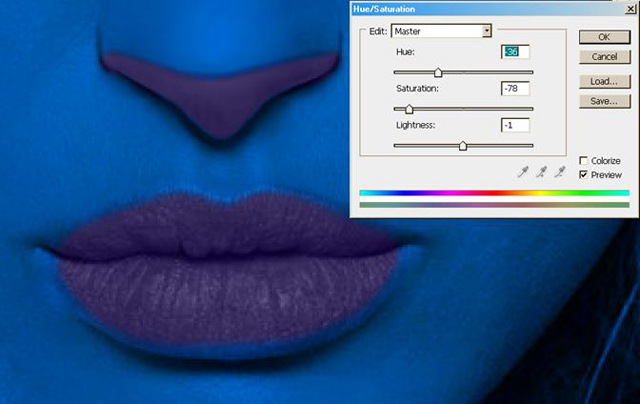
Lower the Layer Opacity to 75%. Select the Eraser Tool 
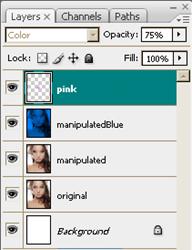

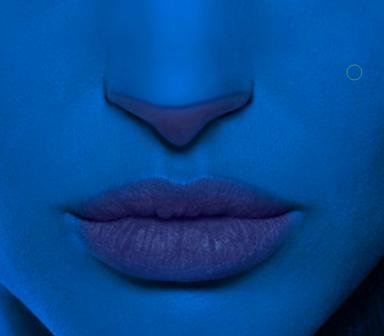
If the lips have lip gloss or lipstick: I suggest taking some of that shine away.
On the manipulatedBlue Layer, use the Eyedropper tool to select the color Blue used on the skin. Select the Paint Brush tool 
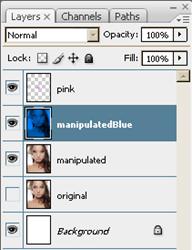

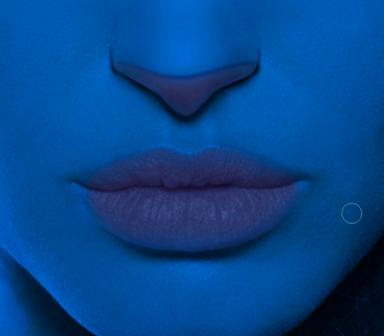
Select the Burn tool and with the following settings, darken the darkest area of lips (where the lips meet) to put the contrast back in.

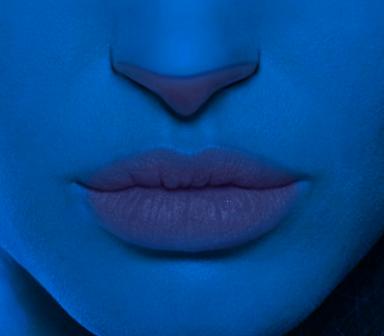
Create a New Layer, Select the Paint Brush Tool, lower its Opacity and paint the lips where the light hits the outer edges with White
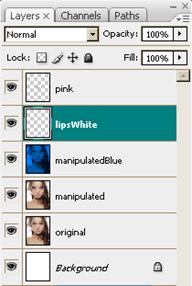

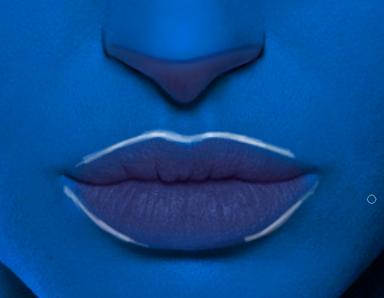
Lower the Layer Opacity and Fill. Use the Smudge tool to smudge along the contours until you reach a desired look. Change the Layer Blending Mode to Overlay

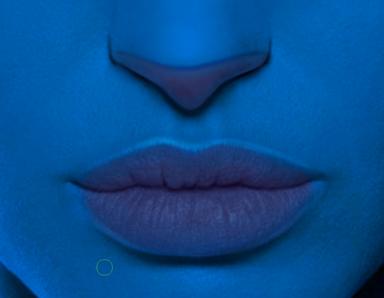
On the manipulayedBlue Layer, select the Dodge tool and put in just a couple of little highlights.
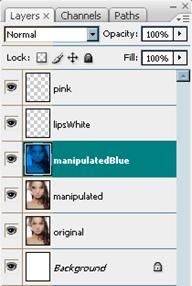


Select the burn tool, and with the settings below, darken some of the creases in the lips if you want more contrast.

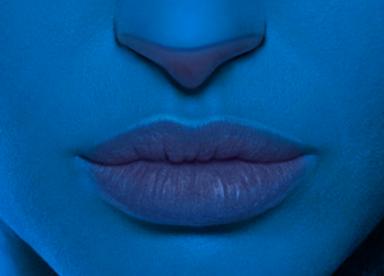
(I changed my skin tone slightly while I was working. I did this by going to Hue/Saturation)
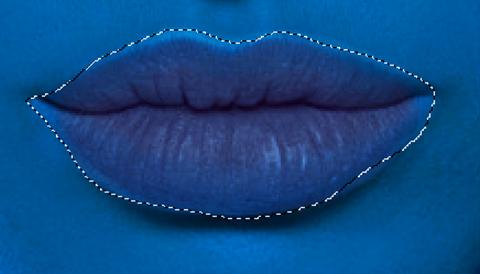
Select the Lasso tool and select the lips
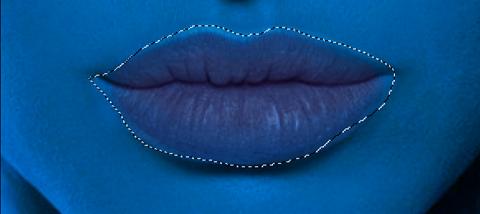
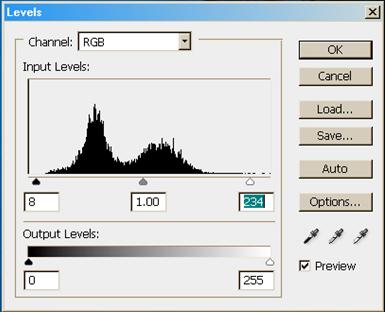
Go to Image>Adjustments>Levels or hit Ctrl+L and adjust the contrast slightly.
Nose Tip
Select the Burn Tool, make a crease in the center of the nose. Also burn the bottom of the nose to deepen it.

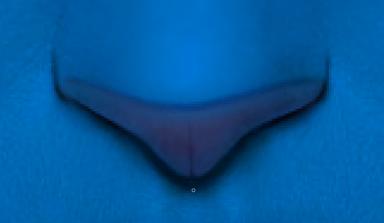
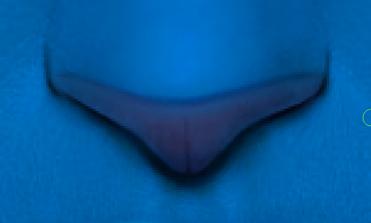
Use the Dodge tool at a low opacity to make little highlights on each side of the crease. I made more detail with Clone Tool as well.
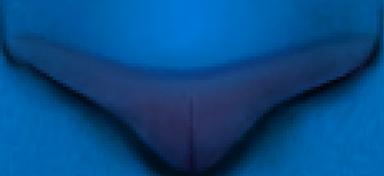
Create a New Layer. Select the Paint Brush tool. Locate the Skin Brushes you loaded earlier and select the one that says "330". Lower the Opacity to 50%, Select a dark blue color (I'm using # 08213e) and click once on each side of the nose.
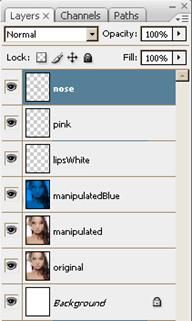

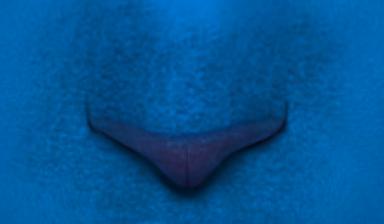
Erase everywhere except for where the pink is.
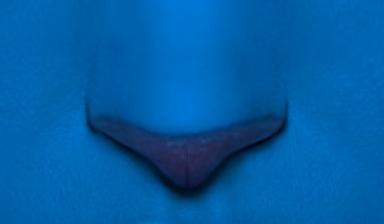


Make a New Layer, select Paint Brush tool. Locate the Skin Brushes and select the fourth one. With a Light Blue color (I'm using #008fff) click once on the nose.
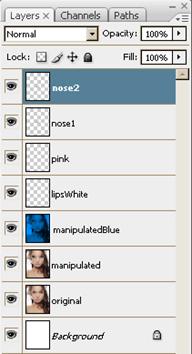
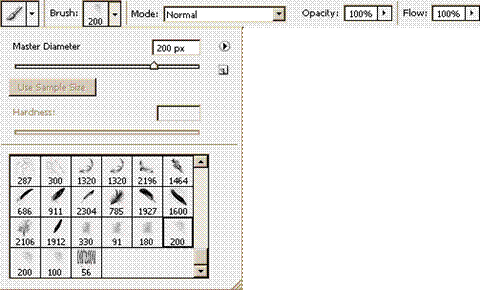
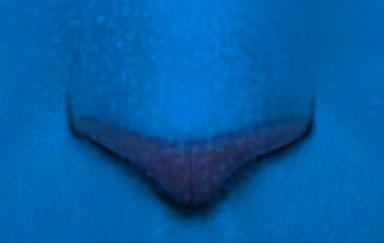
Erase everything but the pink.

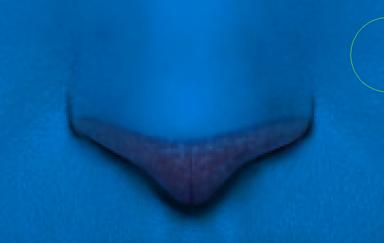
Carefully erase around the outsides of the nose so there are more speckles towards the front of the nose.


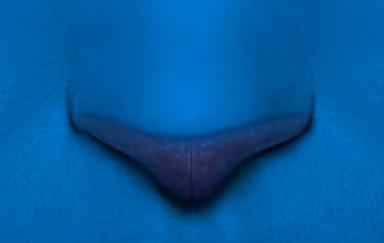
Continue to mess with the nose until you are satisfied. I went back to manipulatedBlue and used the Burn tool to make nose a bit deeper.
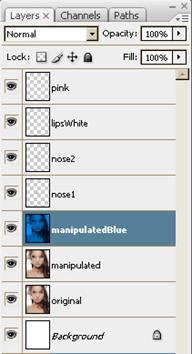

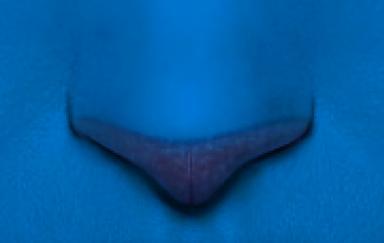
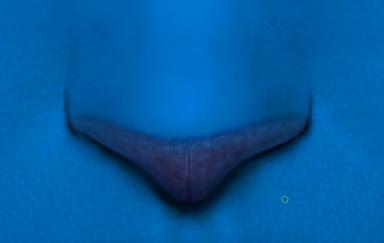
Go back to the Nose1 Layer (the DARK spots) and change the Blending to Overlay
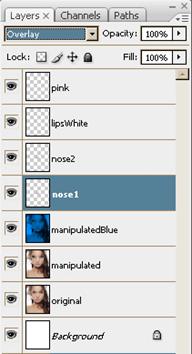
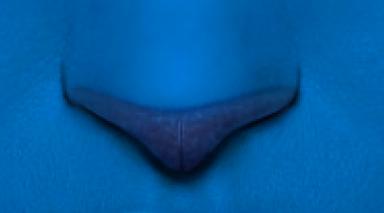
Adjust both the Nose layers until you arrive at a look that seems natural. Select the Smudge tool and with these settings, define the nose if you need to.


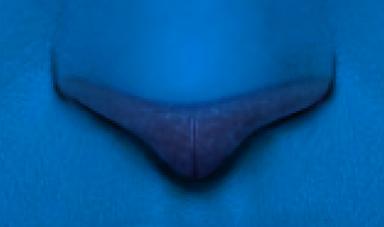
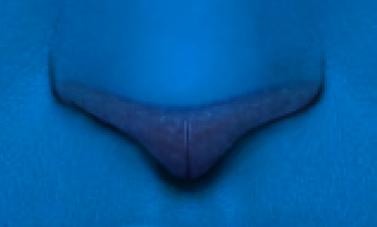
Keep adjusting until you find a look that you agree with.
<< Previous page �?????�????�???�??�?� �?????�????�???�??�?� �?????�????�???�??�?� �?????�????�???�??�?� Next page >>
About the author
Copyright © . All Rights Reserved
