Drawing Unique Christmas Decorations (Exclusive Tutorial)
First create a new file ( File>New ) of 1280x1024 px and 72 dpi. Create a new layer. Take a Gradient Tool (G) and apply the following settings:


Create a new layer. Select Brush Tool (B). Download these brushes: snowflakes, stars and starburst.
For the start select star brush and set the following settings:


Also set the foreground color to #A47957, make layer's fill 70% and add Inner Glow:

Next use this brush on the new layer and you will get something like this:

Choose the brush form snowflakes brush set and some brush from starburst brush set and repeat this process again.
This is my result so far:

Next create a new layer.
To draw swirls you may use the Pen Tool (P) or choose the simplier way. Download this custom shape set. Draw one of the swirls.

Set the next layer's patameters: Blending Options > Gradient Overlay

This is my result so far:

In the same way and with other variation of the custom shape create some more swirls. The parameters of the layers are the same.
You should get something like this:

Create a new layer. Place it under "swirls" layers and choose Brush Tool (B). Make the opacity on 35% and set the foreground color #8D0102. Choose some swirls from sturburst brush set and place them at the top and at the bottom of the main swirls silhouette. You will get something like this:

Create a new layer set and name it "ball". Then create a new layer. Make the foreground color #410E0C. Choose Ellipse Tool (E) and holding Shift draw the circle:

Create a new layer, press Ctrl+G. Make the foreground color #B9171B and choose Brush Tool (B) - Soft Mechanical Brush with diameter 150px.
Use the brush on our circle:

Create a new layer, press Ctrl+G. Make the foreground color white and again choose Brush Tool (B). This time we will be using Soft Mechanical Brush with diameter 40px.
Make these shapes on the ball:

The layer's parameters: Fill 19%. Next choose Smudge Tool (R) and make our blinks more realistic:

Create a new layer. Make the foregroung color #97794F. Select now the Rectangle Tool (U) to draw the top part of the toy decoration which shape may be corrected with the Convert Point Tool.

The layer's parameters: Blending Options>Gradient Overlay:

The same way like blinks on the ball create a blink on this part of the toy decoration:

Create a new layer with Fill 0%. Choose Ellipse Tool ( U) and draw ellipse.

The layer's parameters: Blending Options>Gradient Overlay:

This is my result so far:

Create a new layer. Select the Line Tool (U) and draw the thread of white color the toy hangs up with. Use the following settngs:

This is what you should get:

Create a new layer and press Ctrl+G. Make foregorund color #97794F. Choose Brush Tool (B) and select the figure you want to see like ths decoration of the christmas ball.

With the help of Perspective Transform we should get the volume effect. Next set Inner Glow settings:

This is my result so far:

Create a new layer. Press Ctrl+G. Choose Brush Tool (B) with opacity 20% and Soft Mechanical Brush with diameter 100px and make the back side of the ball darkish.

Go to the first layer of the christmas ball and set the following settings:
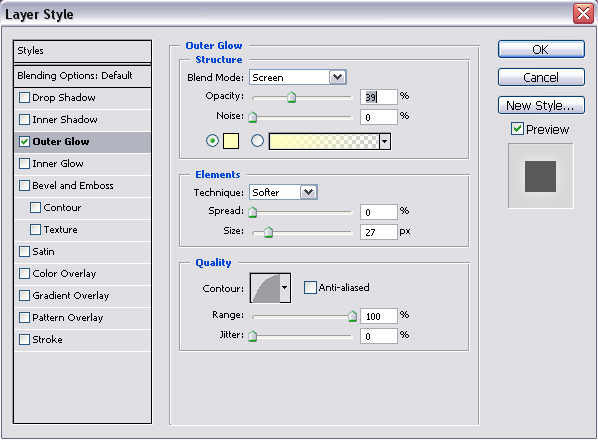

Copy the layer set "ball" 2 times and move the christmas balls to their new places.

Let's create a golden decoration athe top of the wallpaper.
Create a new layer. Set the foreground color to #936A0D. Use the Elliptical Marquee Tool and create an ellipse:

Next use these settings:
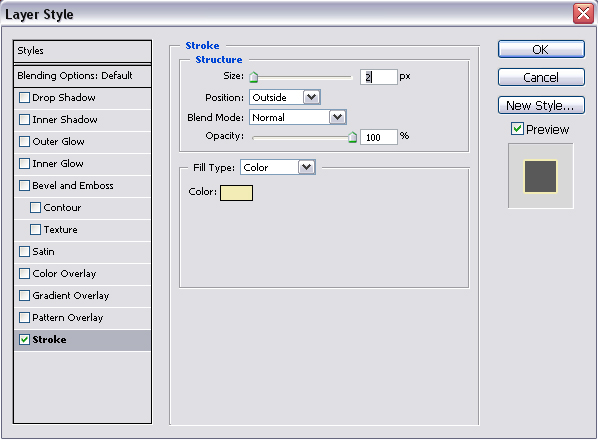
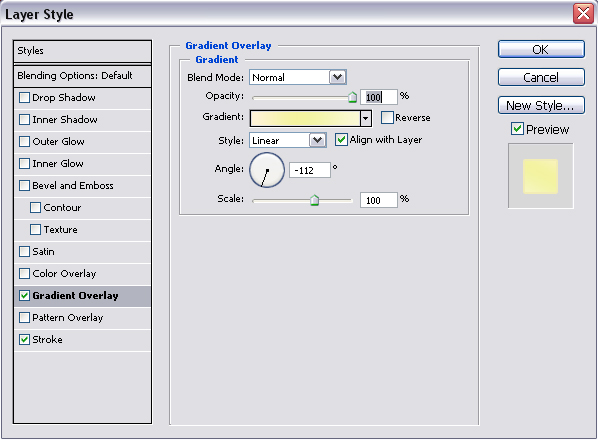
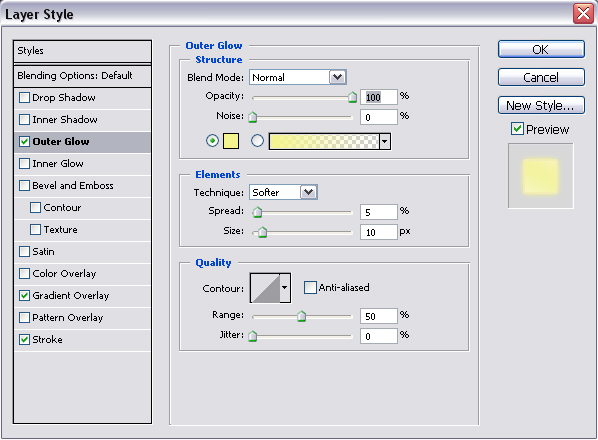
And this is my result so far:

Create some more decorations like this the same way:
This is the final result. Hope you liked this tutorial.
Copyright © . All Rights Reserved
