Easy Facial Retouch using Photoshop
This tutorial is an easy one, but very helpful! Wanna get more useful tutorials and freebies? Subscribe to our newsletter!
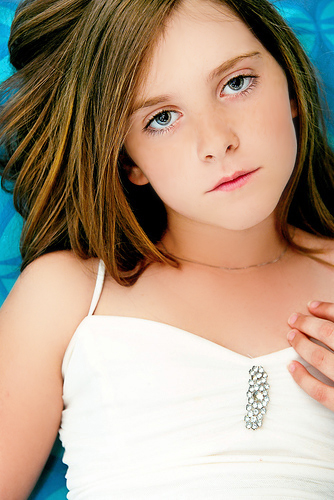
1. Open a picture with a person. I had chosen the next image which belongs to sesame ellis flickr.com ).

2. Now we will have to select the face, neck and arms of the person. I did the selection using Quick Mask.

3. Select Brush Tool and start to paint with a brush until you cover the girl`s face, neck and arms.
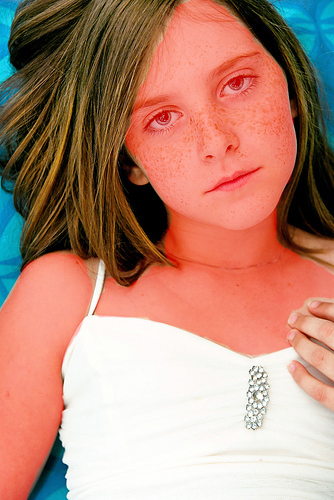
4. Select Eraser Tool and erase some parts of the quick mask, just like I did in the next image
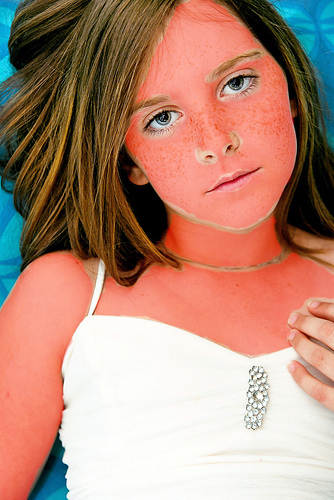
5. Click on the same button you did on the step two, to enter in the normal mode. Go to Select > Inverse, then press Ctrl + J to make a new layer from the selection.
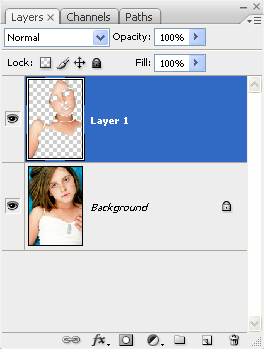
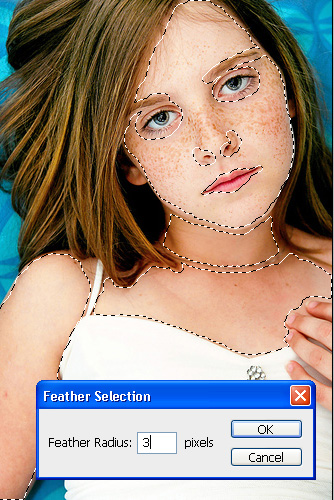
6. Ctrl + Click on the layer 1 thumbnail to select it, then go to Select > Modify > Feather and add a radius of 3 pixels.
7. If you have Photoshop CS3 you can convert this layer intro a smart object to be able to modify the filters we are going to add. Go to Filter > Blur > Gaussian Blur and add a radius between 10 and 20 pixels. Set the opacity of this layer to 75%
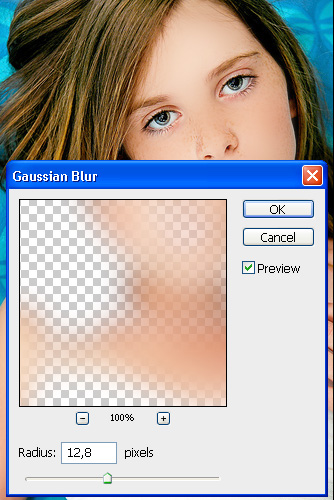
8. Duplicate the background layer, and move the layer above Layer 1.
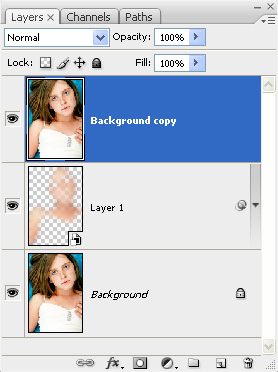
9. Go to Layer > Create Clipping Mask. Again, if you have Photoshop CS3 you may want to convert the layer intro a smart object. Go to Filter > Other > High Pass and use a value between 0,1 and 0,5. Set the bend mode for this layer to Linear Light.
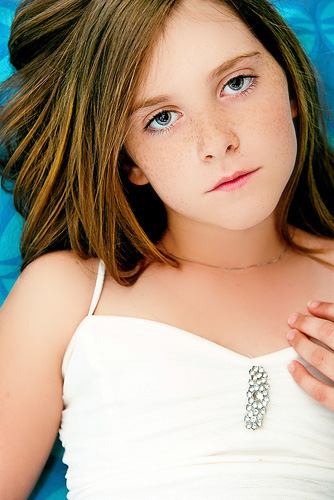
10. Go to Layer > Merge Visible to merge all the layers, then select Smudge Tool and use the settings from the next image to make the girl`s skin texture more uniform.
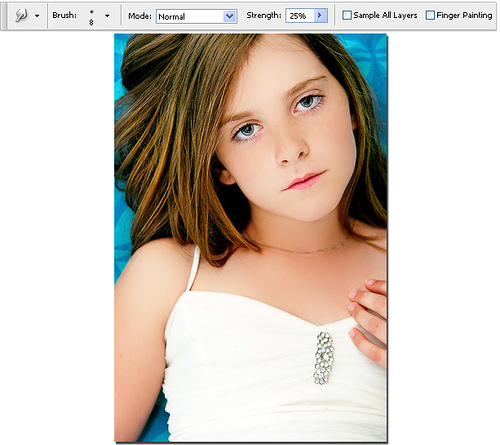
Final result:
Adobe Photoshop Books
- Adobe Photoshop CS6 Classroom in a Book
- Photoshop CS6: Visual QuickStart Guide
- Photoshop CS6 For Dummies
- Adobe Photoshop CS6 Digital Classroom
- Photoshop CS6: The Missing Manual
- The Adobe Photoshop CS6 Book for Digital Photographers
- Adobe Master Class: Photoshop Inspiring artwork and tutorials by established and emerging artists
Copyright © . All Rights Reserved