Four Easiest Ways to Create 3D Effect in Photoshop
3D effect is one of the main Web Design Trends in 2021, because it makes everything more lively and engaging. Plus, when visitors see this effect on your website, they automatically think that you’ve done a lot of work while creating it. But is making a 3D effect for your images and text really so hard? Let’s figure it out by trying to create it in different ways.
How to Make a 3D Effect For Your Text
1. Open Photoshop and upload an image you decided to be your background and type anything you want. What you need to do next is to click 3D on the top bar.

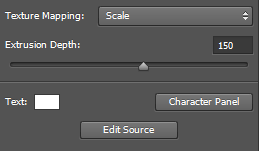
2. Click on the text you’ve typed and the Extrusion Depth will appear to the right. Change its value to 150 - that’s how we control the thickness of our text.
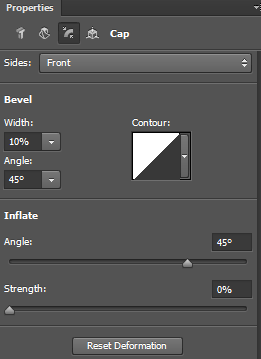
3. Press the Cap tab and change the Bevel Width value to 10%. Your settings should look like this:
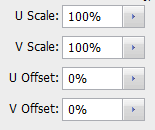
4. If you have to apply a certain texture to your text, upload it through the Diffuse icon in the Material section. Just click it and find Load Texture. Click the icon again and choose the option called Edit UV Properties. Make your U Scale and V Scale 100%.
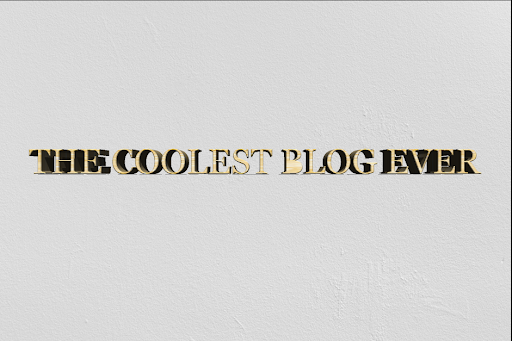
5. Apply the settings from step 4 for Front Inflation Material, Front Bevel Material, Extrusion Material, Back Bevel Material and Back Inflation Material. Here is an approximate result:
There is always an alternative
If you struggle to put the previous effect into practice or you simply don’t like how it looks, there is another option to make a 3D effect in Photoshop.
1. Open your background image. If it’s too bright for you, click Image, Adjustments and go to Hue/Saturation. Find the Lightness bar, play with it for a while and keep the best value.
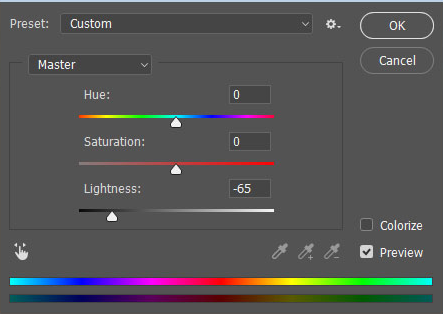
2. Type your text, click 3D on the top bar and choose New 3D Extrusion From Selected Layer in the context menu. Next thing you need to do is to visit the Properties panel and give any negative value to the Extrusion Depth.
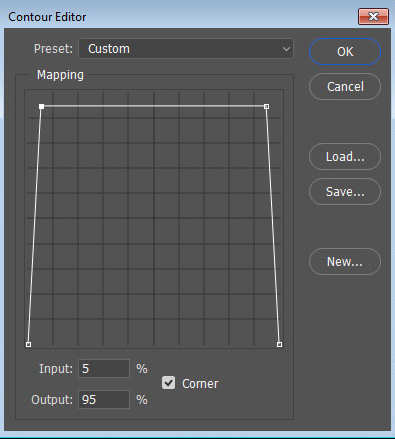
3. Move to Cap and visit the Properties panel. Open the Contour Editor and add two points on the diagonal line you see. Then, give the next values to these points - Input for the left point will be 5%, and Output will be equal to 95%, while values for the right point will be 95% both for Input and Output. And don’t forget to tick the Corner box! The whole thing should look like this:
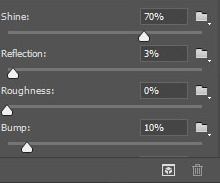
4. Now you need to change the Bevel Width and the Angle. It’s completely up to you how to transform their values. You can change Shine and Reflection as well to find the most suitable 3D effect.
5. As mentioned in the previous tutorial, you can upload any texture for your text through the icon Diffuse in Material section. Keep in mind that you need to change its UV Properties to 100%.
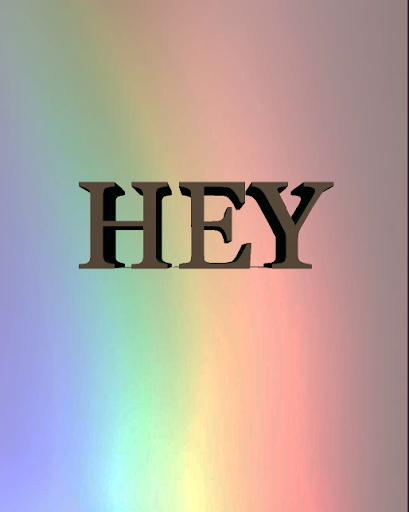
The job is done! Choose the variant you like the most and go make your masterpieces!
Easy Way to Create Anaglyph Effect On Any Image
Another 3D effect worth mentioning is Anaglyph. You’ve experienced this effect when you watched a 3D movie without special glasses (we all did it at least once, didn’t we?). This effect can look interesting and add something special to your website’s visuals. So, how to do a 3D Anaglyph effect in Photoshop?
1. First of all, you need to upload an image you want to transform in Photoshop. After doing so, you’ll see it in the Layers Panel (in the Background Layer, to be more specific). Next thing you need to do is to make a copy of your image. You can do this by creating a new layer and dragging the image there. The file named Background copy should appear.
2. Since you want to implement the effect we’re talking about, rename your copy to “3D” - it will be more convenient for you. Just highlight the old name, change it and click Enter if you use Windows or Return in case you use Mac. Look at the bottom of our Layers Panel. See this fx icon? That’s exactly what we need! Click it and you’ll be directed to the context menu. What we’re looking for is Blending Options - make sure that it’s ticked.

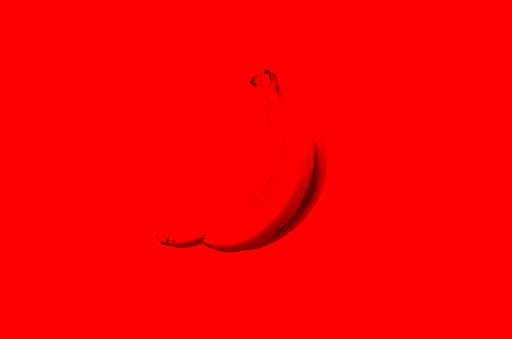
3. After that, go to the Advanced Blending section, and look for the word Channels. You’ll notice three letters near it - R, G, and B, which means Red, Green and Blue. You need to leave a tick only next to one color and press OK. When you come back to the picture, you’ll find that it’s all red, green or blue (depending on which color you chose). Click the empty box next to the Background Layer - the image’s original colors should come back.
4. Go to the Toolbar and find the Move Tool - you need to choose it to make your 3D effect. The icon of this tool looks like this:

I use Photoshop CS6, the appearance of the icon can depend on the Photoshop version you use.
5. Move your “3D” Layer with the help of arrows on your keyboard or your mouse until you get the image you like the most. You can add multiple layers and repeat the whole process as many times as you want - just unleash your fantasy!
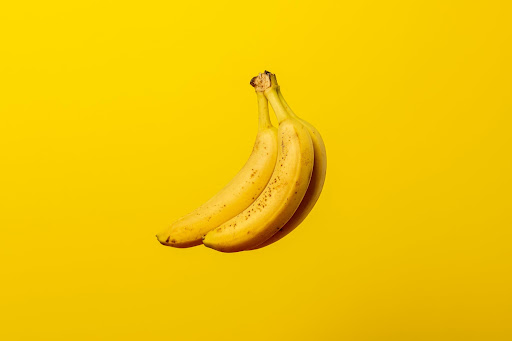

After
You did it! Now you know how to make 3D effects in Photoshop quickly, so go make your website look more fresh and catchy!
The Simplest Way to Create a 3D Text
If you don’t have Photoshop on your PC and don’t feel like downloading it, there is still a way to create a 3D effect on your text. Online editor Pixlr will help you with that.
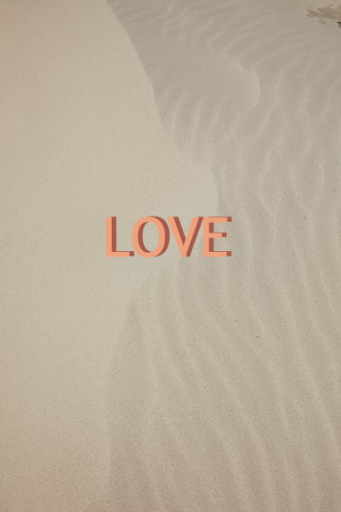
1.Upload a background image and type whatever you want. Then just copy a text layer.
2.Move the copy until you’re satisfied with the result and choose colors for both layers. And that’s it - now your text looks like it’s 3D!
So, you’ve mastered different ways to create various 3D effects, now it’s time to renew your website’s appearance. If you didn’t find a suitable option, you can check out other graphic editors like Adobe Illustrator. No matter what you choose, no doubt that it will look awesome!
Copyright © . All Rights Reserved