Photoshop halftone effects
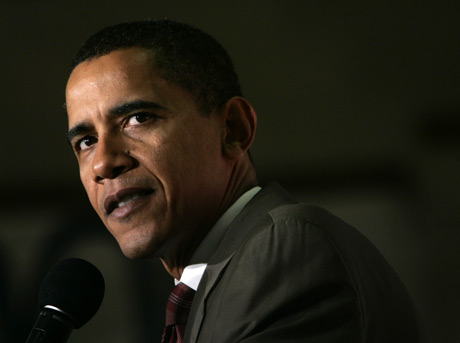
Step 1: The key to this technique is to pick a starting image with lots of light/dark contrast and a good amount of dark shadows. Depending on what use you have in mind for the final image make sure to choose a suitable size (width x height) file that is at least 200 pixels/inch (ppi).
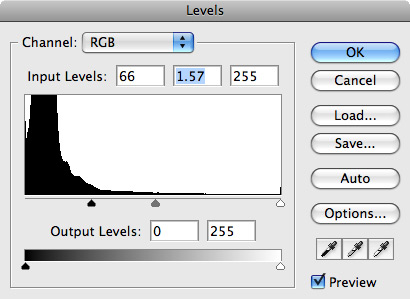
Step 2: Darken the image by adjusting the levels. Image > Adjustments > Levels (Command + L). As you will notice I only moved the left (black point) and middle (midtone) sliders. By moving the black point slider to the right I deepen the shadows by converting the darkest gray pixels in the image to black. By moving the midtone slider to the left I intensify the highlights by boosting the lightest (white) pixels in the image.
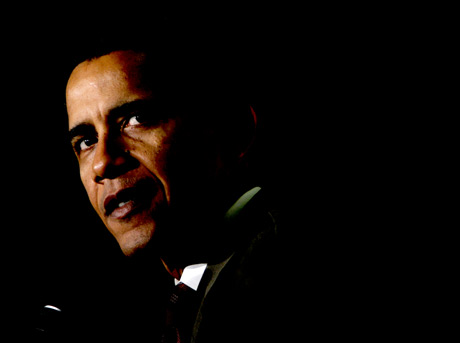
Step 3: Convert the image colormode to Grayscale. Image > Mode > Grayscale.
Step 4: Select the Pencil Tool (B) and set your foreground color to Black. Now paint over everything (microphone, neck, collar, tie, ear) except the main face highlights.
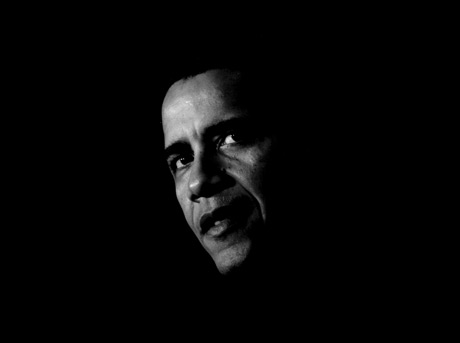
Step 5: Convert the image colormode to Bitmap. Image > Mode > Bitmap.
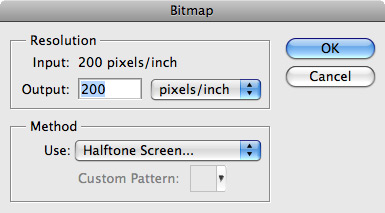
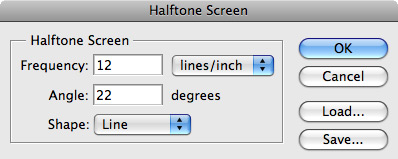

Step 6: Once again, convert the image back to Grayscale and leave the Size Ratio set to 1. Image > Mode > Grayscale.
Step 7: Finally, zoom in and clean up the messy edges by painting over them with the Pencil Tool (B) set to a Black.


Done...
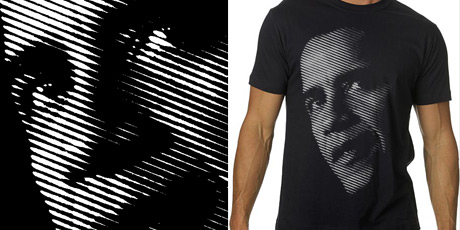
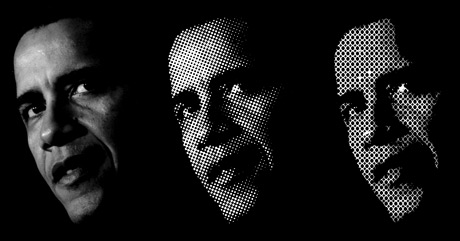
Extra: By changing the Frequency, Angle and Shape settings in the Halftone Screen dialog box you can create numerous looks that work well with a wide range of design projects. To get really creative try changing the Bitmap Method to a Custom Pattern of your own. Grayscale, Round Halftone Screen, Custom Bitmap Pattern using Obama "O".
Copyright © . All Rights Reserved