Angelina Jolie as a Na'vi from Avatar Movie
Face
There are several ways of handling this. I prefer contrast, and enjoy using the shiny skin of the Na'vi in all my manipulations. Their skin is smooth and slick�????�???�??�?�¢?�????�???�??�?�¦ reflecting a little more light than the human face.
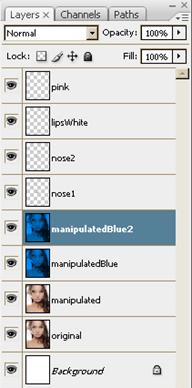
Duplicate the manipulatedBlue layer. Leave the rest of the layers as they are in case you want to change them later.

Select the Dodge tool, and with the settings below, put in highlights where the light touches reflects off the face. Adjusting brush sizes for the area your working on.


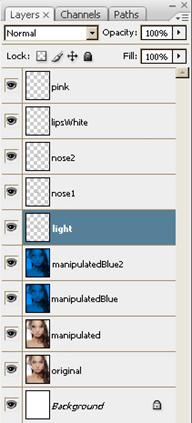
Create a New Layer. Locate the Skin Brush that says "330" and with White or a very light blue color, cover the whole face.

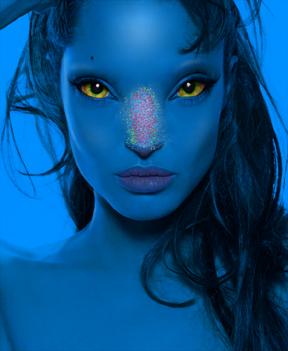
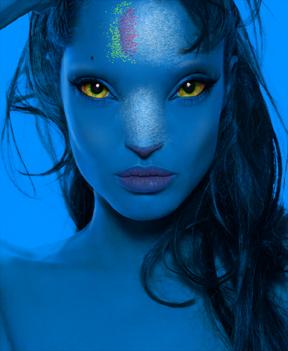
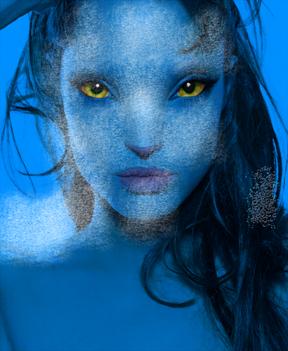
Erase Extra. Leave just enough to make it look like the skin sparkles when being hit by the light.

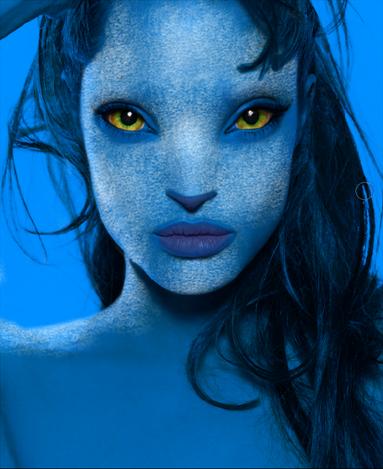

Using the Burn too with the following settings, go in and contour the face a bit. Make sure the sides of the nose are dark enough to suggest a bump.

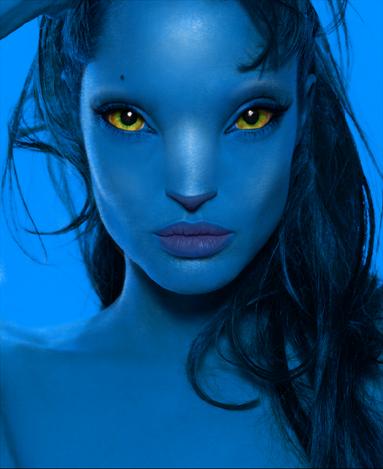
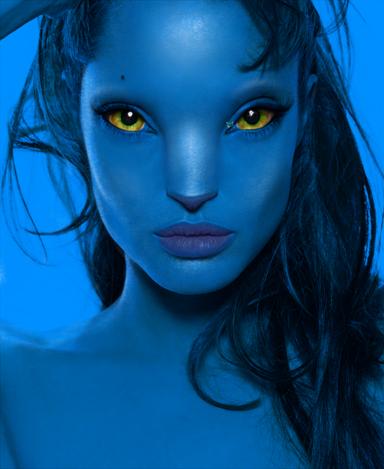
Eye Brows (Na'vi Style)
Remember that the Na'vi have very organic features. The eye brows taper at the ends, so no matter what your original eye brow shape is, try to keep in mind that the end should probably be pointy.
Create a New Layer. Turn off the "Blue" layers. Use the Pen tool to trace the Eye Brows. When the paths are both closed, right click and select "Make Path". Accept the default settings.
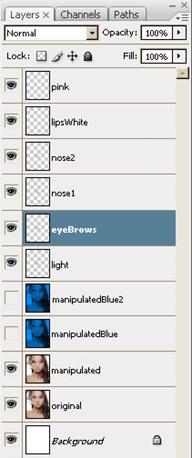

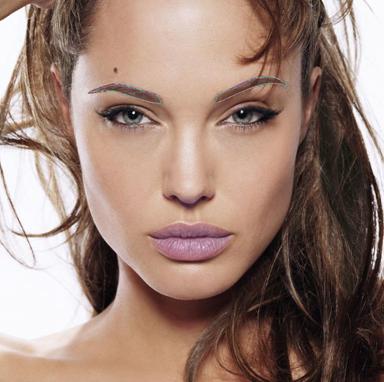
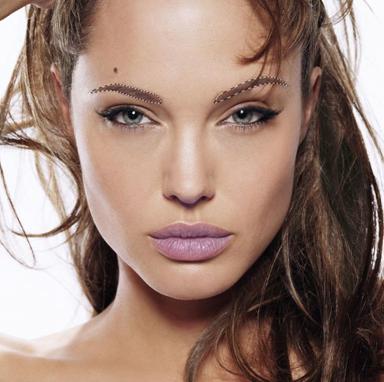
Turn the "Blue" Layers back on. Change the Layer Blending Mode to Overlay. Fill in the selections with a light blue (I'm using #8c9aed)
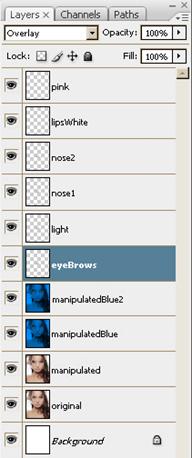

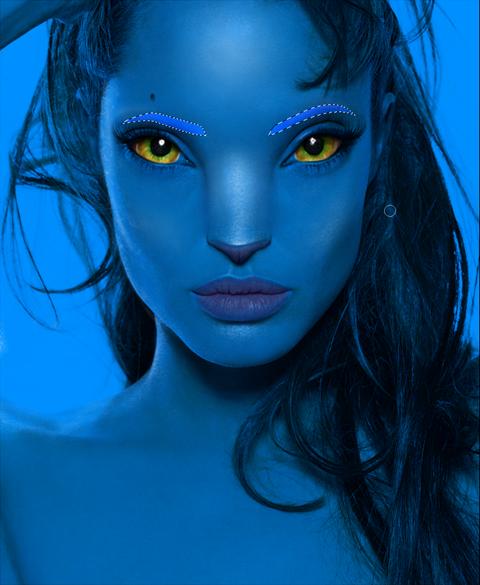
Open Image>Adjustments>Hue/Saturation or hit Ctrl+U and edit the Hue/Saturation to make them a dark blue
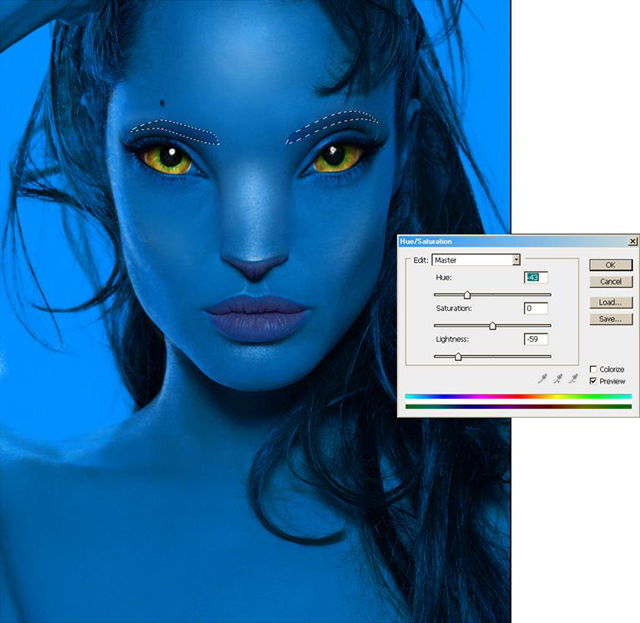
Press OK. Use the Rectangular Marquee tool to select one Eye Brow and move it up to where it would naturally be.

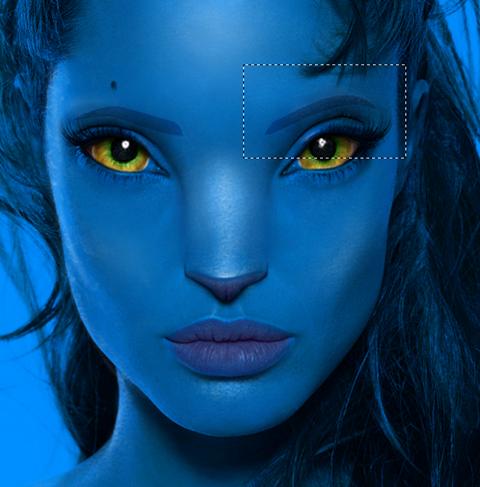


Repeat for other side.

Select the Smudge tool and with the settings below smudge along the outline of the eyebrows as seen in this example:
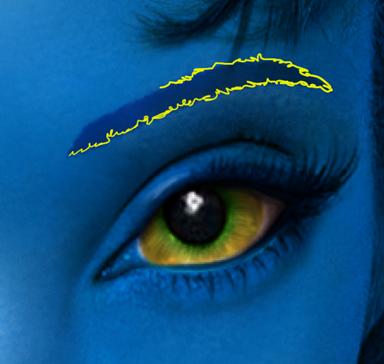
(This is how I move my brush while smudging)

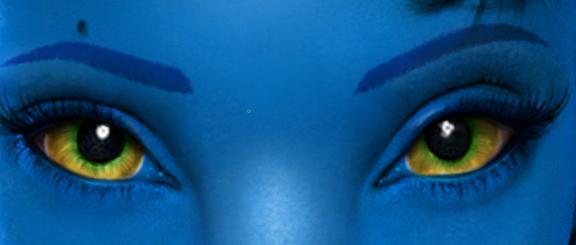
Optional: I made a color adjustment for the eye brows.

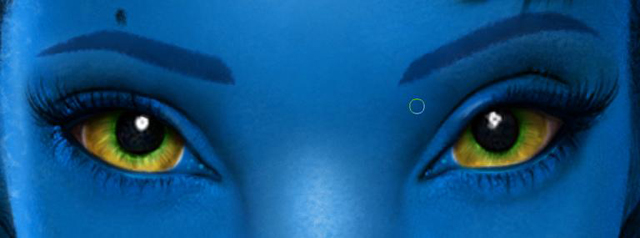
Face Stripes
Create a New Layer. Change the Layer Blending Mode to Overlay. Select the Pen Tool. Start making stripes on the face. Following the contours of the face, and make the stripes slightly longer than the hair line.
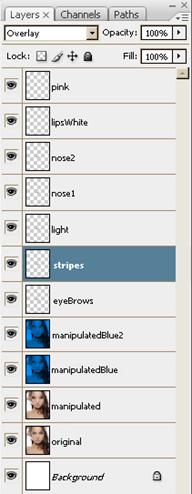

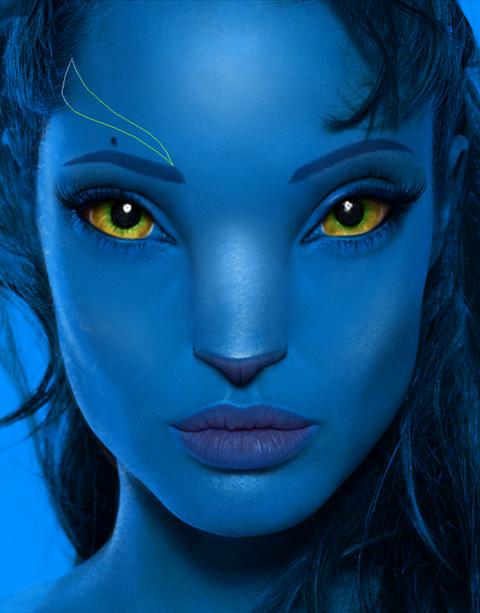
I put a guide in the middle of the face so I knew where to stop. To do this go to View>New Guide. Click on Vertical. Click Ok. Look to the LEFT and drag the guide to the center of the face.
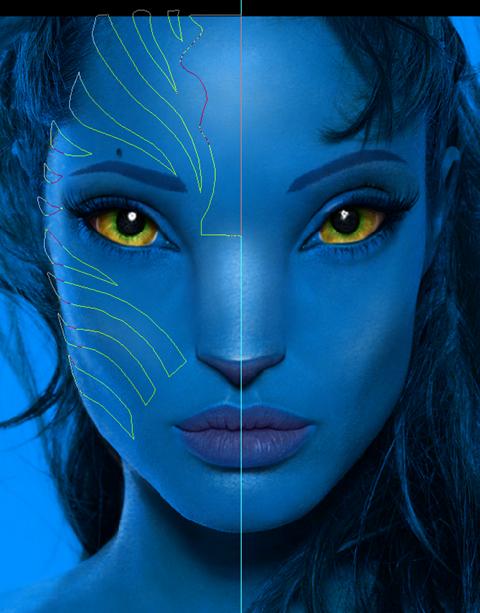
Still using the Pen Tool, Right Click>Make Selection. Fill in the selection with a light blue (I used #7686b9).
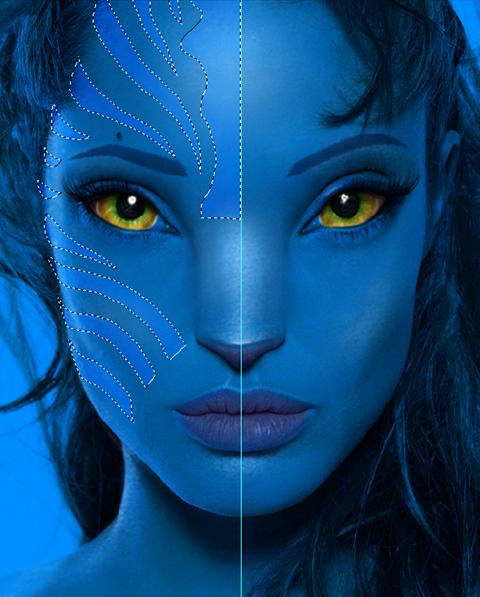
Deselect. Open Image>Adjustments>Hue/Saturation or hit Ctrl+U and edit the Hue/Saturation to make them closer to the skin color, only a little darker.
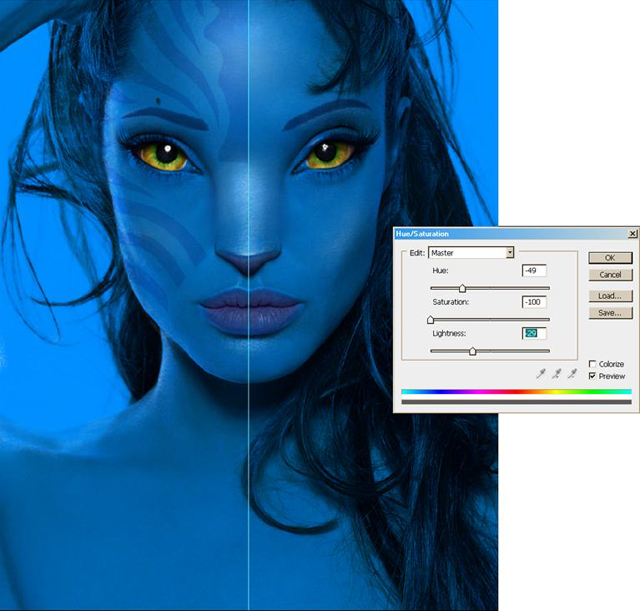
Repeat the Smudging Technique used on the Eyebrows.

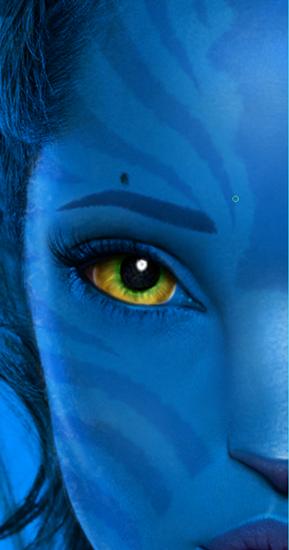
The Na'vi Stripes are not completely opaque. They are darker on the edges than they are in the center. Select the Eraser tool and with the setting below, carefully erase through the middle of each stripe, starting at the ends closer to the center of the face. I do not recommend erasing parts of the middle head stripe yet.

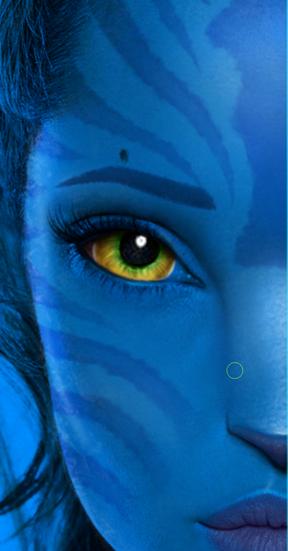
Optional: I changed the Hue/Saturation of the stripes a few times. Here are the changes I made.
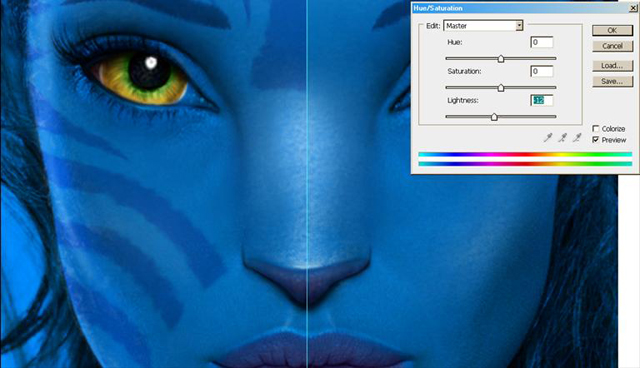
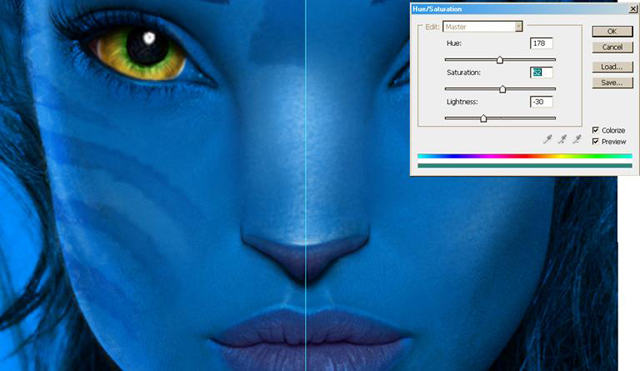
If you are unhappy with the shape of your stripes you can easily change them by using liquify.
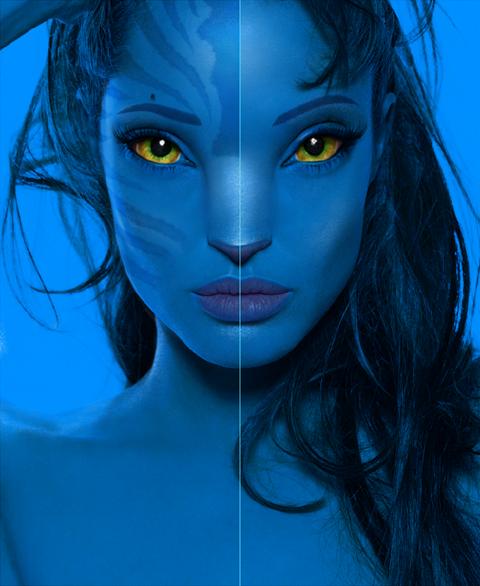
Duplicate the Strips either by selecting them, copy and pasting, or by duplicating the layer itself. Go to Edit>Transform>Flip Horizontal. Move the Flipped stripes over to the other side of the face.
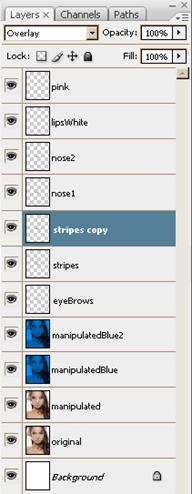

If you have a guide still up, go to View>Clear Guides. If there is a break in between your stripes, nudge the seconds Stripe layer towards the other until thy meet.


If you have two "Stripe" layers, select one, hold shift, and select the color. Go to Layer>Merge Layers or Ctrl+E to merge the "Stripe" layers. Adjust their blending mode back to Overlay.

Select the Eraser tool and with the following settings, use the same Eraser method from earlier on the middle section.


Select the Burn tool and with the settings below, Burn the stripes where the shadow falls so they blend in better.

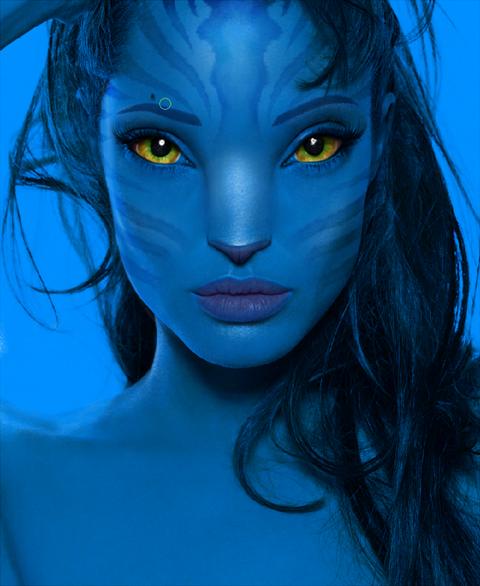
Glow Dots
Duplicate manipulatedBlue2.
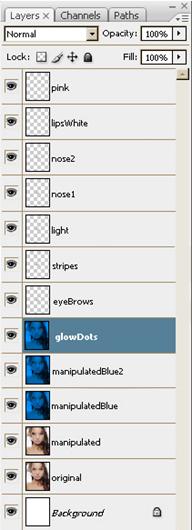
Select the Dodge tool. Click on the Brushes Icon 
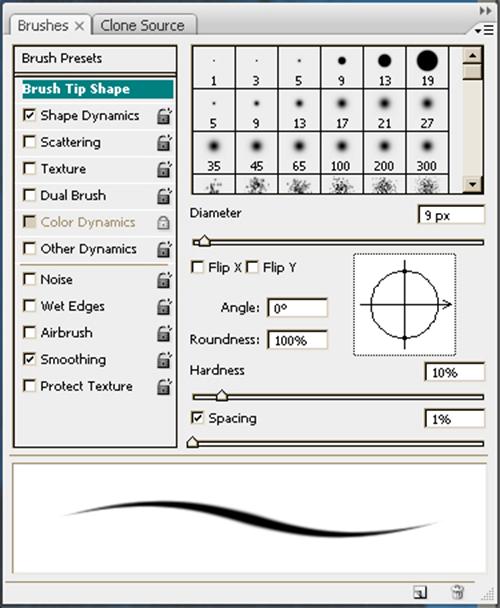
Use the Brush settings below. Use varying degrees of pressure. If you mess up, you can just erase the dots you don't want and the manipulatedBlue2 layer will show underneath.


Body
Repeat the process used for the face stripes. The body stripes are larger and require a bit of creativity when dealing with the size shape. The one's I'm making are very basic.
You need the color of the face stripes. Go to the Stripes Layer, change the opacity to "Normal" and use the Eye Dropper where the color is the most opaque or the darkest.
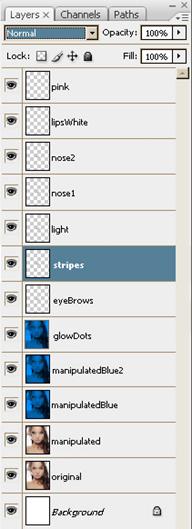

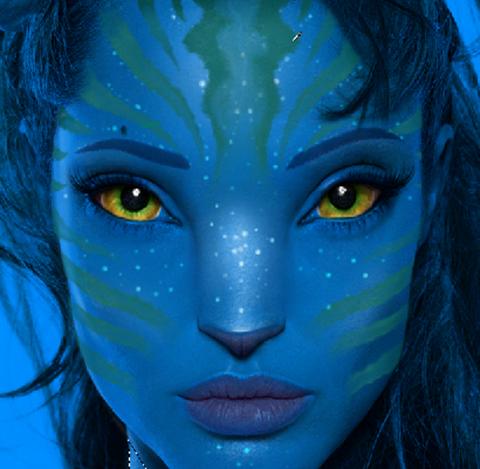
Restore the Layer Opacity to Overlay.
Create a New Layer. Change its Opacity to Overlay. Select the Pen tool, make stripes the same way you did for the face.
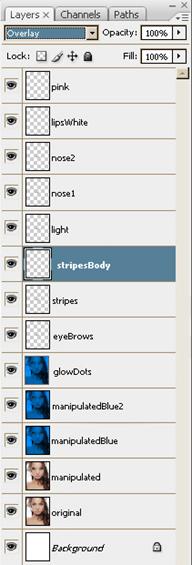


Right Click>Make Selection. Click Ok. Fill in the Lines with the color we selected earlier.


Deselect. Select the Smudge tool and smudge along the lines. Here is an Example of how I move my brush:
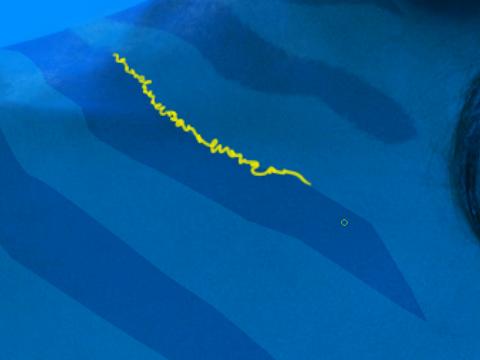


Select the Eraser Tool and erase like you did earlier.

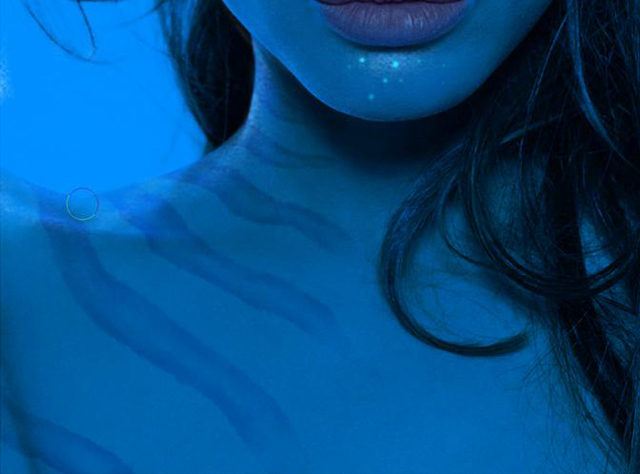
Duplicate the stripes. Edit>Transform>Flip Horizontal.


Merge the two Body Stripes layers.

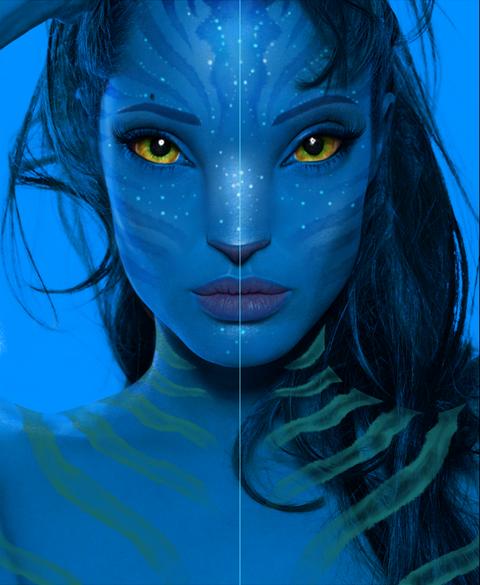
Erase the stripes where the hair is covering the body.


Change layer Blending Mode back to Overlay. Select the Burn tool and burn the stripes where the shadows hit to make them blend in more.


If you are unhappy with the shape of the stripes, again, you can use the Liquify tool to move them around as I did.

Use the Burn tool on the stripes where the shadow hits to make them blend in more.


Return to the glowDots Layer.
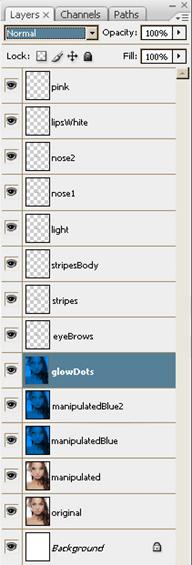
Select the Dodge tool. Click on the Brushes Icon 

Use the Brush settings below. Adjust the Brush size as you go along, varying the size of the dots. This is made easy clicking [ to make the brush smaller, or ] to make it larger.


If you mess up, you can just erase the dots you don't want and the manipulatedBlue2 layer will show underneath.

Duplicate manipulatedBlue2 layer and merge the Duplicate with glowDots. If you erased anything on the glowDots layer, this guarantees no empty space in the images.
<< Previous page �?????�????�???�??�?� �?????�????�???�??�?� Next page >>
About the author
Copyright © . All Rights Reserved
