Illustrator Quick Banners
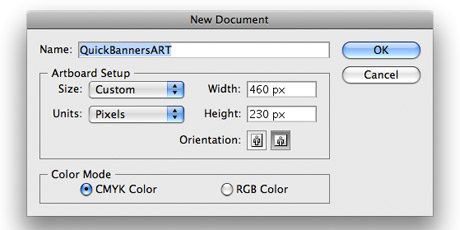
Step 1: Create a new Illustrator document 460 px wide by 230 px high.
- Illustrator CS6: Visual QuickStart Guide
- Adobe Illustrator CS6 Classroom in a Book
- The Adobe Illustrator CS6 WOW! Book
- Adobe Illustrator CS6 Digital Classroom
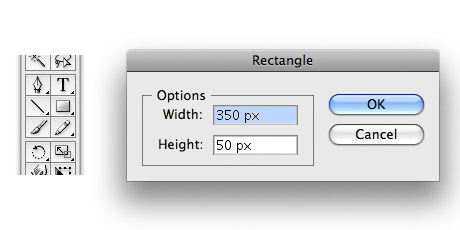
Step 2: Create a new rectangle by selecting the Rectangle Tool (M) and clicking anywhere on the artboard. Set the width to 350 px and the height to 50 px in the Rectangle Tool dialog box.
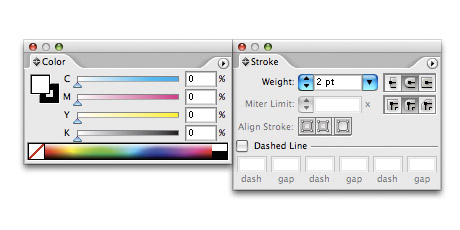
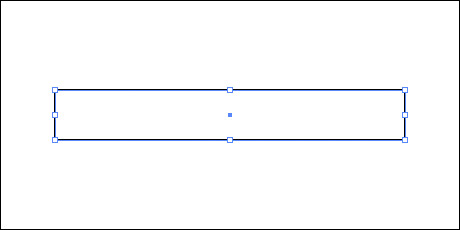
Step 3: Set the fill color of your new rectangle to white and add a 2 pt black stroke with rounded corners. I'll refer to this first large rectangle as the "body".
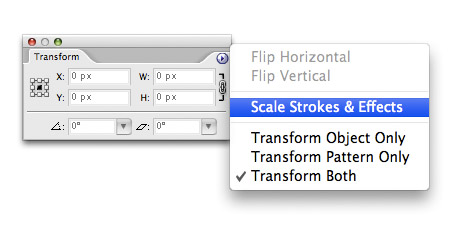
Step 4: Cut off the Scale Strokes & Effects setting in the Transform Palette.
Step 5: Select your new rectangle and copy it. Edit > Copy (Command + C). Paste two new rectangles in front of the first one. Edit > Paste in Front (Command + F) for the first (middle) copy. Edit > Paste in Front (Command + F) for the second (top) copy.
Step 6: Pull up the Transform Palette and set the transfer reference point to middle-left. Then remove the constrain width and height proportions link.
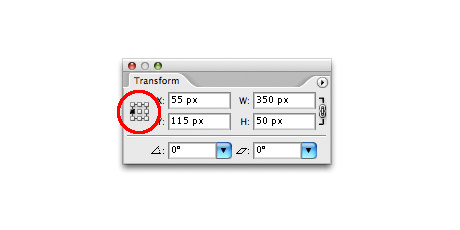
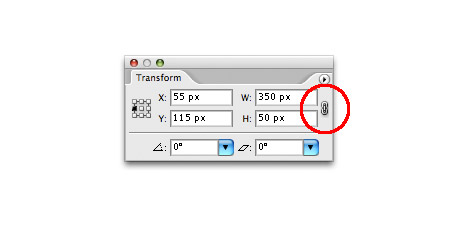
Step 7: Select the top rectangle and set its width to 80 px with the Transform Palette. I'll refer to this rectangle as "left tail".
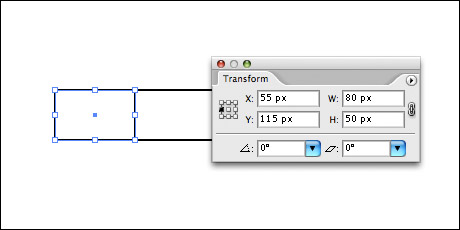
Step 8: Select the middle rectangle, set the transform reference point to middle-right and set the width 80 px. I'll refer to this rectangle as "right tail".
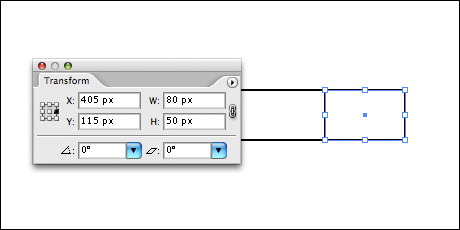
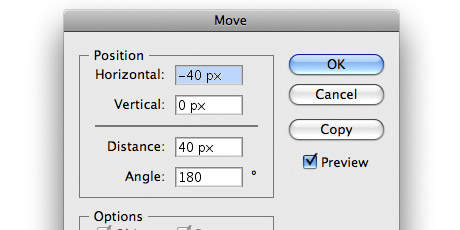
Step 9: Select the left tail and move it 40 px to the left. Object > Transform > Move (Shift + Command + M).
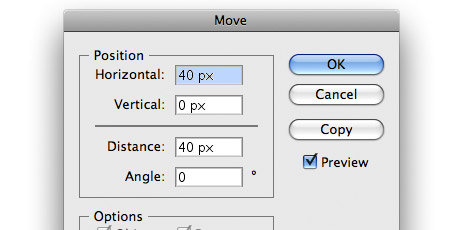
Step 10: Select the right tail and move it 40 px to the right. Object > Transform > Move (Shift + Command + M).
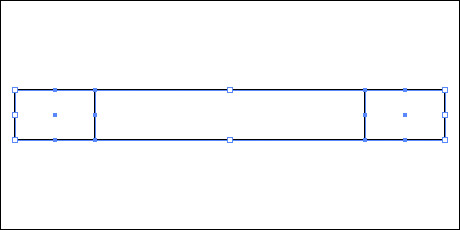
Step 11: Select both tails by clicking the left tail, then holding down the shift key and clicking the right tail.
Step 12: Add extra points to both selected tails to create the end cuts of the banner. Object > Path > Add Anchor Points.
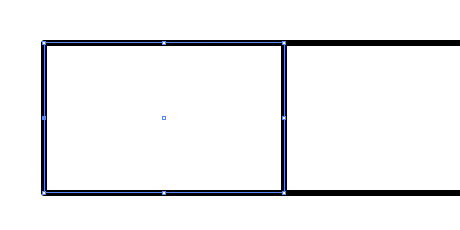
Step 13: With the Direct Selection Tool (A), the white arrow in the toolbox, select the left-middle anchor point on the left tail.
Step 14: Move the selected anchor point 25 px to the right. Object > Transform > Move (Shift + Command + M).
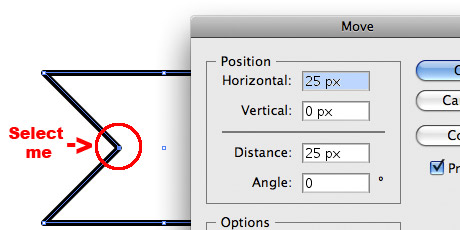
Step 15: Now select the right-middle anchor point on the right tail and move it 25 px to the left.
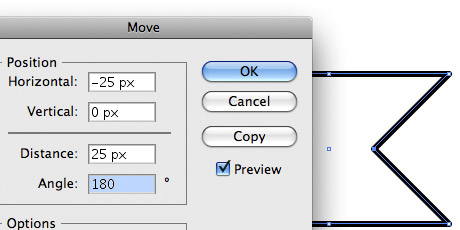
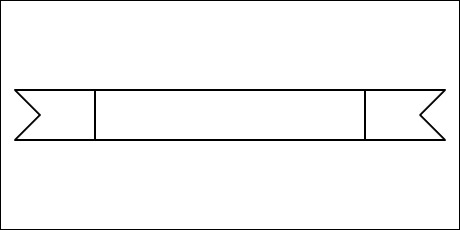
Step 16: Select the left tail and move it up 10 px.
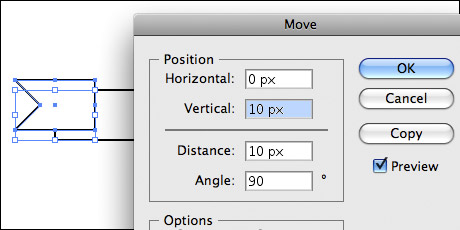
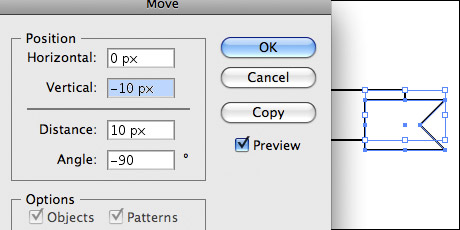
Step 17: Select the right tail and move it down 10 px.
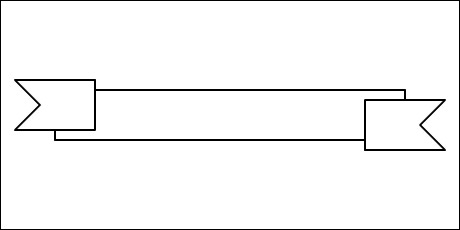
Step 18: Select both tails and send them behind the body of the banner. Object > Arrange > Send to Back.
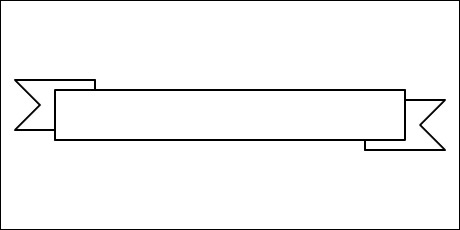
Step 19: Zoom in really close on the left tail and with the Pen Tool (P) and draw the fold (triangle) that connects the body to the left tail. To make sure you hit each anchor point exactly, switch the view mode to Outline. View > Outline (Command + Y).
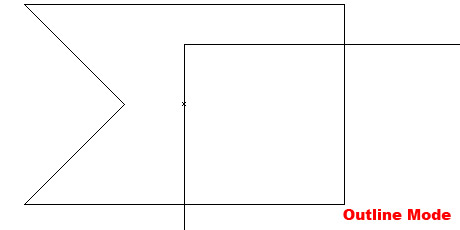
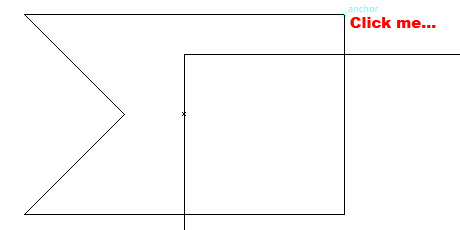
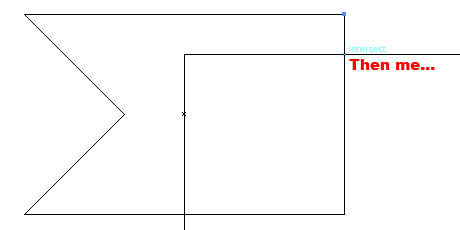
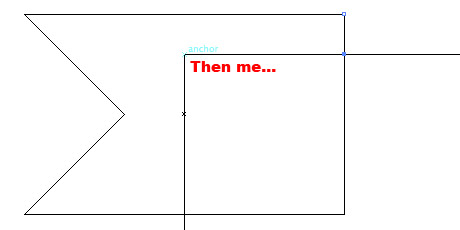
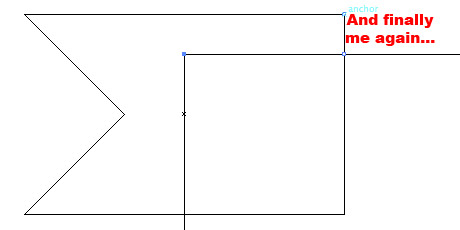
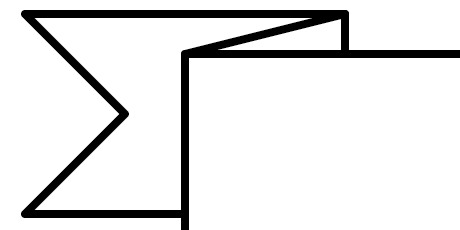
Step 20: Now do the exact same thing on the right tail.
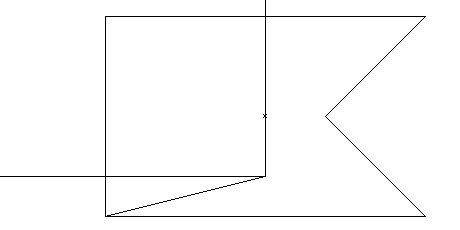
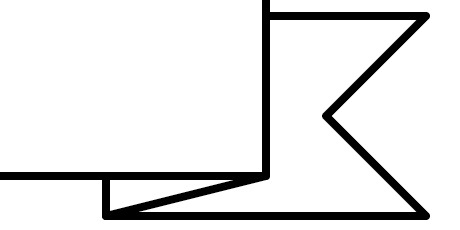
Step 21: Switch back to Preview mode. View > Preview (Command + Y). Zoom back out so you can see the entire banner.
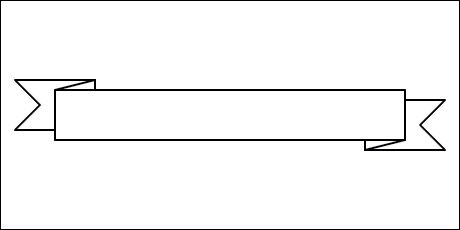
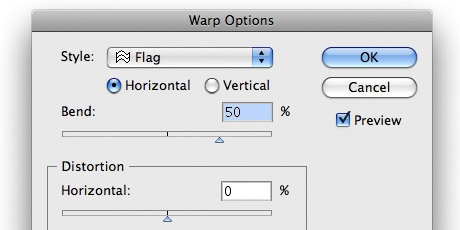
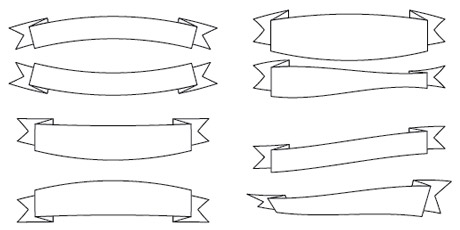
Step 22: Select every piece of the banner and load up the Envelope Distort Tool. Object > Envelope Distort > Make with Warp. For this tutorial I used the default setting with the Flag style.
Done…
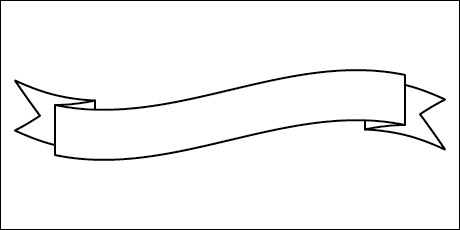
Final Result
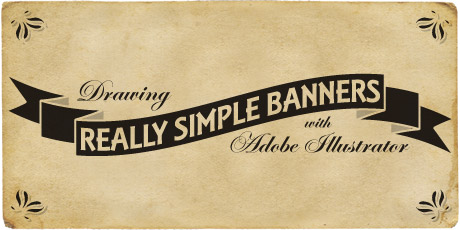
Extra: Be sure to try some of the other envelope distort warp styles to achieve different looks. Also, make sure to add any text you may want in the banner before you apply the envelope distort.
Copyright © . All Rights Reserved