How to Create Stunning Reflections in Photoshop
The shiny table or reflection effect can be found on countless modern professional-looking ads and websites. Digital artists use this effect to make objects and text appear as if they are sitting on a very shiny, reflective table.
Adding reflections to objects can instantly transform your designs from looking ordinary or out-of-place to polished and visually interesting.
But before we start, check these useful resources for photo manipulation that will help you create an amazing effect on your photo:
- The Best Photoshop Actions Ever
- Photoshop tutorials from Lynda
- Images for Photo Manipulations
- 100 Free Patterns to Boost Your Creativity
- Freebies: Round-up of 100 Free Textures
This guide will show you how to use Adobe Photoshop CS6 to cut an object out of a photograph and make it appear as if it is sitting on a reflective surface. You can use this technique to add reflections to just about anything.
Subscribe to our newsletter and get useful tutorials and huge bundles with design freebies once in two weeks:
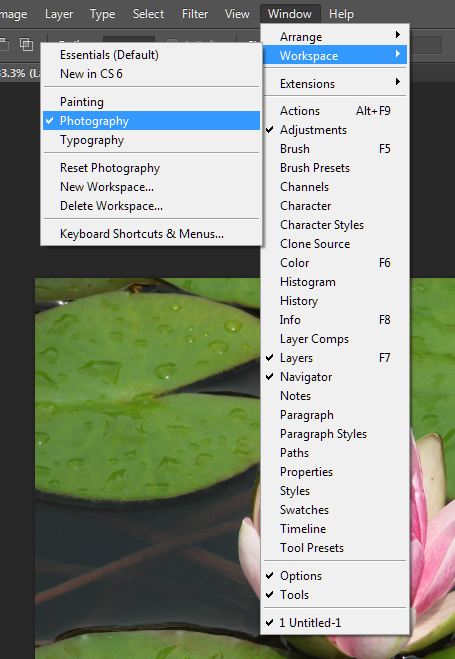
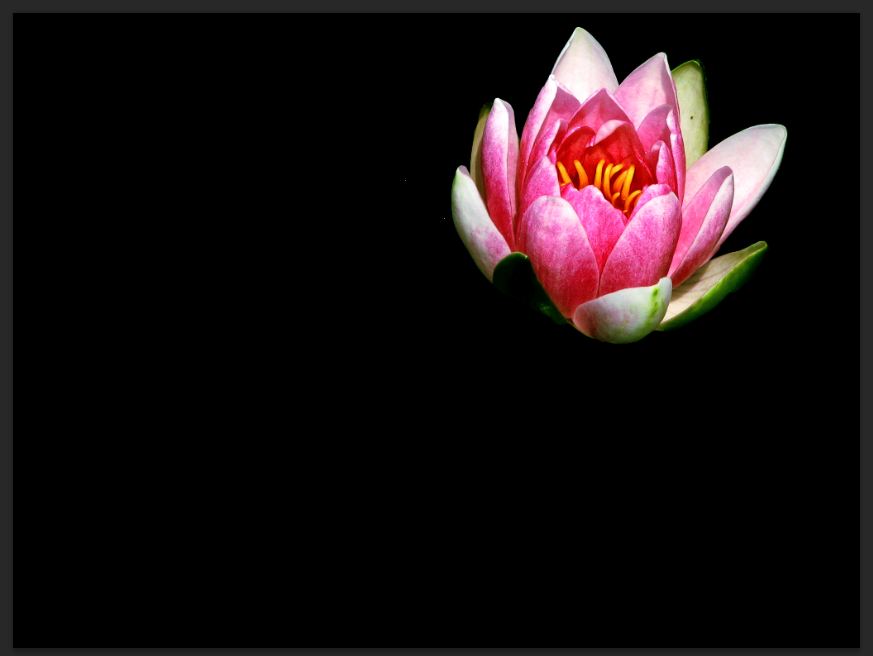
Step 1: Set up your workspace. Select Window > Workspace > Photography to open all of the windows and tools that you will need for this tutorial. Open the image that you want to add reflections to in Photoshop and save it under a new name. Make any general lighting, contrast, or color adjustments that you would normally make. When you are finished, right-click the Background layer and select "Flatten Image."
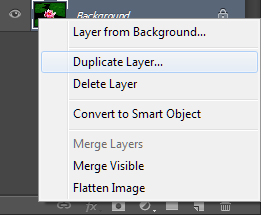
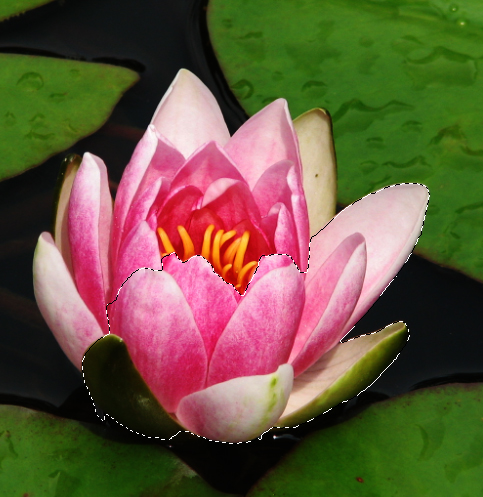
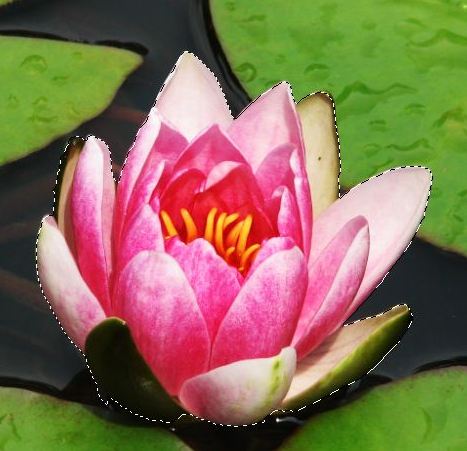
Step 2: Right-click the Background layer and select "Duplicate Layer." Name the new layer "Cut Out." Press W to activate the Quick Selection Tool. In this step, you will select the part of the photo that you want to add a reflection to. Begin by clicking around inside the subject of the photo. Photoshop will automatically detect the similar areas in the image. Each click will add to the selection. If you make any mistakes, you can Alt-click inside the mistake-area to subtract from the selection.

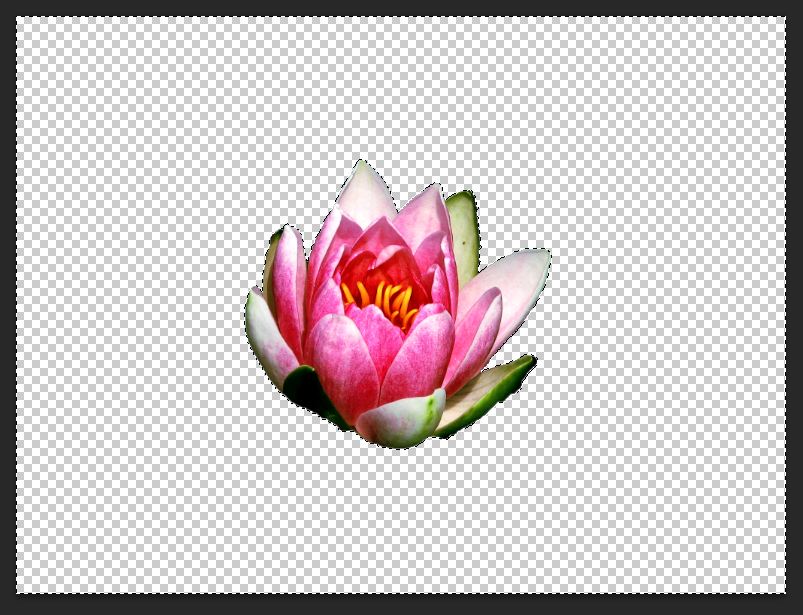
Step 3: When you are happy with your selection, press Ctrl+Shift+I to invert the selection (to select everything outside of the subject). Press the Delete key on your keyboard. Click the little eye icon next to the Background layer to hide it.
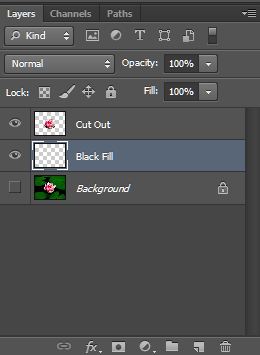
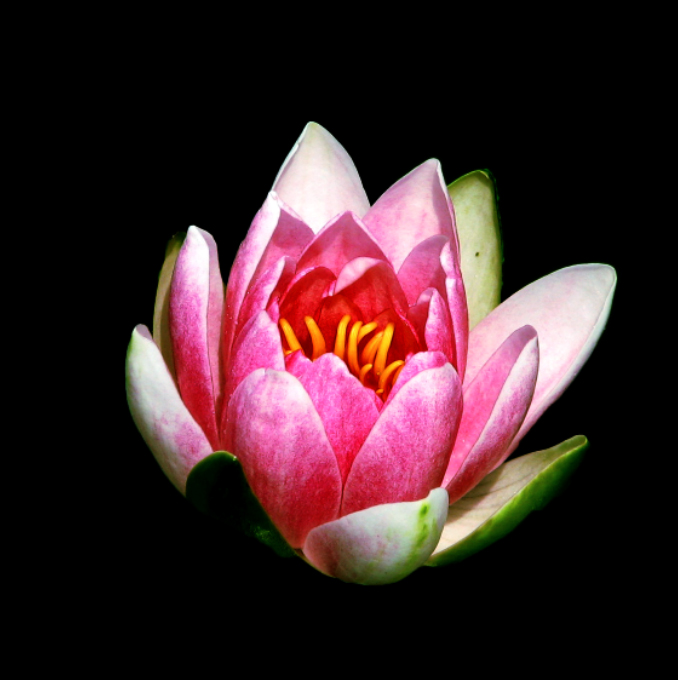
Step 4: Click the Background layer, and then create a new layer (press Ctrl + Shift + N) in between the Background layer and the Cut Out layer. Name the new layer "Black Fill." Make Black the foreground color and White the background color. Press G to activate the Paint Bucket / Gradient Tool. Right-click the icon and make sure the Paint Bucket Tool is selected. Press Ctrl + D to clear the selection, and click anywhere to fill the Black Fill layer with Black.

Step 5: Press V to activate the Move Tool, select the Cut Out layer, and move the subject of your photo into the top half of the document. This will give you more space to create a reflection.
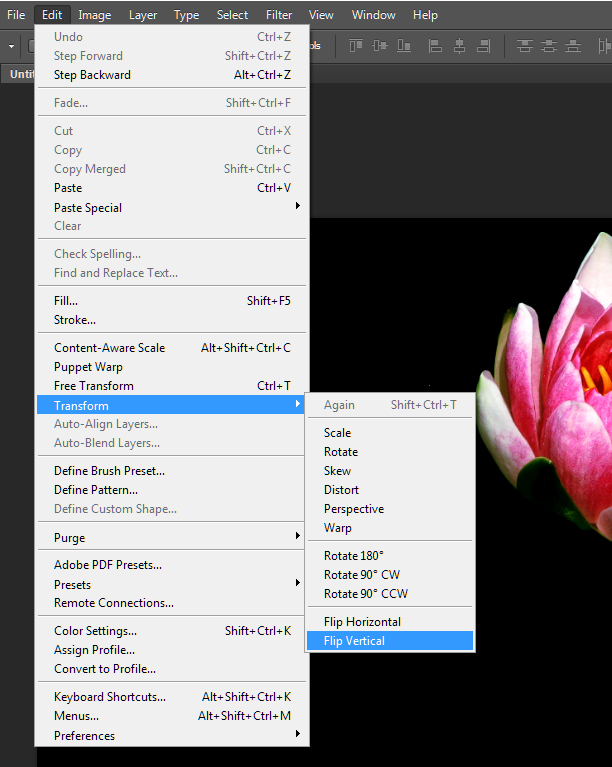
Step 6: Right-click the Cut Out layer, and select Duplicate Layer. Name the new layer "Reflection." Flip the image by selecting Edit > Transform > Flip Vertical . Press V to activate the Move Tool, and tap the down-arrow key until the bottom of the flipped image is just barely touching the bottom of the original image. You can also click-and-drag while holding shift to move the image downward in a straight line. If there is not enough room to fit the entire flipped image in the document, you can move unflipped image up, or go to Image > Canvas Size to make the document bigger.

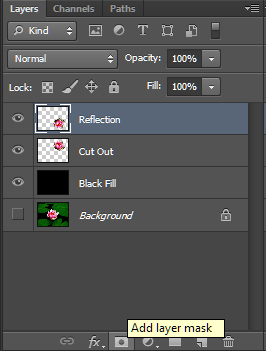
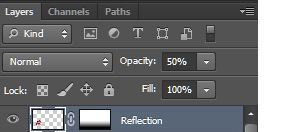
Step 7: In the Layers box, click the icon at the bottom that says "Add layer mask" when you hover over it. Press G to activate the Paint Bucket Tool. Right click the Paint Bucket Tool icon and select the Gradient Tool. Starting at the bottom of the original image, hold Shift (to make a straight line) and click-and-drag downward, past the bottom of the flipped image. This will cause the flipped image to gradually fade. Lower the Opacity of the Reflection layer to 50%.

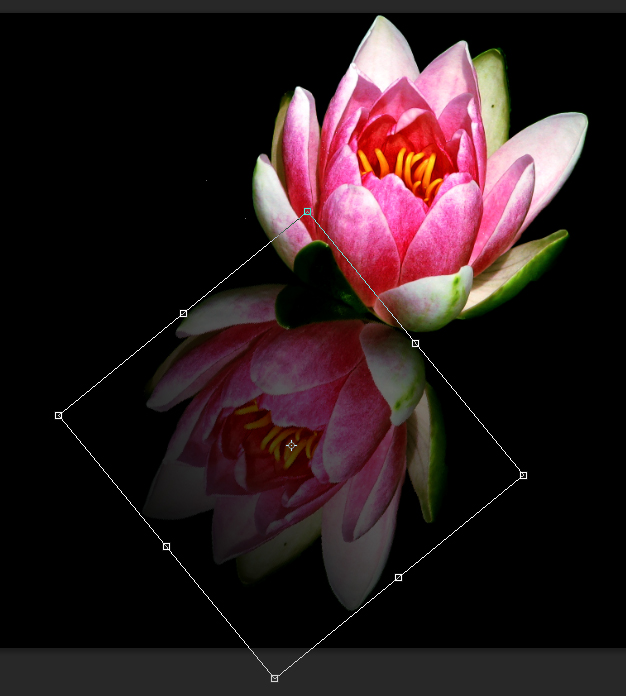
Step 8 (Optional): While most image reflections look great flipped vertically, some reflections look better when they are rotated to match the angle of the unflipped image. If you prefer the appearance of the vertically flipped reflection, skip the step. To rotate the reflection, click the Reflection layer, and press Ctrl+T to transform the image. You can then click-and-drag outside of the Transform box to rotate the image, and then move the reflection so that it just barely touches the new "bottom edge" of the unflipped image. Press enter to load the transformation. Keep in mind that if you create additional reflected images in this document, you will need match the reflection angles (also known as "using global lighting") to make the effect look realistic.
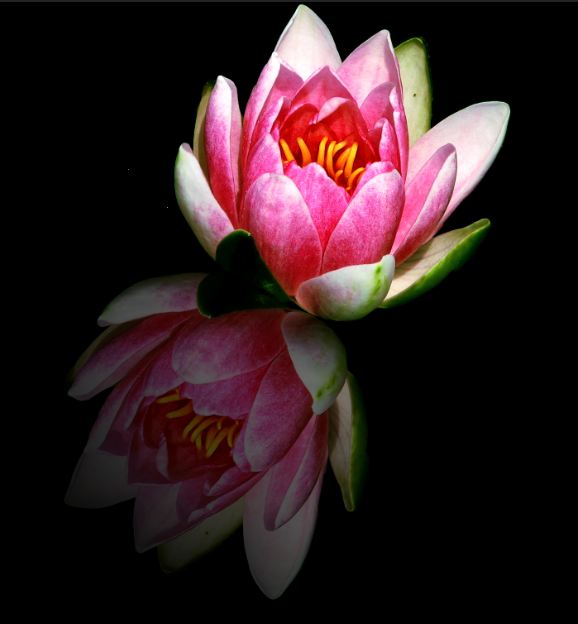
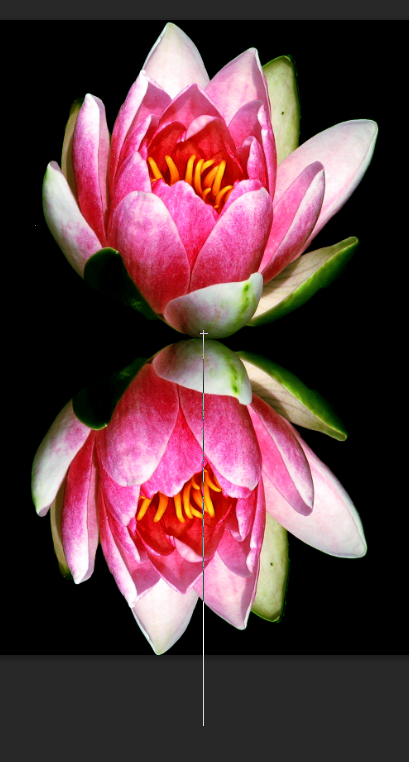
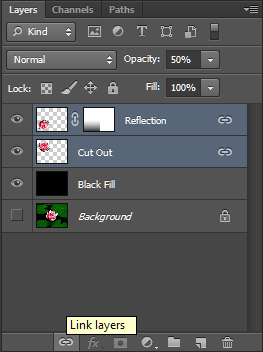
Step 9: When you are happy with your reflection (I chose to use a vertical flip instead), select the Cut Out layer, and then hold Shift and click the Reflection layer to select both layers at the same time. Click the icon at the bottom of the Layers box that says "Link layers" when you hover over it. This feature will link the layers so that when you move the Cut Out layer, the reflection will move with it. Now you can move the image around as one without worrying about messing up the angle or placement.
Use this technique to reflect anything you want, including text, icons, buttons, and photographs! Adding reflections to your images is a great way to give your designs a polished, professional look.
Tip: This effect looks awesome in slideshow ads or banners.
About the author

Copyright © . All Rights Reserved