Dancing Girl (Exclusive Tutorial)
- The Best Photoshop Actions Ever
- Photoshop tutorials
- Freebies: Round-up of 100 Free Textures
- 100 Free Patterns to Boost Your Creativity
- Adobe Photoshop CS6 Classroom in a Book
Step 1
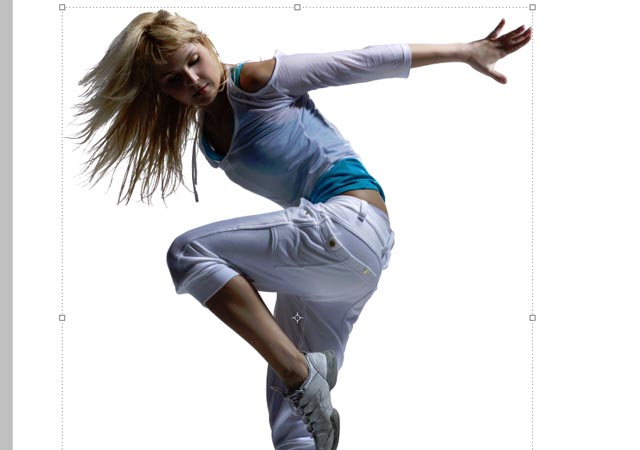
Start by opening your model stock in photoshop and extract it from it's background.
Use the Pen Tool (P) to draw a path along the silhouette of the model try and keep the zoom to about 100% to see clearly all the details.
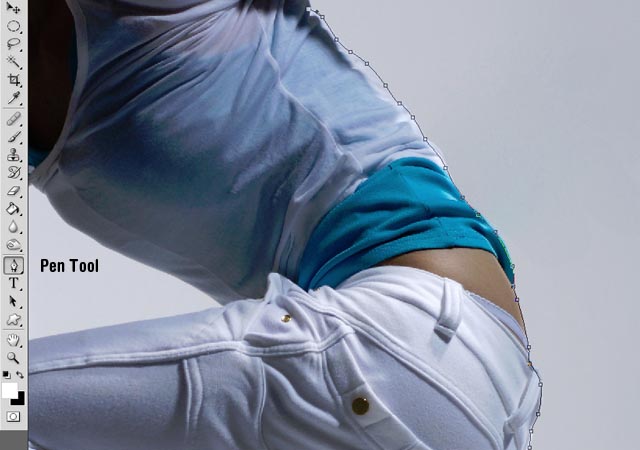
Be carefull on the hair part.Try to keep as much detail possible.
Step 2
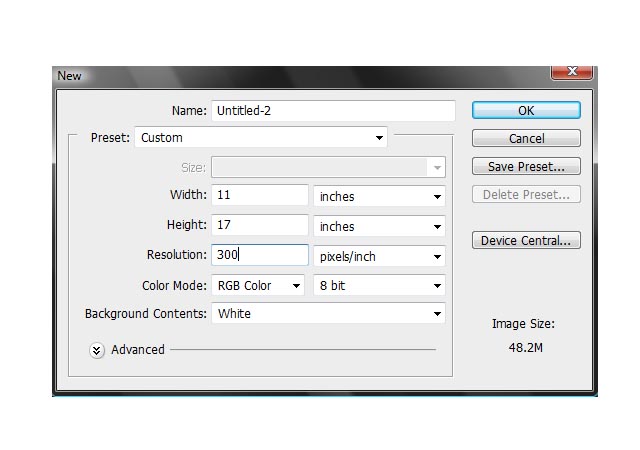
Open a new document on photoshop with the next settings:
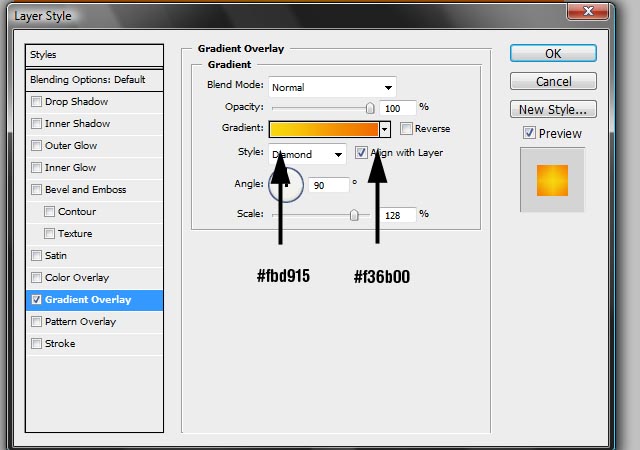
Unlock the background layer by double-clicking on the layer thumb and apply to it the next layer style settings:
Your canvas should now look like this:
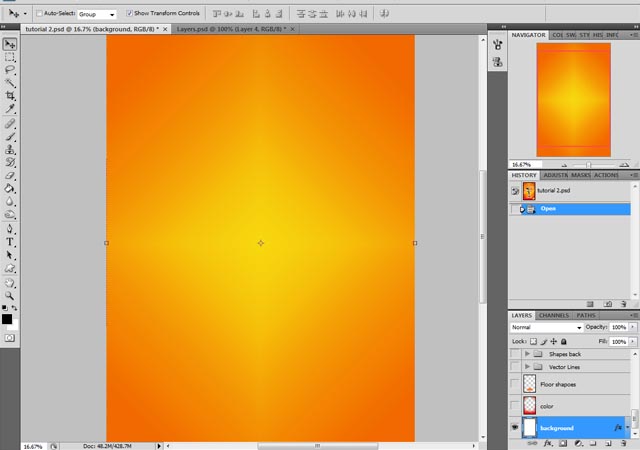
Create a new layer and using a large soft round Brush (B) paint around the lower edges of the canvas with a complementary color to make it look more vibrant:
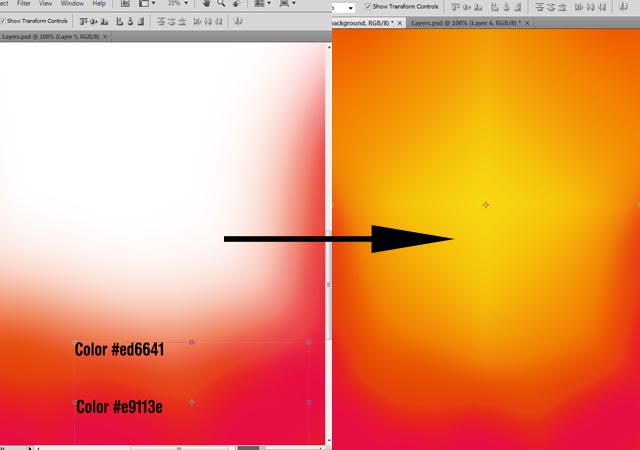
Step 3
Drag the stock model image to your canvas and make a new group for it (CTRL+G),rename this group â??modelâ??
Duplicate the model layer and open up the Hue/Saturation menu (CTRL+U).We need to match the colors of the model clothes with the pallette of colours we are using in our background so apply the next settings:
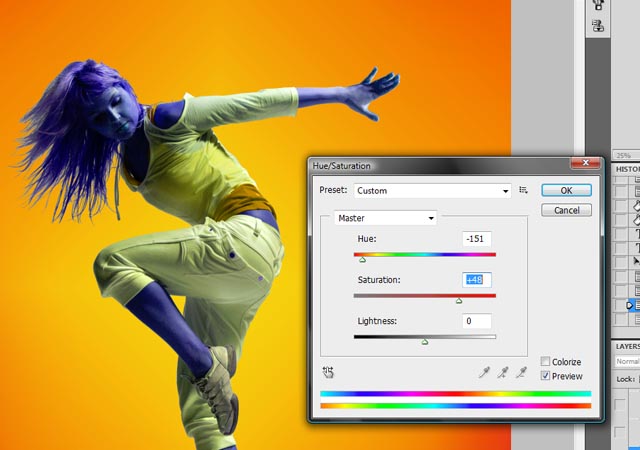
Step 4
Add a layer mask to the model.Now we need to mask all the skin that also changed the hue with the last step :
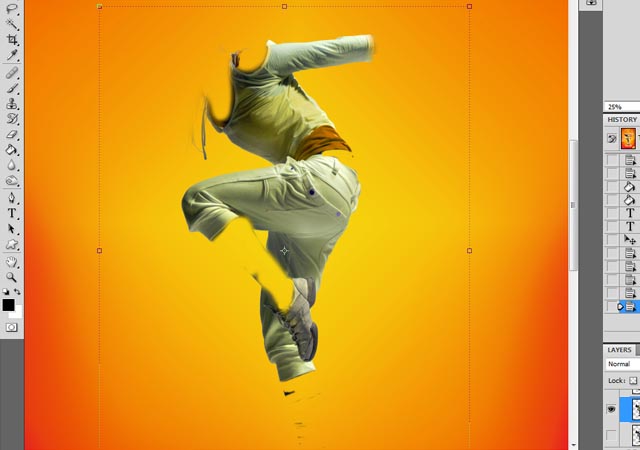
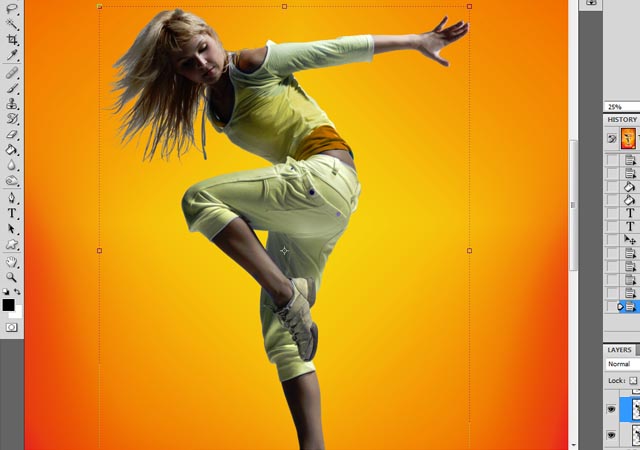
Select both model layers and Merge them (CTRL+E)
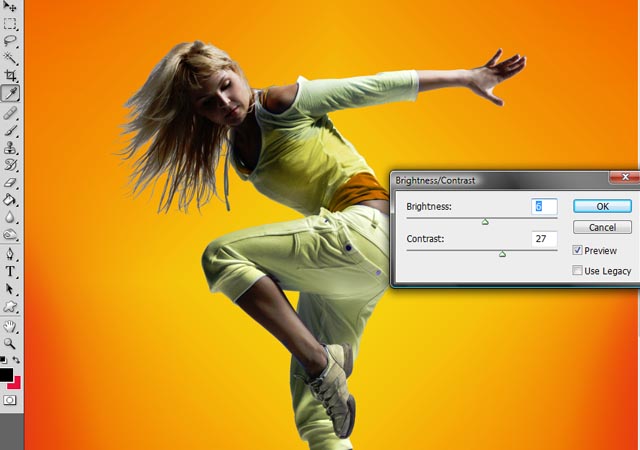
Go to Image>adjustments>Brightness and Contrast and apply the next setting to further improve the lightning on the model:
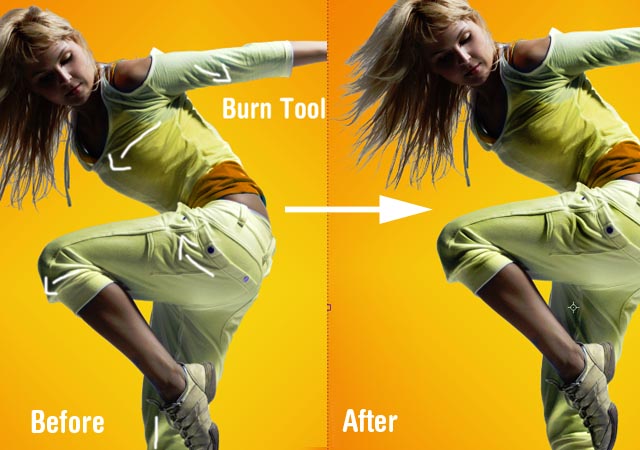
Grab the Burn Tool (O) with the range set to shadows and an exposure of about 10% with a soft round brush,stroke around the darker parts of the stock:
Step 5
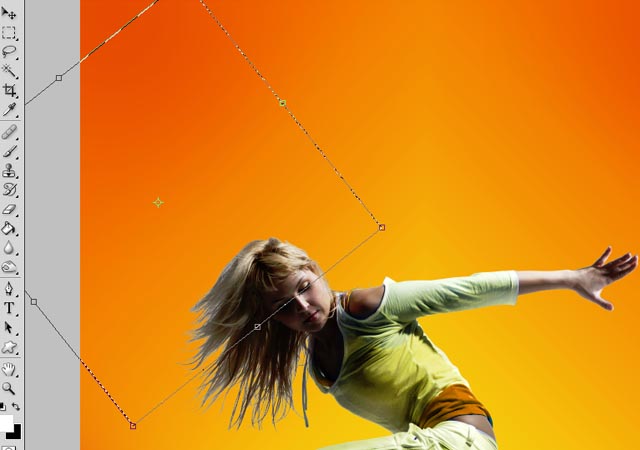
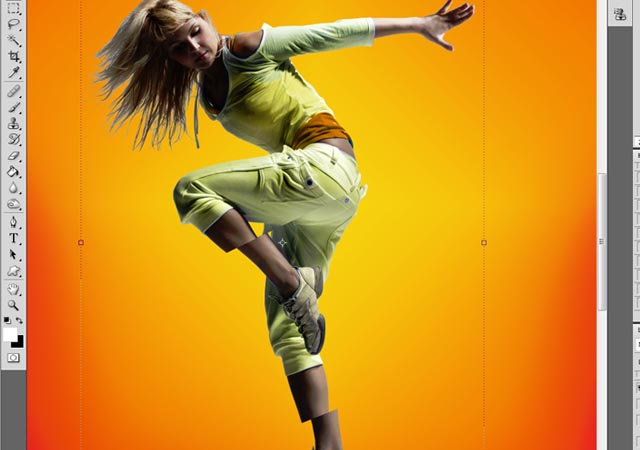
Grab the Rectangular Marquee Tool (M) and make a selection.Right click to bring the selection options and click on Transform Selection.Rotate it to get a diagonal and press enter.Change to the Move Tool (V) and carefully displace the selection to get a cut out effect.
Repeate this effect on different parts of the body :
Step 6
Grab the Pen Tool (P) and draw triangle shaped paths over the model.
Right click to bring the menu and click on â??Make Selectionâ??.
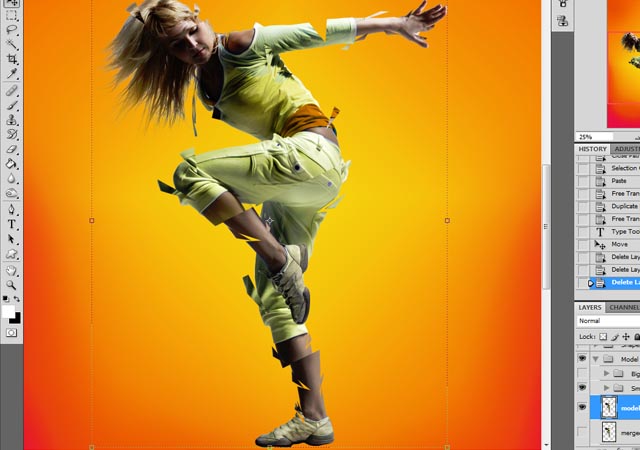
Now you want to start cuttin little pieces of the model and placing them around the model to start building our composition.
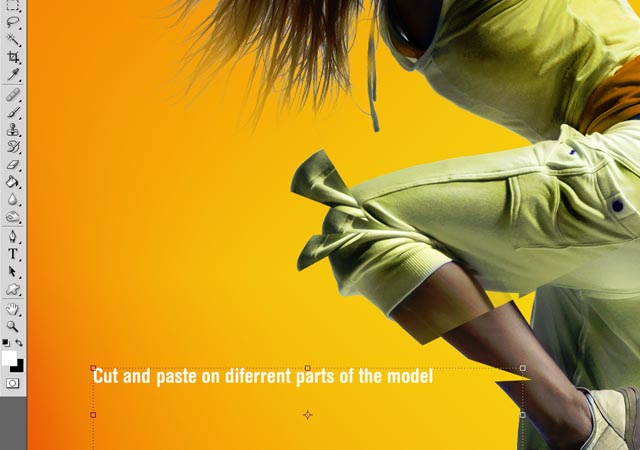
Yo may also want to duplicate some of the layers of the little cut outs and change them using the transformation tools:
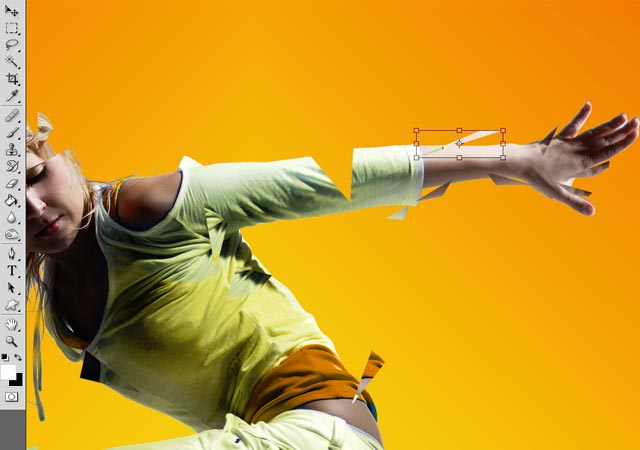
Leave some pieces of the model empty to get a better effect,continue creating clusters of the cut outs but try not to over do it. You can also selec all the layers of the pieces and group them to keep things in order.
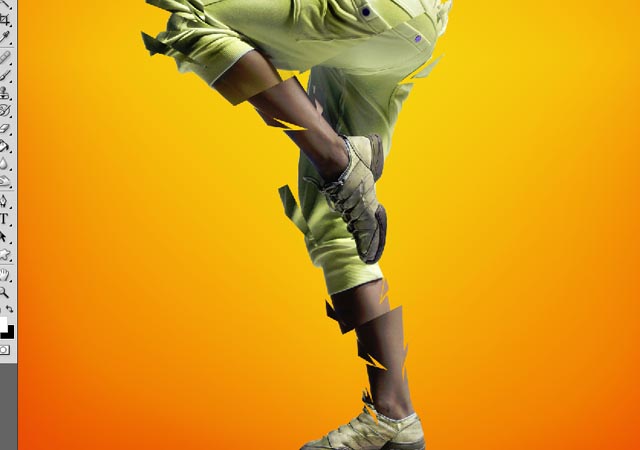
After that,your image should look something like this:
Step 7
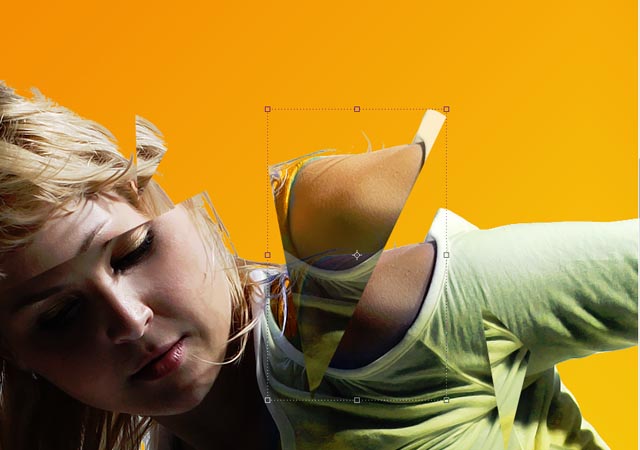
Using
the same tecnique as the last step,Now cut bigger pieces of the
model.
This will have a glass effect to improve our composition.
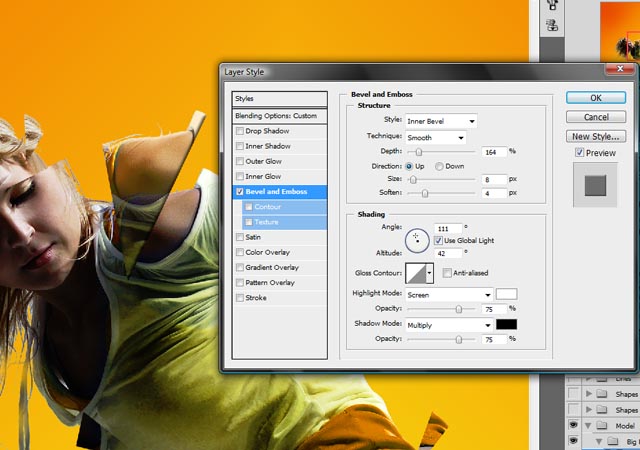
Once
you have a piece cut,lower it's layer opacity to 80% and apply the
next layer style settings:
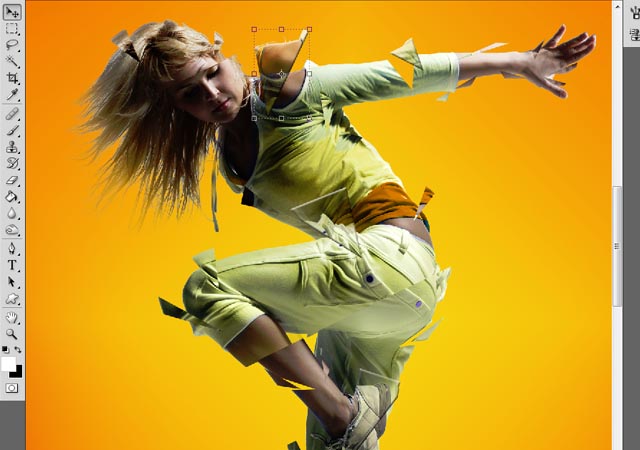
Repeat this a few more times,remember not to over do it,yoou don't want your composition to fel heavy and forced.You can keep this layers in a different group to avoid confusing them with the smaller parts.
After that your image should look something like this
Step 8
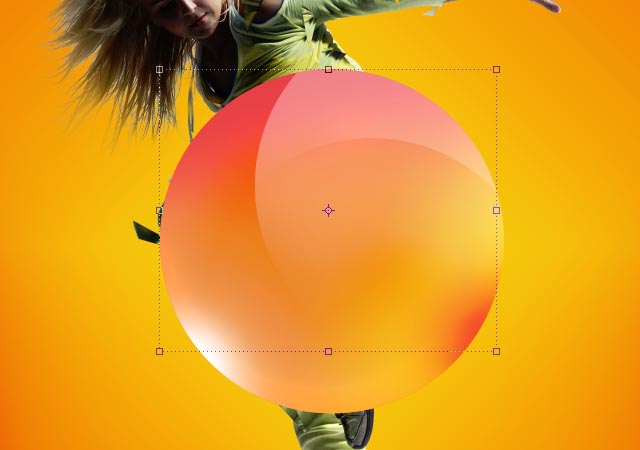
Create a new layer and select the Eliptical Marquee Tool. Holding SHIFT do a selection of a big circle.
Grab a large round soft brush and sample one of the colors of the background (ALT+Click) and brush over the edge of the circle.Sample another color and do the same on the opposite edge of the selection.
Do this with different colors to create a circle with different colors in the style of a gradient:
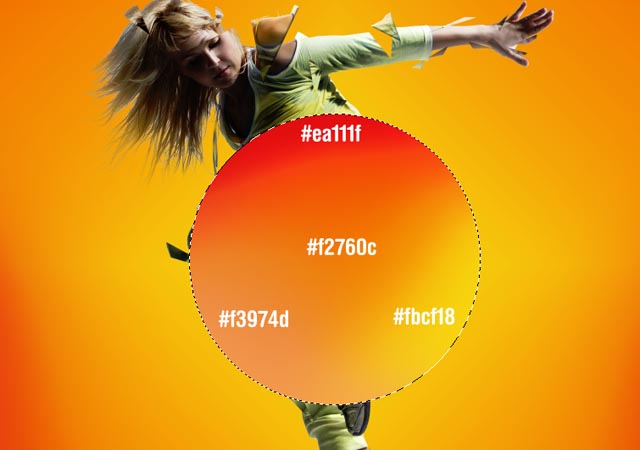
With the same circle selected,create a new layer and fill it with white.Deselect and create a new selection of the same size but move it a little bit to the side and press delete.We want to create a white moon shape to create highlights on the circle.
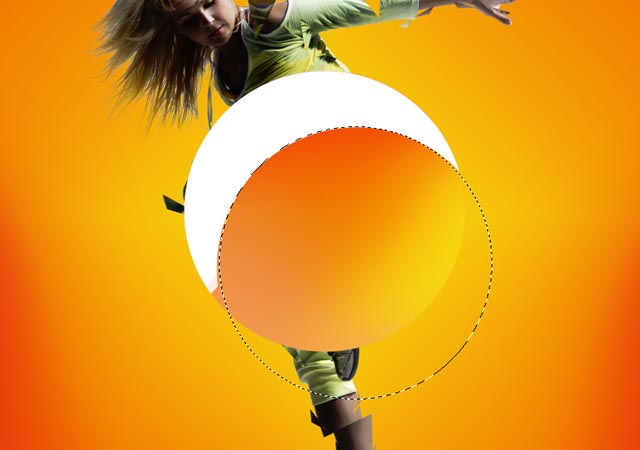
Lower the opacity of this layer to 20% and then using the Eraser Tool (E) delete part of the shape to leave a trace of a highlight:
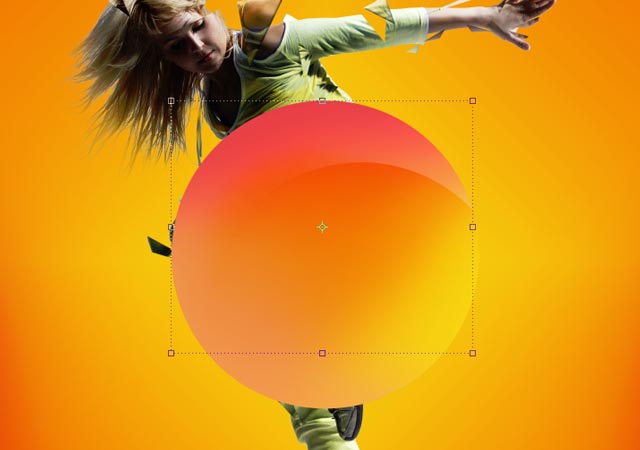
Repeat this step,but this time change the position of the circle:
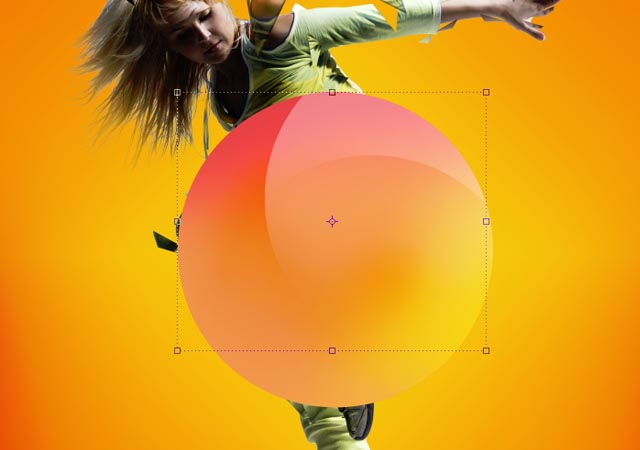
Create a new layer and select our main circle (CTRL+Click the layer thumb) Using a soft brush paint some more details to the circle,then when you are done,merge all the layers together:
Step 9
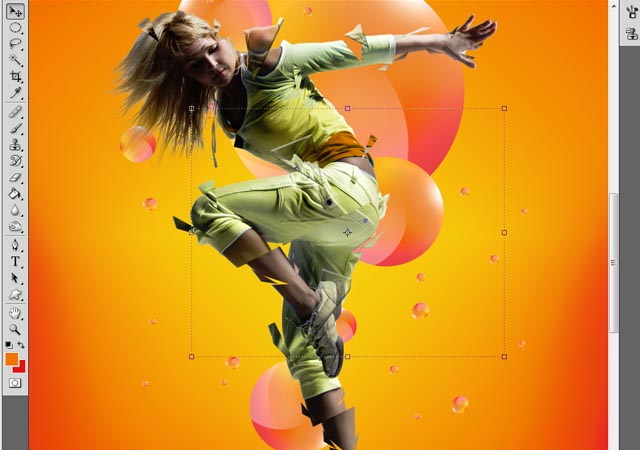
Create a new group under the Model group and drag your circle inside.
Now we are going to duplicate the layer several times and changing the size of the circles to build up our image.
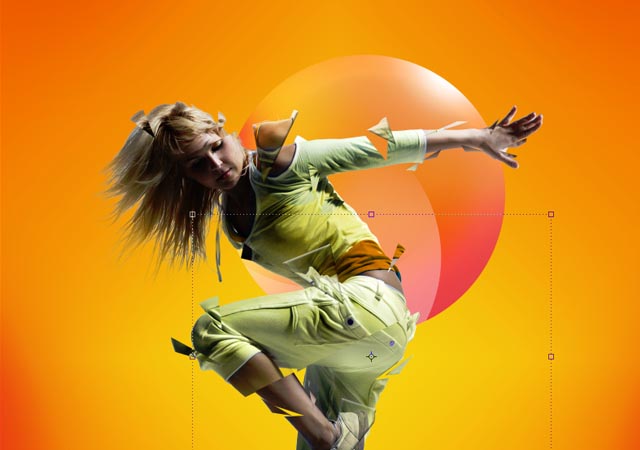
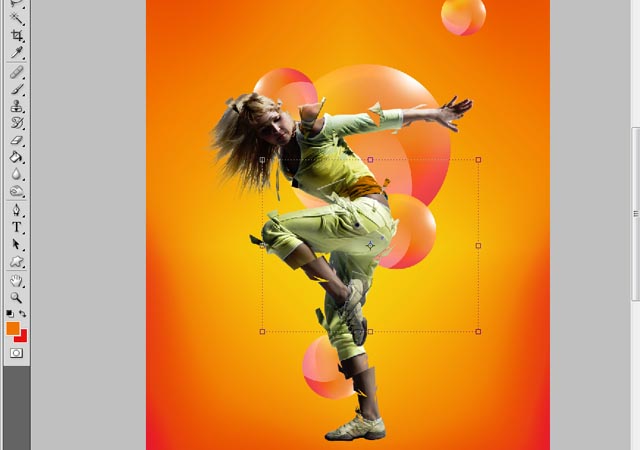
Keep duplicating the circles and changing their size:
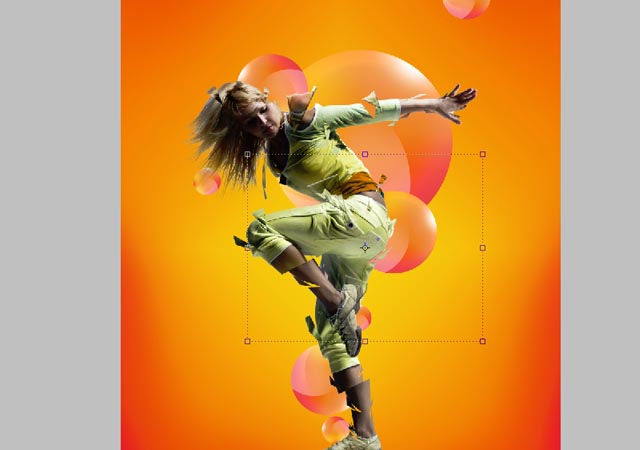
Step 10
Duplicate the original circle and go to Filter>Liquify.Use the liquify tools to get a random shape out of the circle.Here are some exaples of diferent sapes I did:
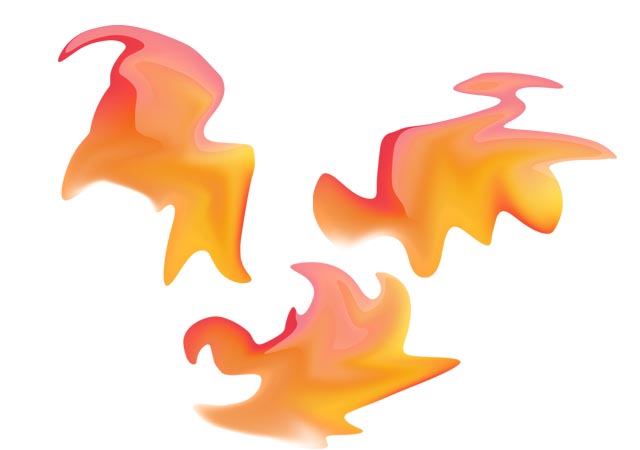
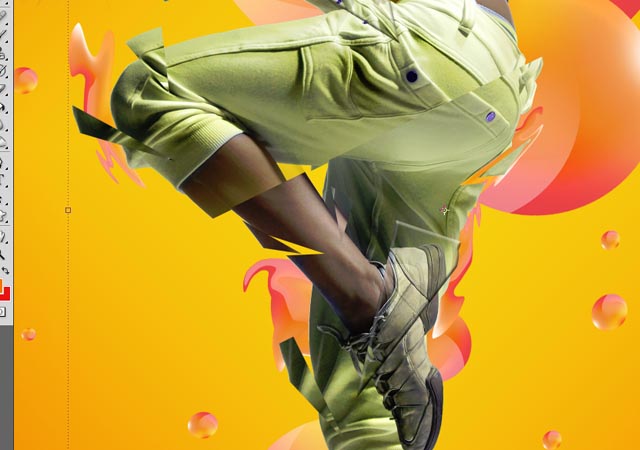
Using this shapes fill some spaces close to the model to give it more color and detail.
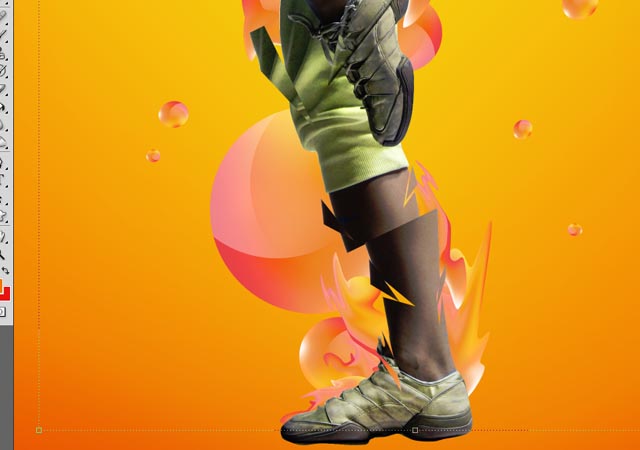
.
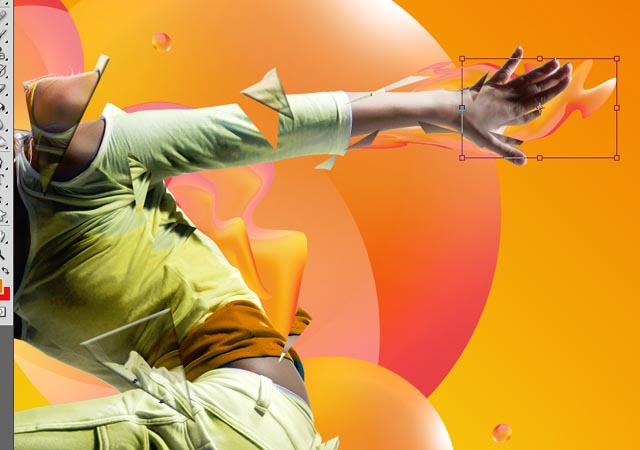
Step 11
Using the same liquified shapes duplicate them several times and arrange them to form a cluster.
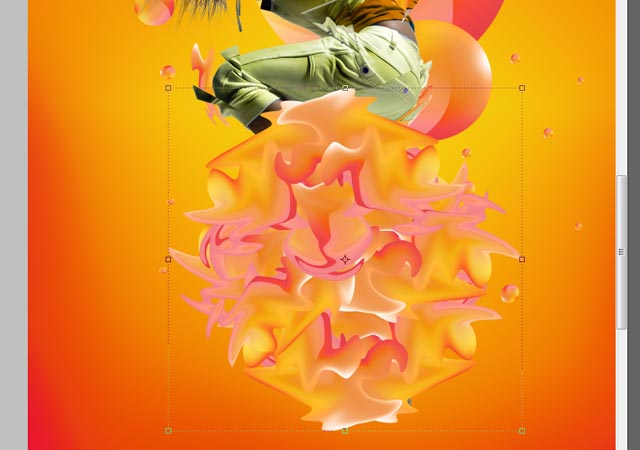
Transform the cluster to give it some perspective.Move the top handles on the corners while holding CTRL close to the center:
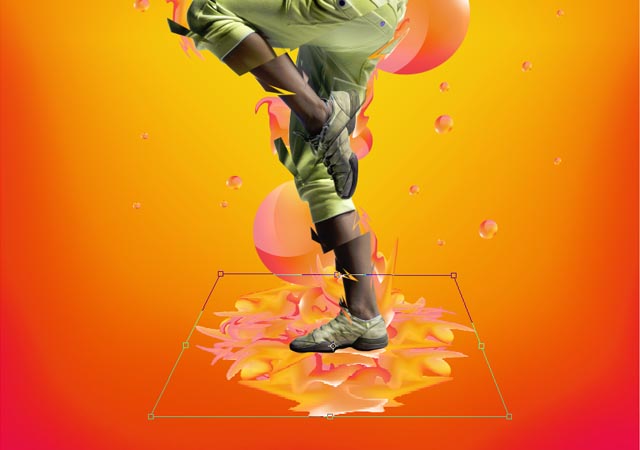
Do this one more time until you have a cluster similar to this:
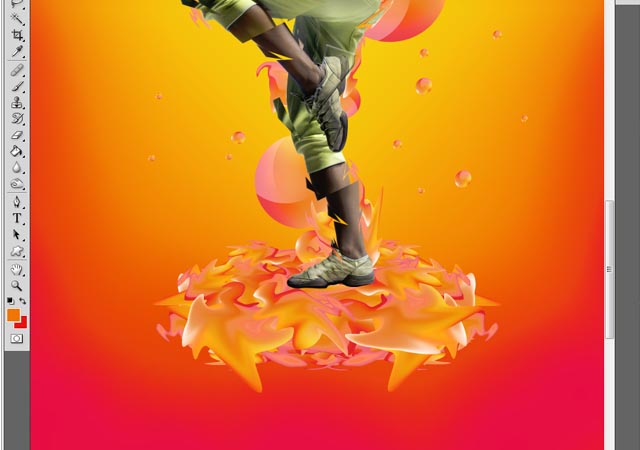
When you are done,merge all the clusters together.
Step# 12
Grab again the Eliptical Marquee Tool and make a selection. Using a soft brush with color white stroke around the edges to make a circle.Duplicate it and size it down.Place it in the middle of the larger cirlce.
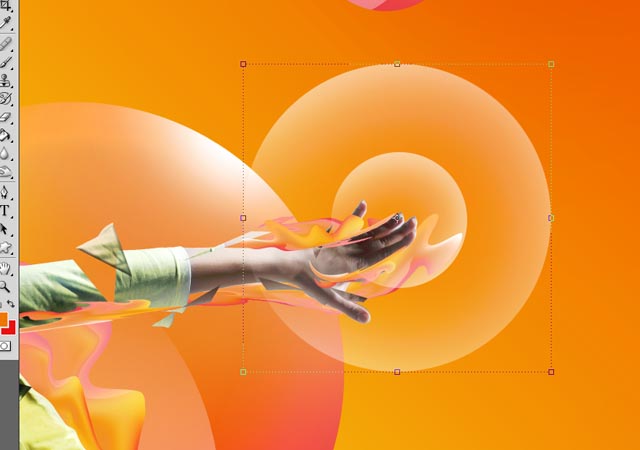
Merge the layers and duplicate them.Place several of this circles around the model.
All of this layers should be over the"Model" group.
As an added detail,I put some of the liquified shapes also over the body:
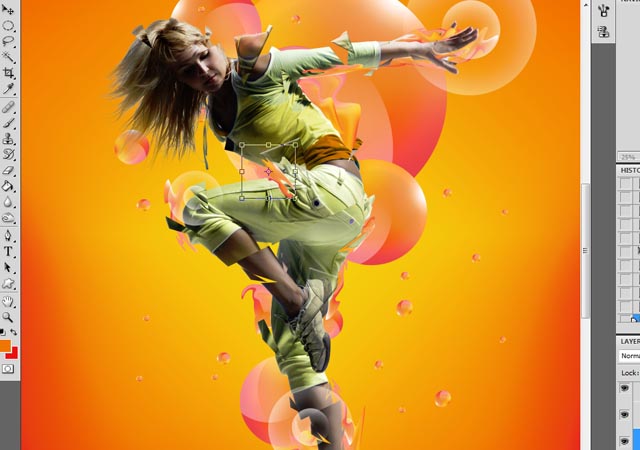
Step 13
Create a new layer on top of all the other layers and set it's blending mode to Screen.
Grab a medium soft round Brush and select as your foreground color a Magenta tone #ea111f.
With the brush,paint some red highlights along the body:
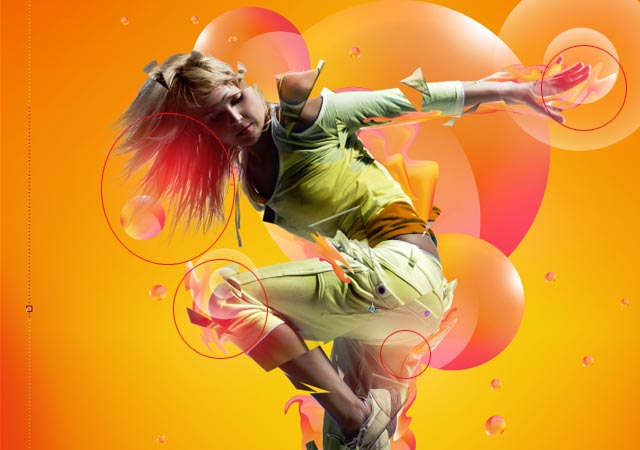
Using a smaller brush this time with white paint some hints of light:
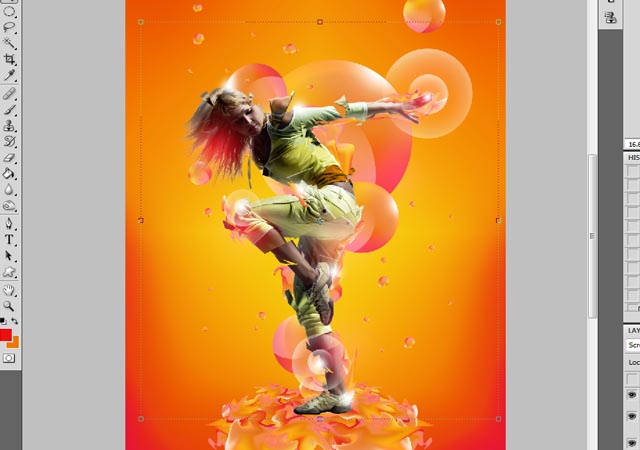
Step 14
Open the light stock, drag it your canvas and set it's blending mode to Screen.
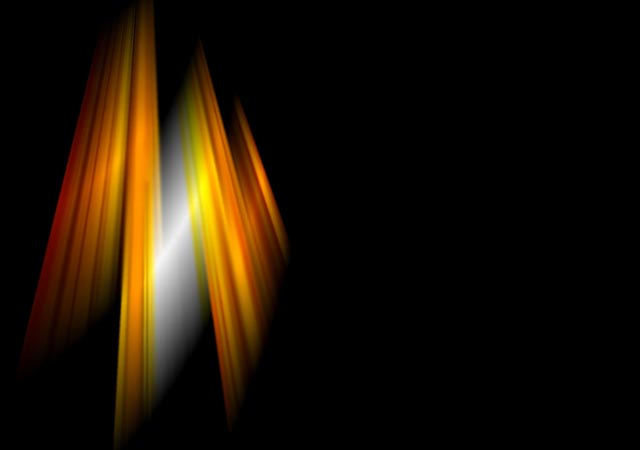
Using the Transformation Tool option Wrap,transfom it and place it over the hair:
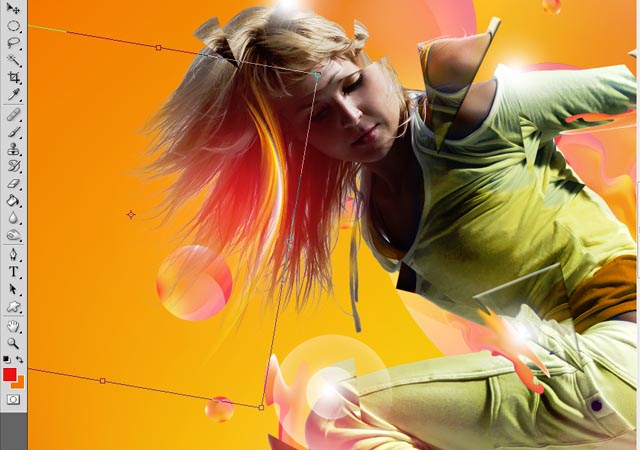
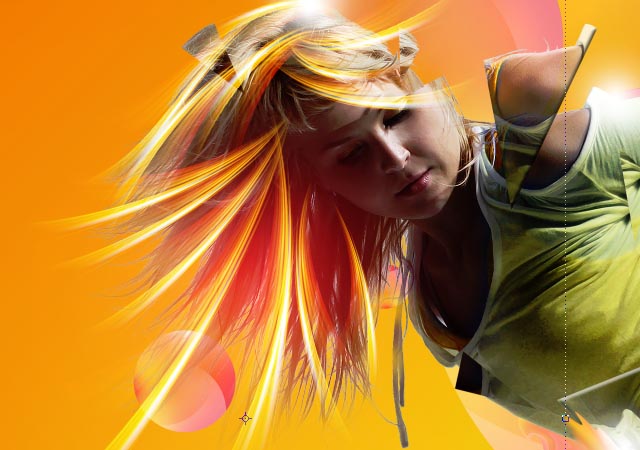
Duplicate it and change the size a few more times until you get something like this:
Step 15
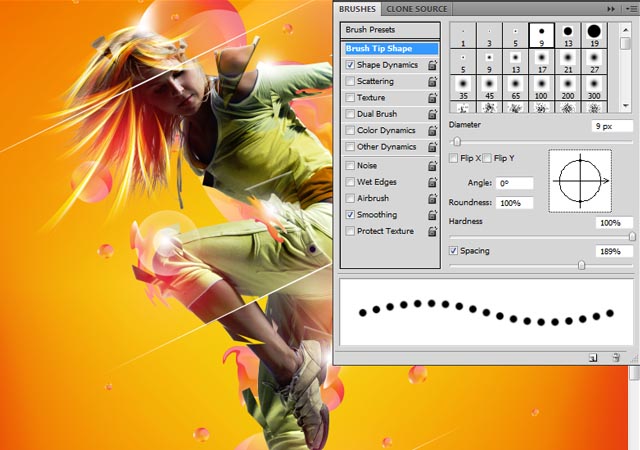
Create a new layer on top of the â??Modelâ?? group and grab a hard round brush of about 9pxl with the next shape dynamics:
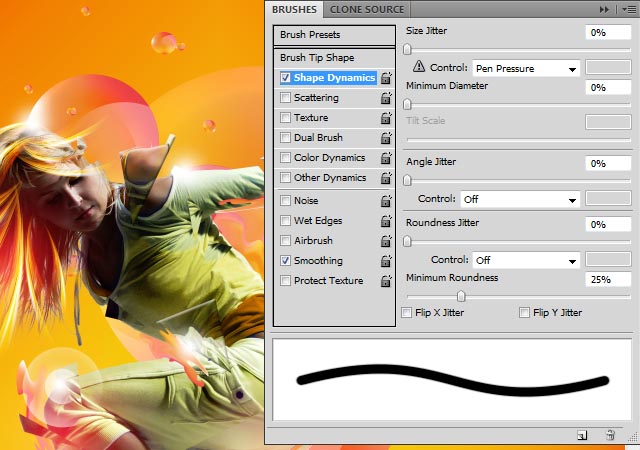
Now select the Pen Tool and draw a path across the part where we displaced the model in the first steps.When you have the path,right click and select stroke path,check the simulate pressure option.
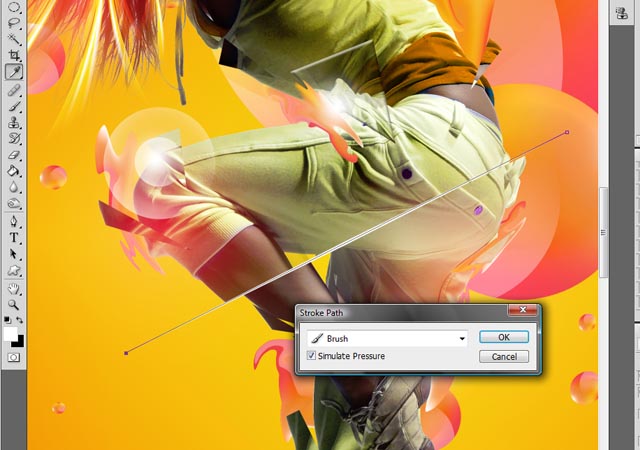
Do this to add detail on all the parts where you displaced the body
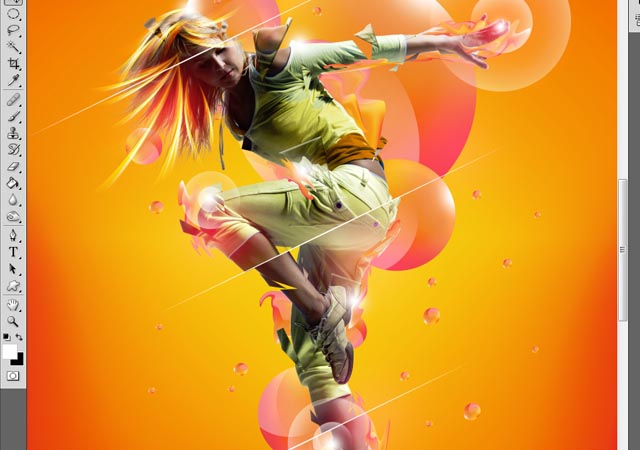
Using this same settings draw some curvy lines across the floor to get more detail.
Create a new layer and select again the Brush Tool,now add this next settings:
Using the pen tool create semicircular paths across the model and stroke them.It should now look like this:
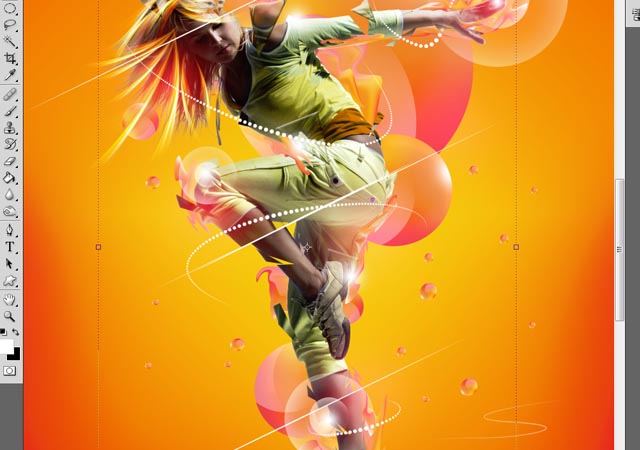
Step 16
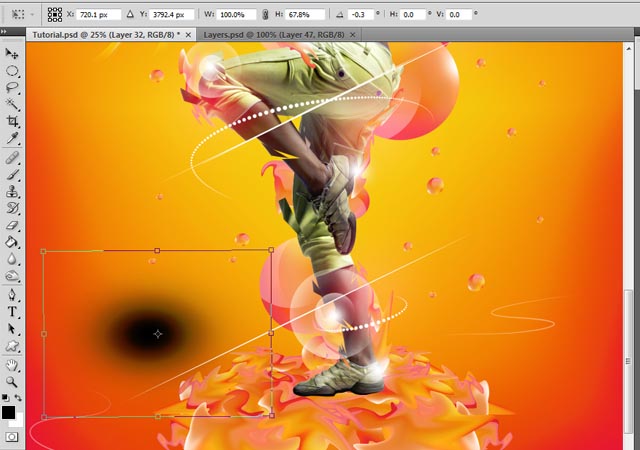
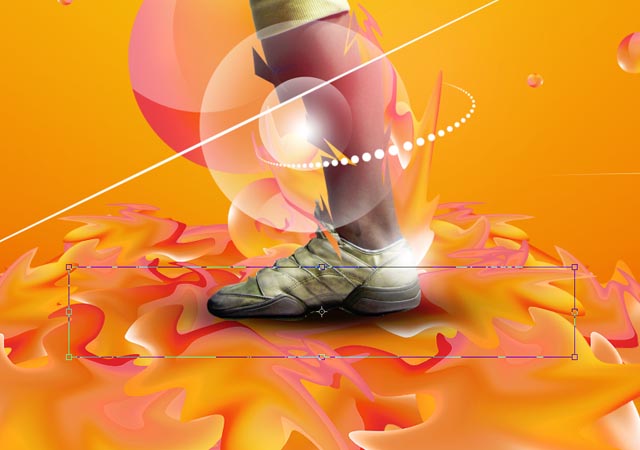
Create a new layer and place it under the model and on top of the cluster floor shapes.We are going to create a subtle shadow for the foot.Grab a large soft brush with color black and paint a circle.Using the transformation tools,size it down and place it under the foot of the model.Lower the layer opacity to about 80%
Step 17
Open up Illustrator and grab the pen tool.Make sure you have a white outline and no Fill.
Draw a curvy line and duplicate it.Select both lines and go to Objet>Blend>Blend options and use this next settings:
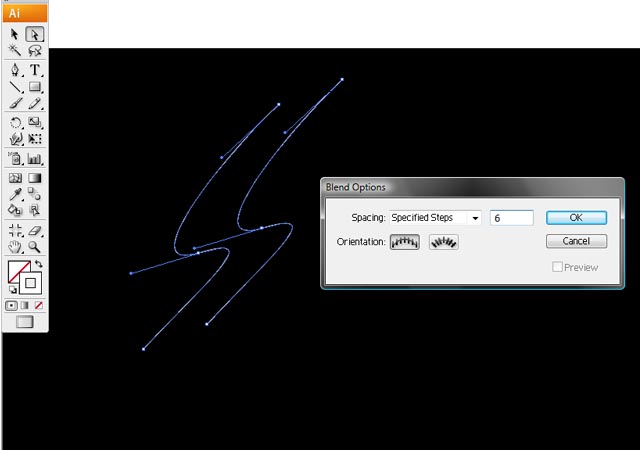
Then go to Object>Blend>Make to apply the effect
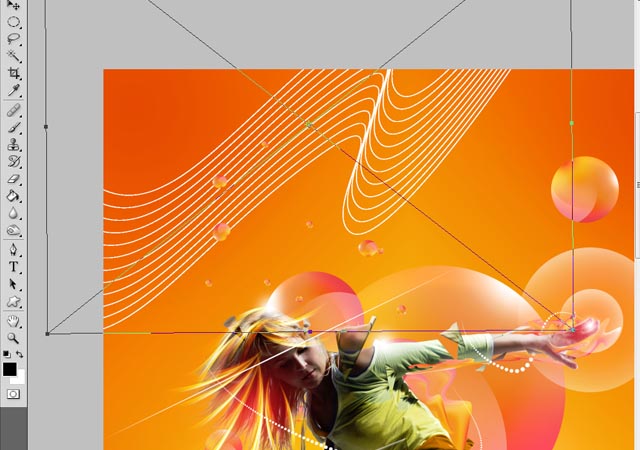
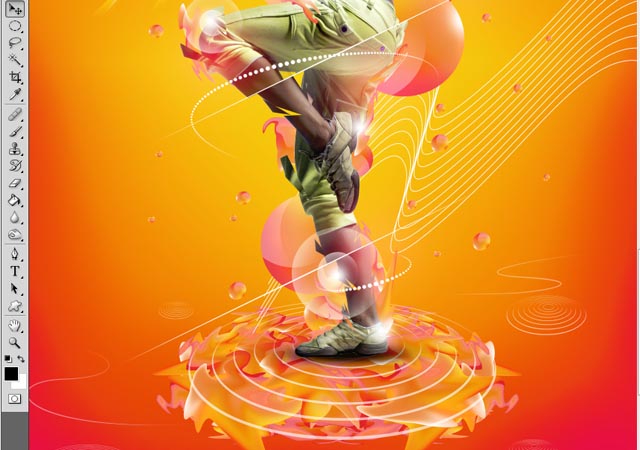
I did the same thing again but with circles to place over the liquified cluster:
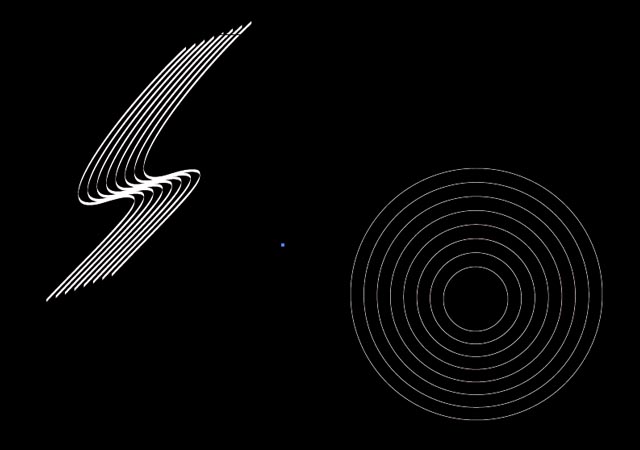
Drag this vector shapes into photoshop and place them behind the model.For the circle just transform it the same way we did for the cluster using the top handles and draging them towards the center.
Step 18
For the final details create a new group on top of all the layers and grab your original colored circle.
Go to Filter>Blur>Gaussian blur and apply a radius of 9pxl.
Duplicate this circle and resize it,place it on diferent parts of the image to balance out the composition.
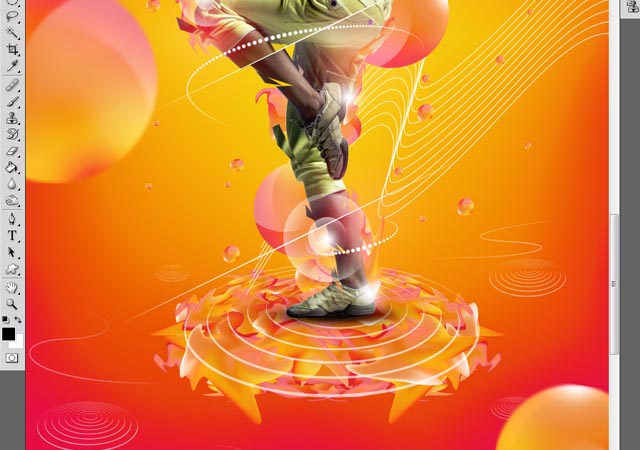
And this should be your final result for this tutorial!
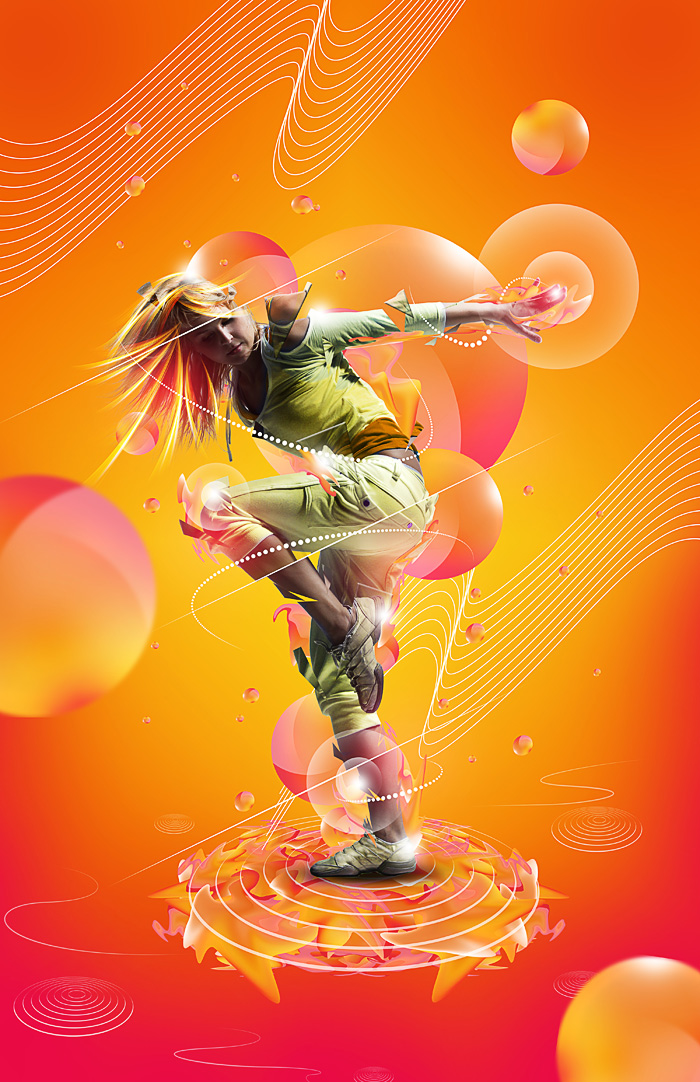
Hope you enjoyed this and learned new tecniques!
Related Posts:
- How to Create a Porcelain Skin Effect in Adobe Photshop CS6
- Pure an Energetic Photomanipulation
- Vintage Yourself! The Easiest Way to Create Vintage Photo Effect
- St Valentine's Day Photo Manipulation (Exclusive Tutorial)
- Night of Spells(Exclusive Tutorial)
- When the Dreams Come True(Exclusive Tutorial)
- Na vi avatar photo manipulation exclusive tutorial
About the author
Copyright © . All Rights Reserved
