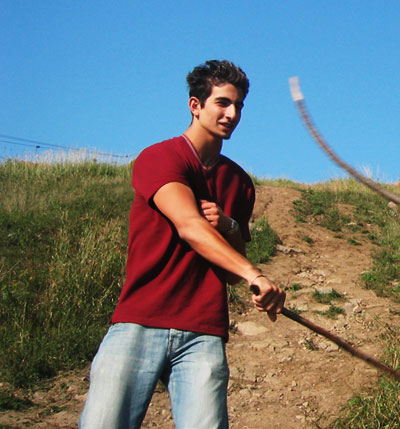
Look more muscular
Ok, So You Wanna Look Muscular? But don't afford the money nor the time to train in a gym? Who cares, it's only a quick impression picture that matters, right? Well, You can be right!
- Adobe Photoshop CS6 Classroom in a Book
- Photoshop CS6: Visual QuickStart Guide
- Photoshop CS6 For Dummies
- Adobe Photoshop CS6 Digital Classroom
- Photoshop CS6: The Missing Manual
- The Adobe Photoshop CS6 Book for Digital Photographers
- Adobe Master Class: Photoshop Inspiring artwork and tutorials by established and emerging artists
Check out the Before/After picture to see how you can improve yourself!
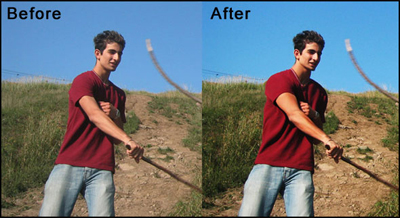
I Will be messing around with this picture:
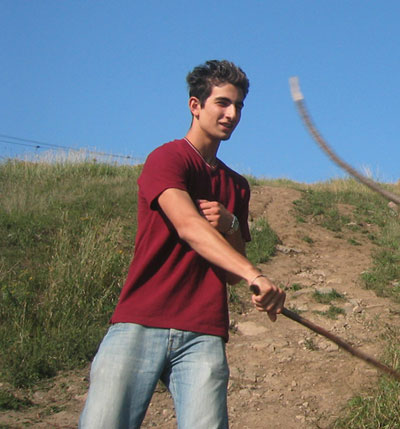
Note: To increase your chances of having excellent results with this tutorial, you might want to pick a picture that is more than 350x400 (pixels) with good quality (webcam/cellphone pictures? Forget about it).
Let's dig in, shall we?
Step 1.
First off, Duplicate your layer [Ctrl+J] (this way you have a backup of your picture, so no need to worry about making a "mistake").

Step 2.
Now, Go on FILTER > LIQUIFY. A new window opened. This is where the magic works. On the left, you have different types of tools, we will be using mainly the "bloat" tool. I used these settings for my bloat tool.
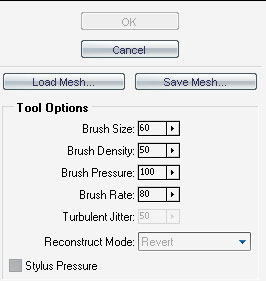
A good trick would be to use a brush with the same size of the person's face.
Step 3.
Now work your way with the "bloat" tool. click multiple times in the same spot to create the effect. The shoulders, the neck, the biceps/triceps and the lower arm are the main spots that you can work on.
[Do not be scared to exagerate a little! But if you ever cross the line, Ctrl+Z is always there to help you! No Panic, alright?]
Your best ways to get better with this tool is to practice, and keep practicing. You will sooner or later master the tool and use it easily.
[Don't forget that mistakes do not matter, if you think you've "screwed up", close the "liquify window", delete the layer that you have used the effect on, and simply go back to step 1!]
This is my result:

Step 4.
Happy with the results? Let's Move On! You need something to make your effects appear a little more. Go back to step 2? Nice try, but no. You will need the burn tool to add shadows and highlights:

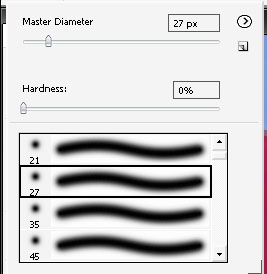
Use a soft round brush for this tool, a good and proportionate size for your picture, with low exposure (20-35) :
Zoom in the picture if you have to, with the zoom tool:
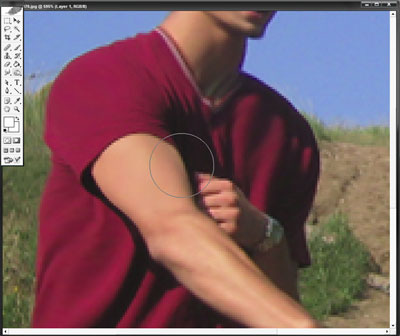
Go back to the burn tool, with the chosen soft-round brush, and click-drag the tool all the parts that you think might need some shadows. This is my result:
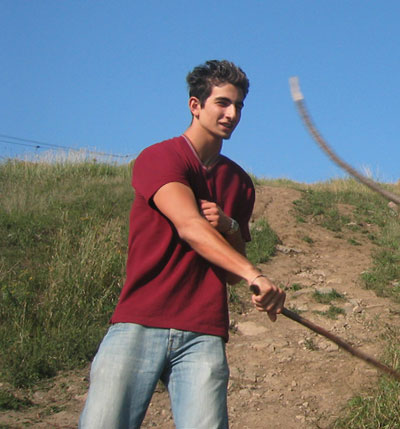
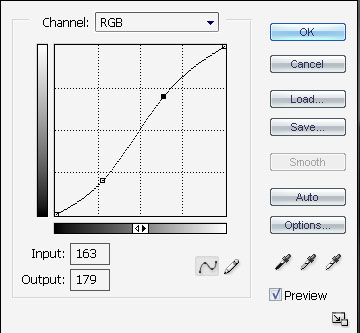
Step 5. [Optional] We're nearly done! You might want to "beautify" the image, make the person in it and his new muscles stand out more. Go on IMAGE > ADJUSTMENTS > CURVES :
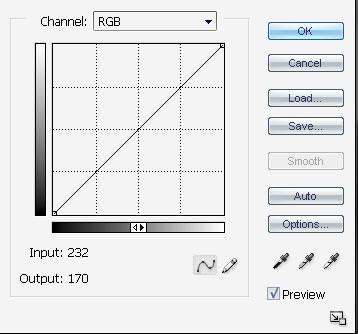
This is a more difficult effect to do, because depending on your choice of brightness/contrast, you can get too much effect or not enough. Drag the line very slowly, and always look at the preview of it [Your Picture]. Have an idea of what you want! This is my curve:
Final result:
Hover over to see "before" image.
Step 6.
You thought it was rocket science! But there you have it!
Related Posts:
- How to Create a Porcelain Skin Effect in Adobe Photshop CS6
- Pure an Energetic Photomanipulation
- Vintage Yourself! The Easiest Way to Create Vintage Photo Effect
- St Valentine's Day Photo Manipulation (Exclusive Tutorial)
- Night of Spells(Exclusive Tutorial)
- When the Dreams Come True(Exclusive Tutorial)
- Na vi avatar photo manipulation exclusive tutorial
Copyright © . All Rights Reserved
